To manage your Valheim server in-game (ban, kick, or unban players), you must have admin access. A server administrator can remove players or other admins from the server but cannot add new admins without access to the server files.
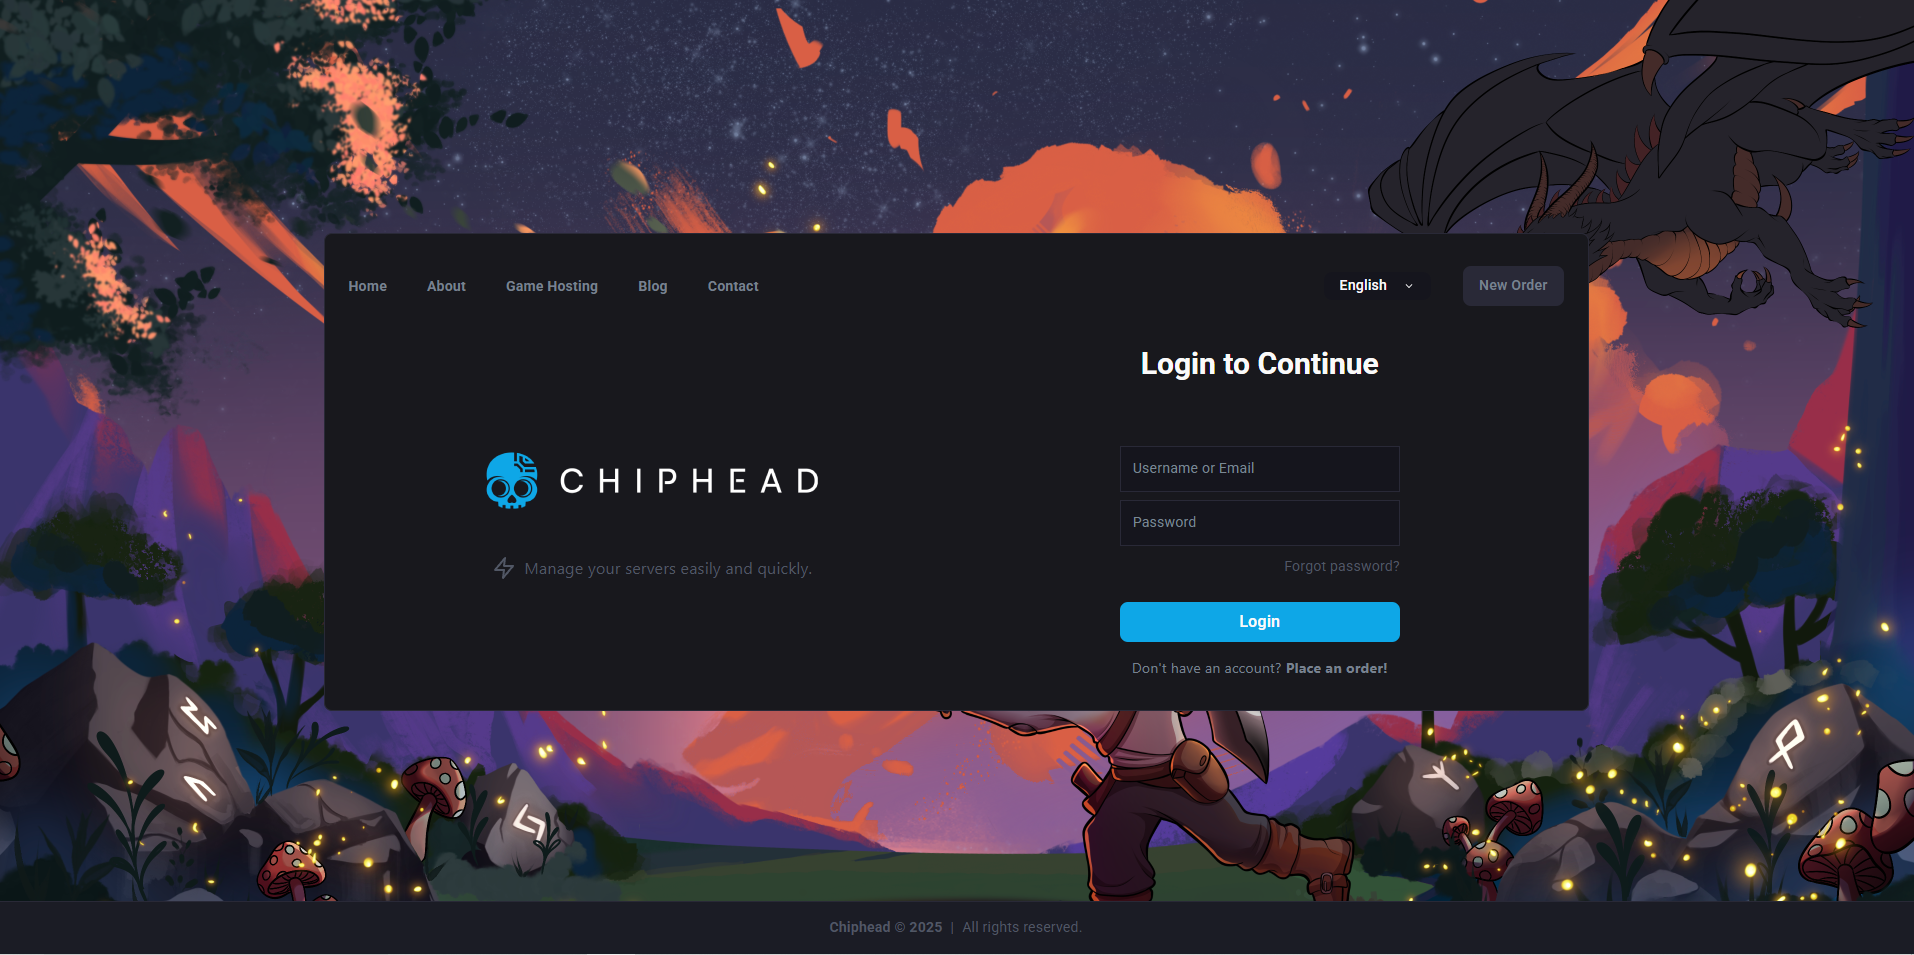
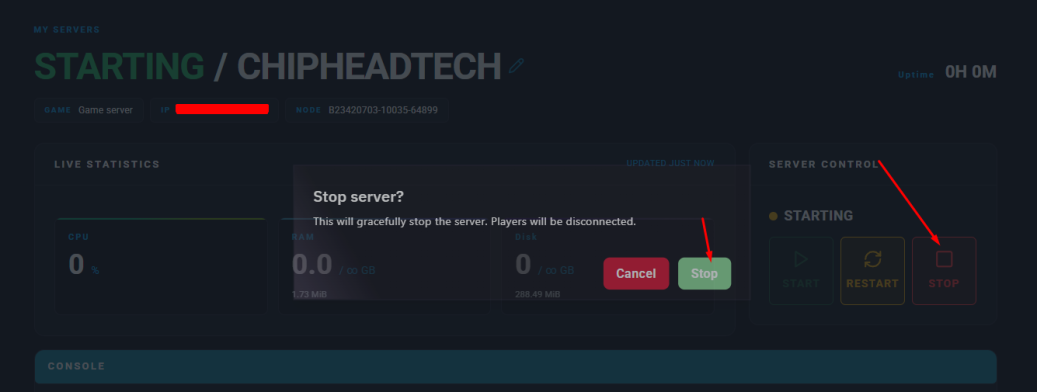
Log in to your ChipHead Panel and stop your server.
Go to the Files tab.
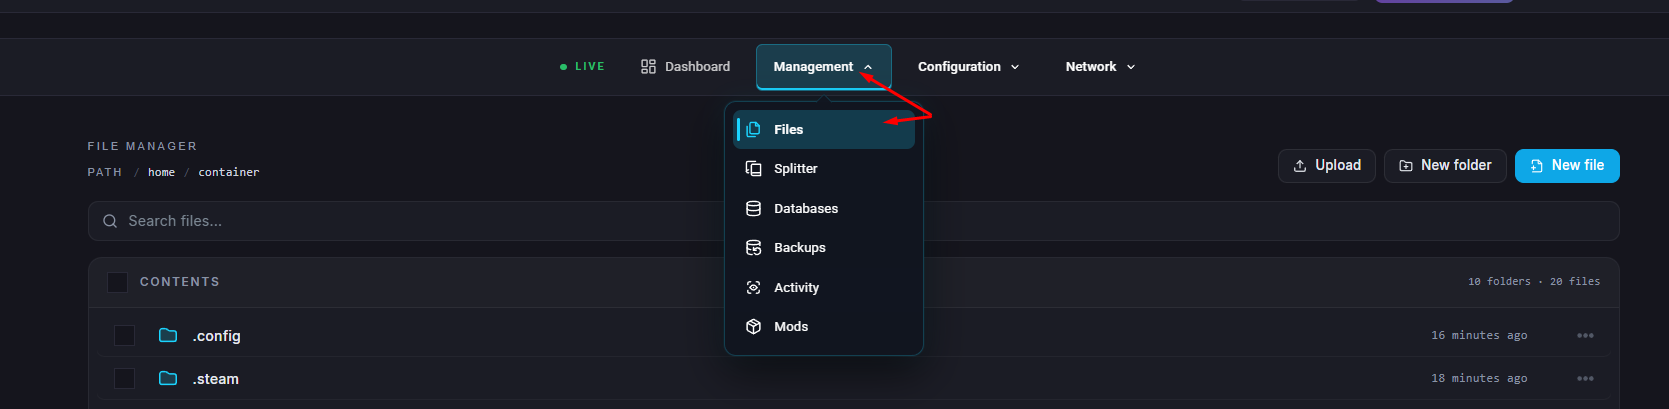
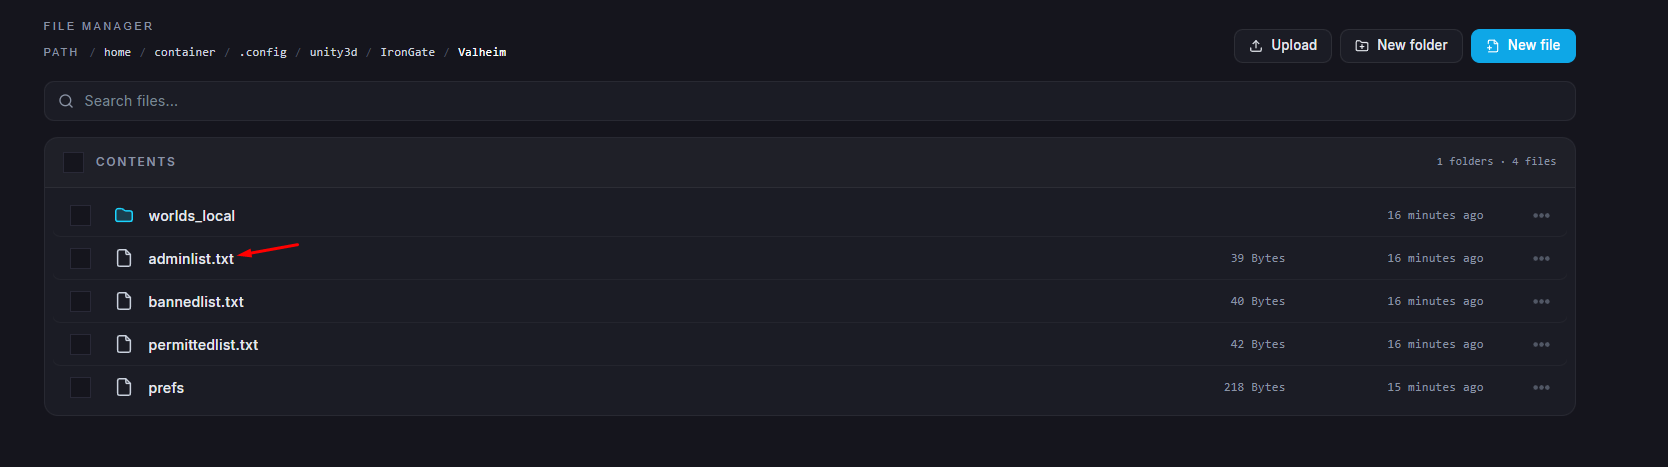
Navigate to /.config/unity3d/IronGate/Valheim/adminlist.txt.
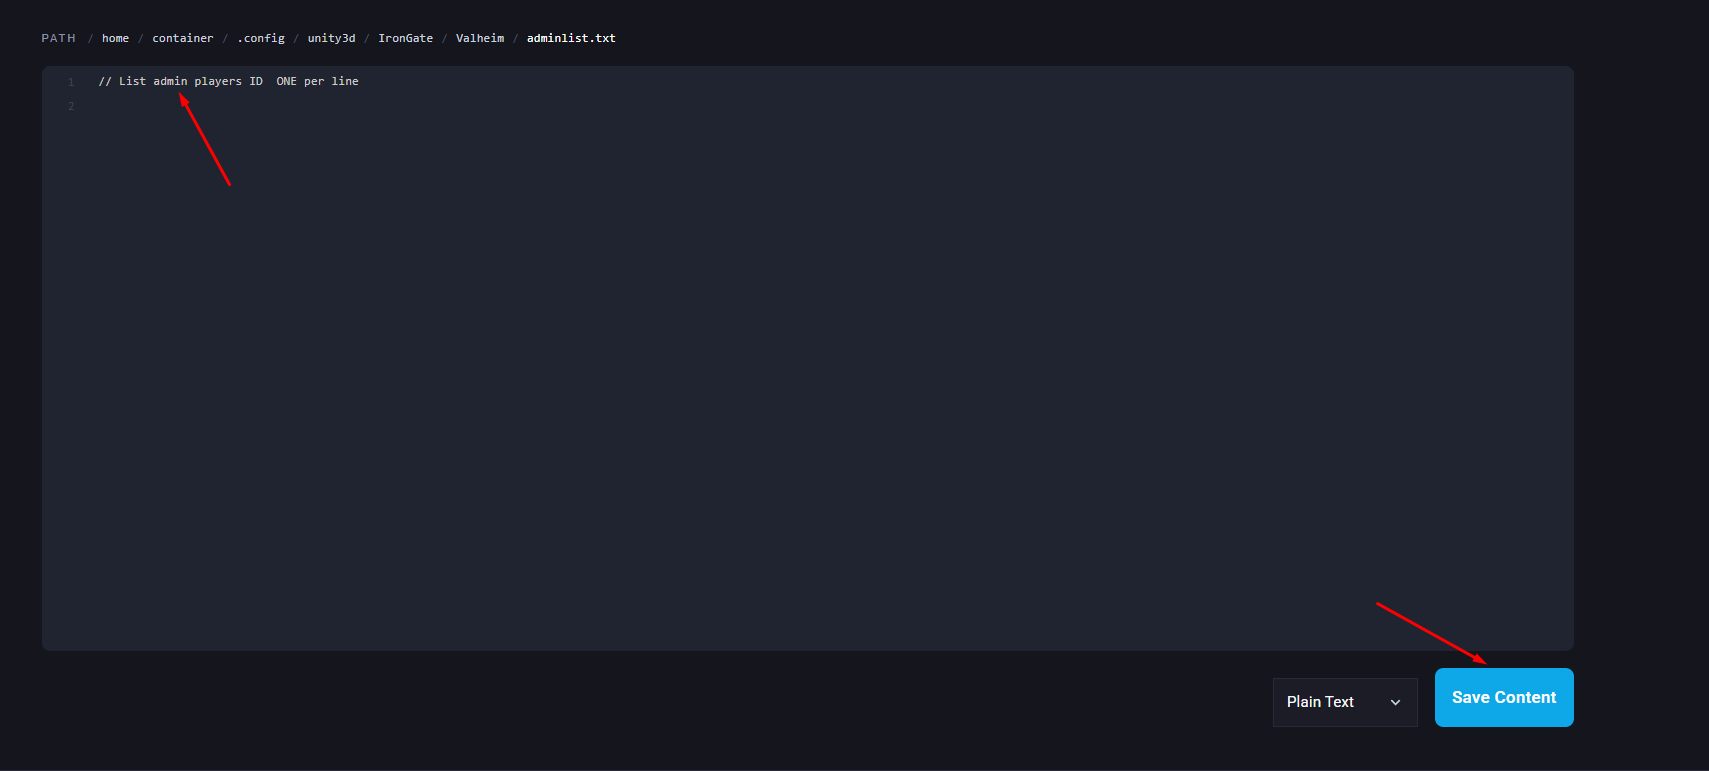
Add the player’s SteamID64 to the file, ensuring there is one ID per line.
Click Save Content.
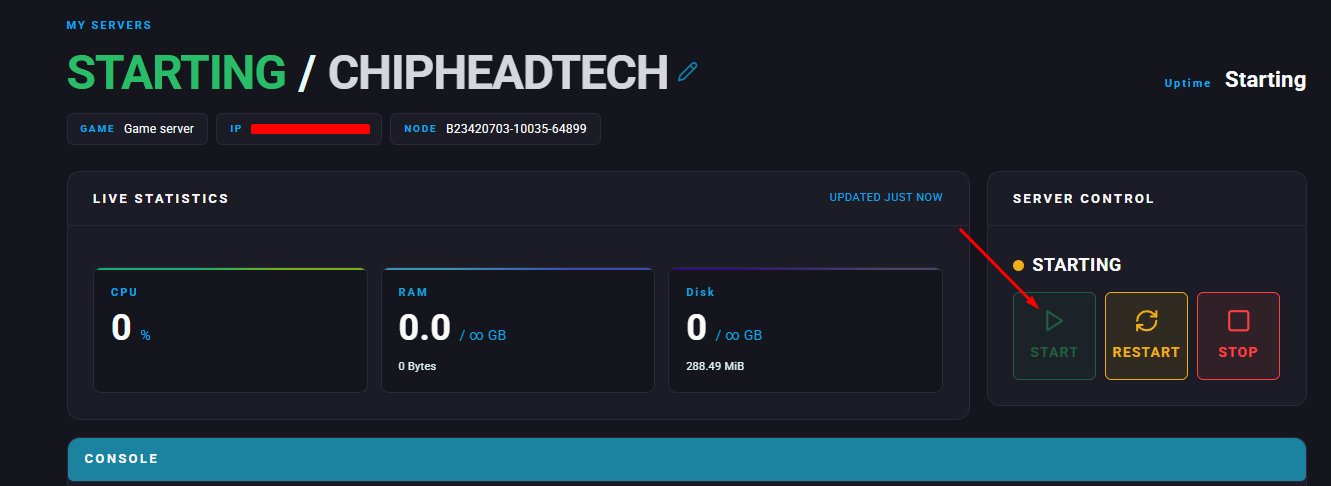
Start/restart your server.

Once you have added yourself as an admin, you need to enable console commands on your client to use them.
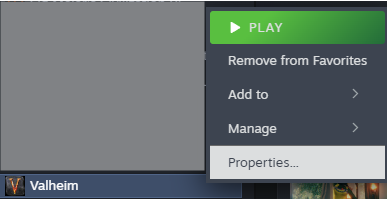
Open your Steam Library.
Right-click on Valheim and select Properties.
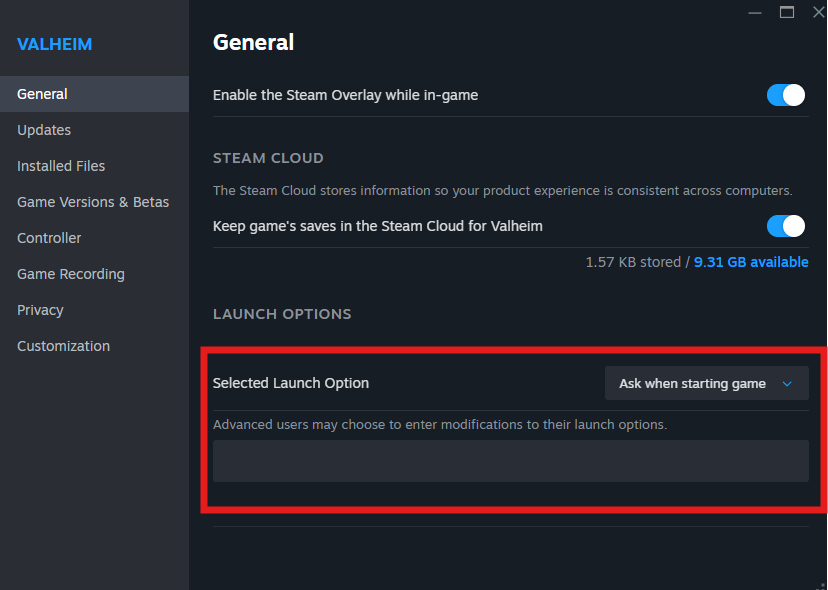
Under Launch Options (in the General tab), type the following:
-console