By default, 7 Days to Die servers load from a selection of predefined maps. However, you can enable random world generation to create a unique map every time by adjusting your server configuration settings.

Data/Worlds or RWG, the game will crash during startup.To activate random world generation:
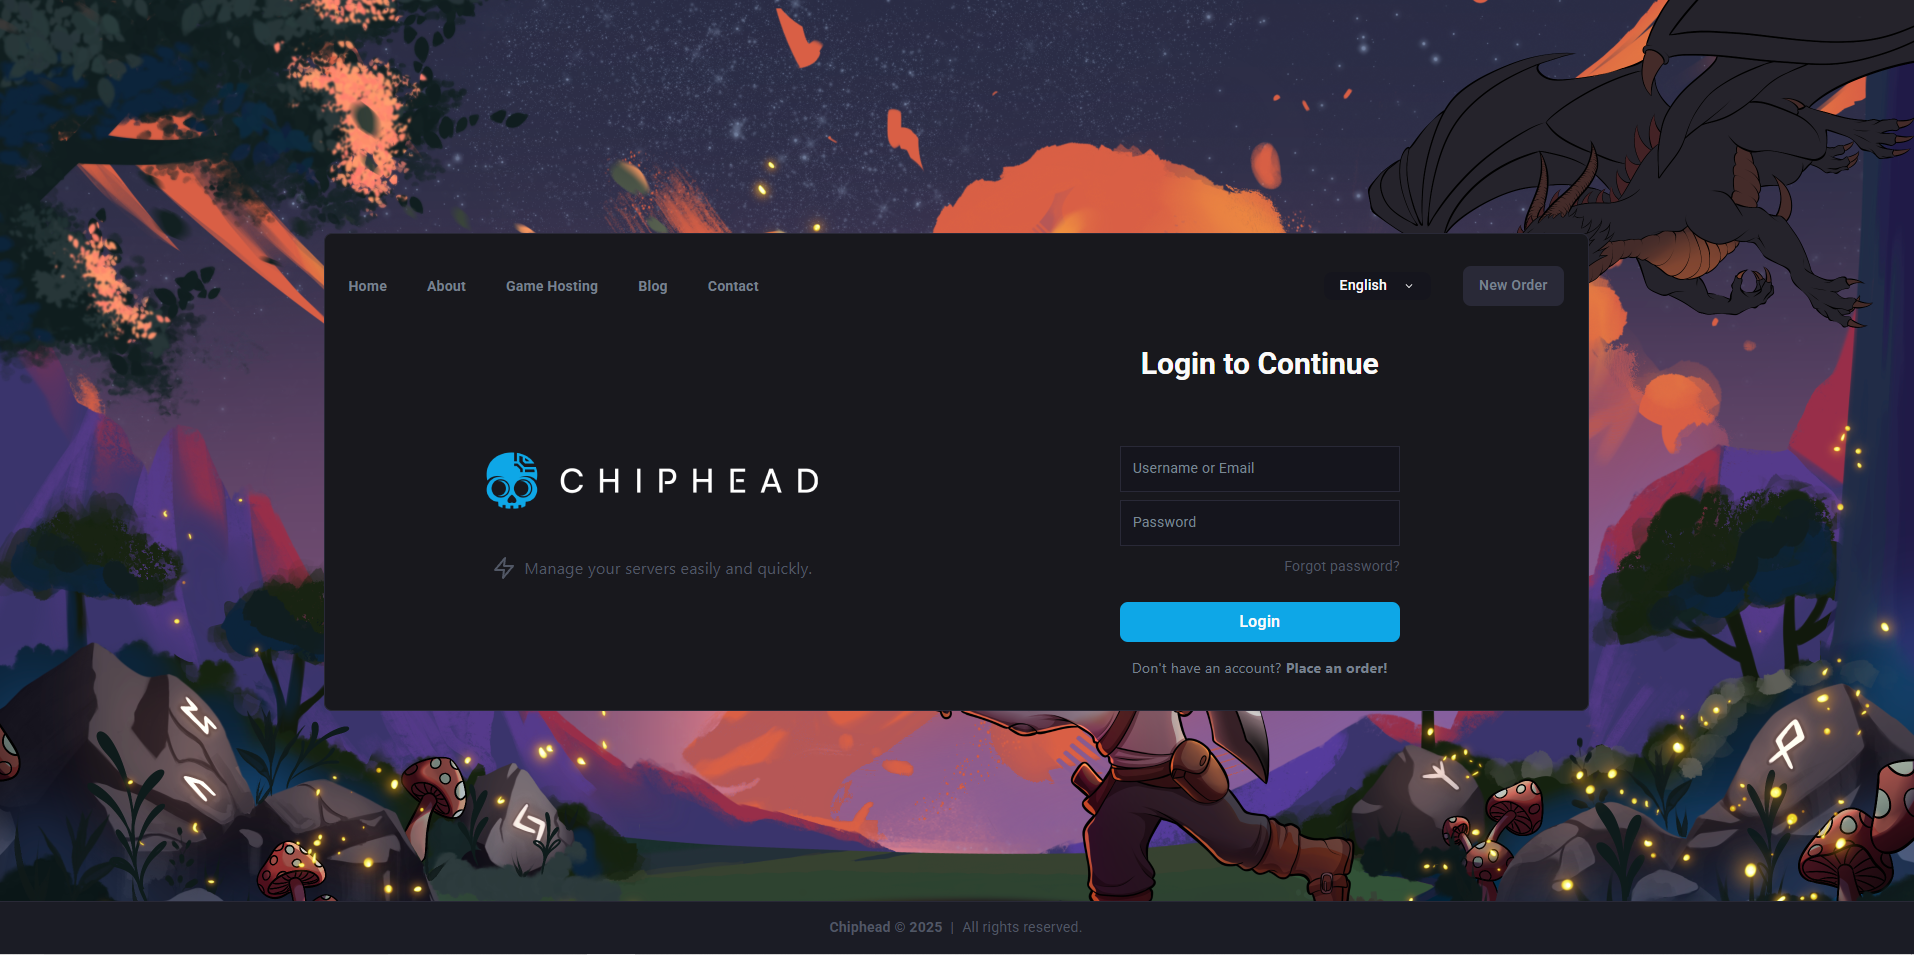
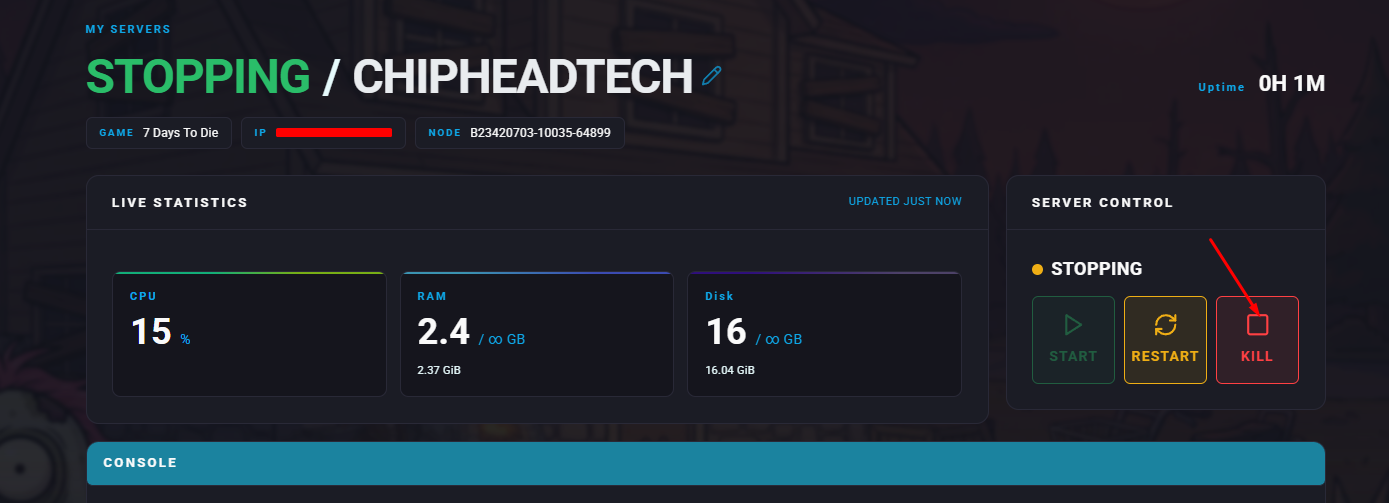
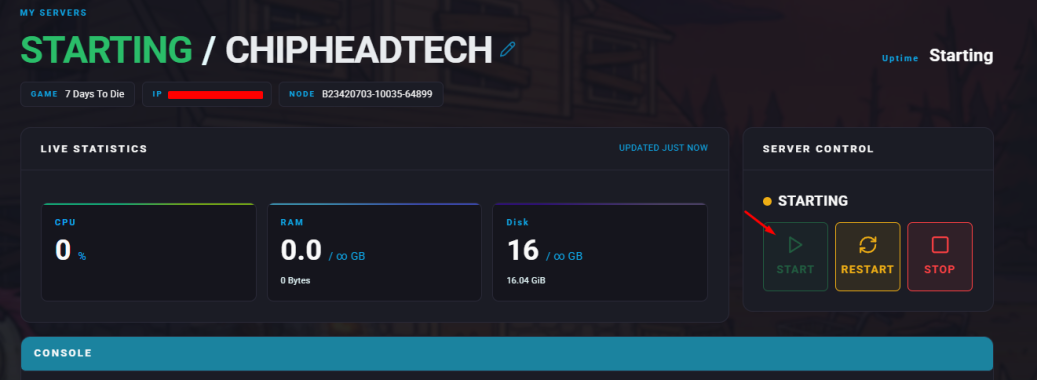
Open the ChipHead Panel and Stop your server.
Go to the Config tab.

Click on </>Raw to access the serverconfig.xml file.

Locate the GameWorld setting.
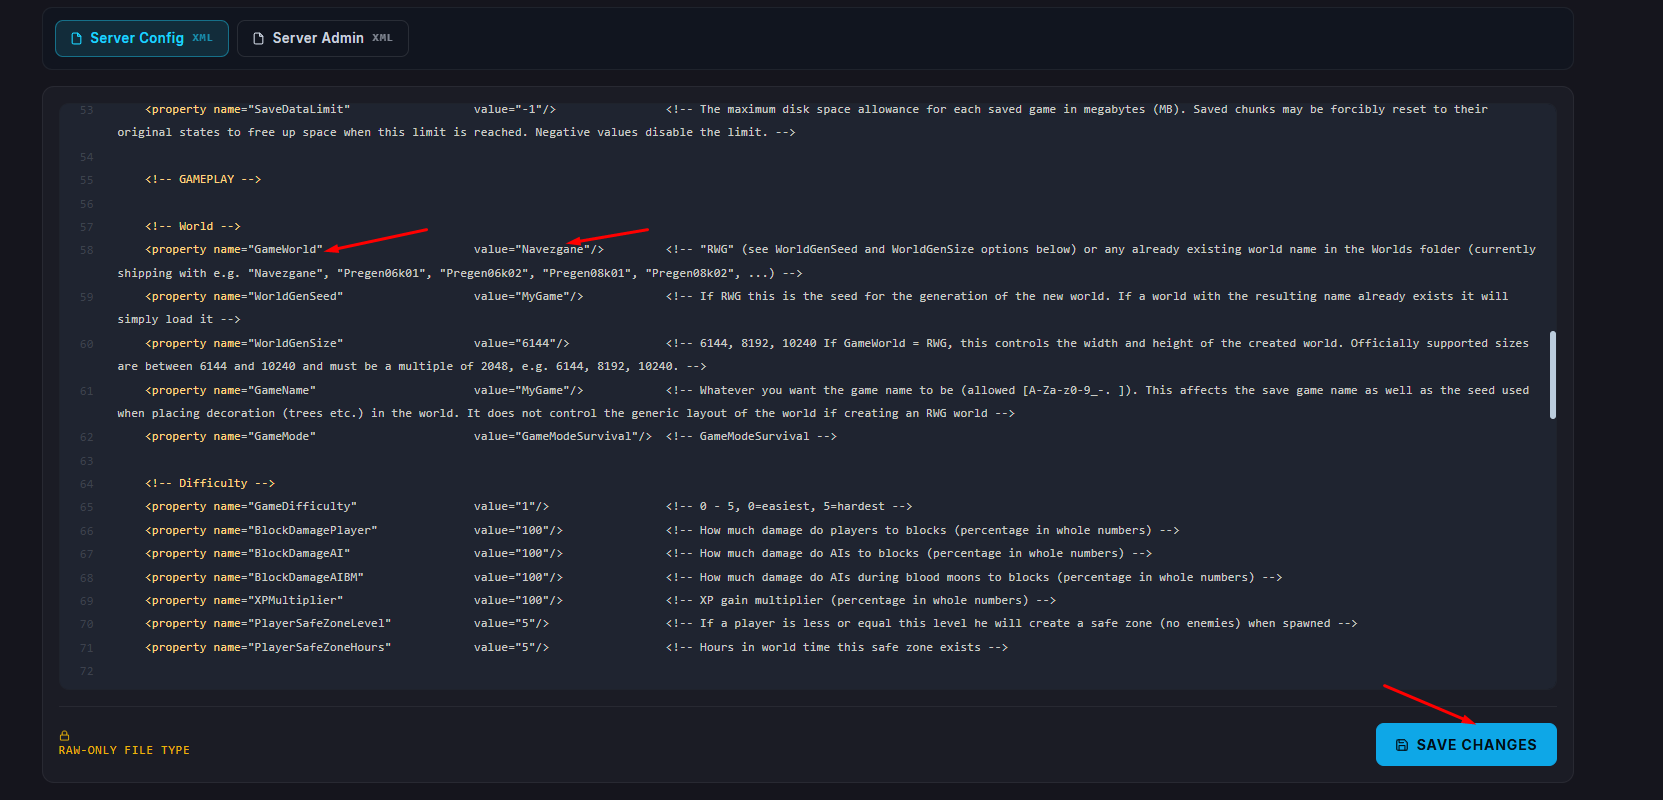
Set GameWorld to RWG within the quotation marks next to value=.
Change GameName to the name you want for your new world, within the quotation marks next to value=.

Click Save.
Start/restart your server.

If you want to switch back to one of the default maps, follow these steps:
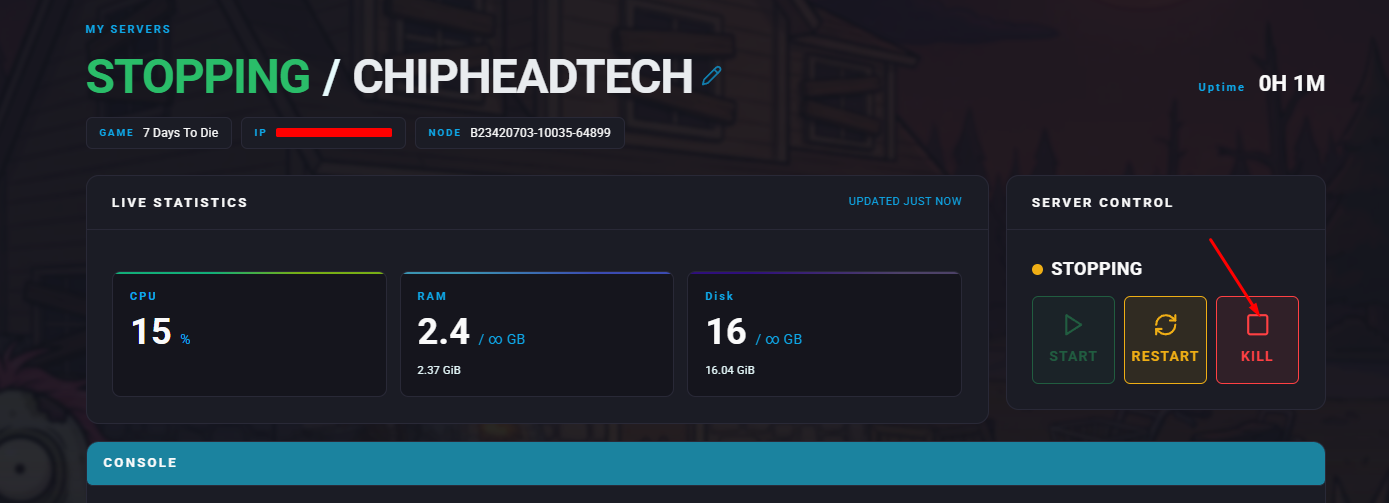
Open the ChipHead Panel and Stop your server.
Navigate Game Config.

Click on </>Raw to access the serverconfig.xml file.

Locate the GameWorld setting.

Change GameWorld to one of the available predefined maps, within the quotation marks next to value=.
Click Save.
Start/restart your server.