If you’d like to use a custom map or an existing single-player world on your 7 Days to Die server, it’s completely possible with the ChipHead Panel. While the process takes a few careful steps, it allows you to fully customise your world and play exactly how you want.
Before you begin, it’s helpful to understand the difference:
A generation map contains the base data that determines how your world is generated.
A world is the folder that stores all game data such as player inventories, structures, and terrain after generation.
If your world was created using a custom generation map, you’ll need to upload both the map and the world.
To upload a single-player world, first locate the folder containing your world save:
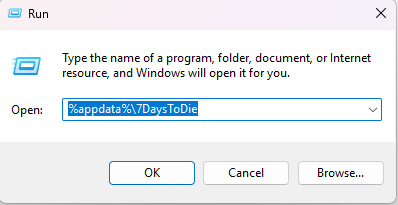
Press Windows Key + R to open the Run window.
Type %appdata%\7DaysToDie and press OK.
Open the Saves folder, then browse the regional folders until you find your desired world save.
The generation map folder containing this world (for example, Navezgane) will be the one you need to upload to your server.
Once you’ve found your world, follow these steps to upload it and configure your server:
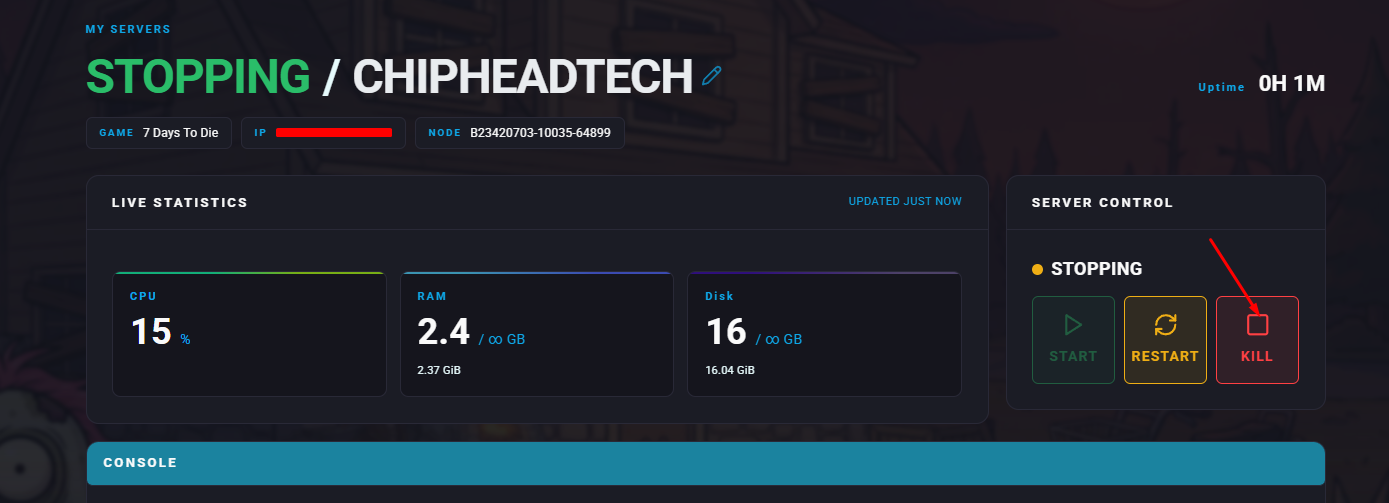
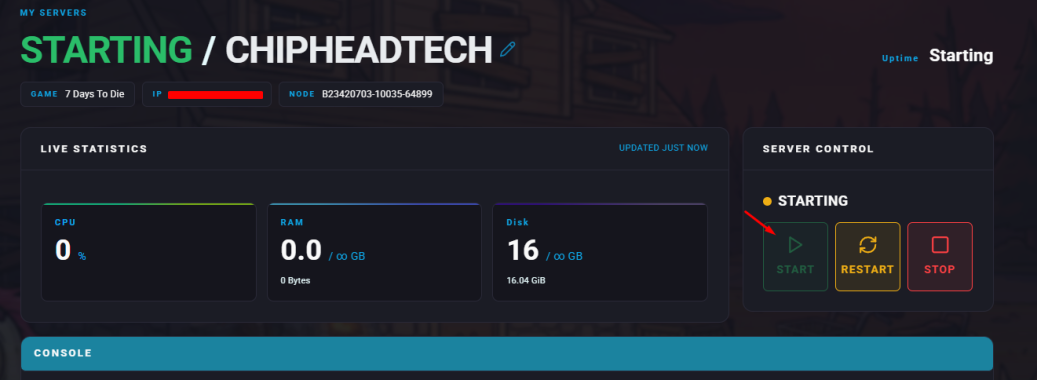
Log in to your ChipHead Panel and stop your server.
Go to the Files tab.
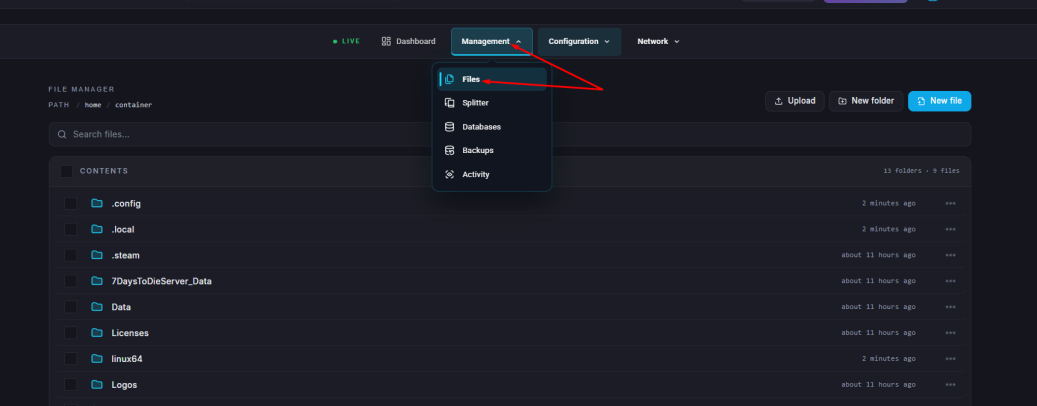
Navigate to/.local/share/7DaysToDie/Saves/[MAPNAME] and upload your world folder there.
If your desired region folder doesn’t exist, upload your entire map folder to /.local/share/7DaysToDie/Saves/.
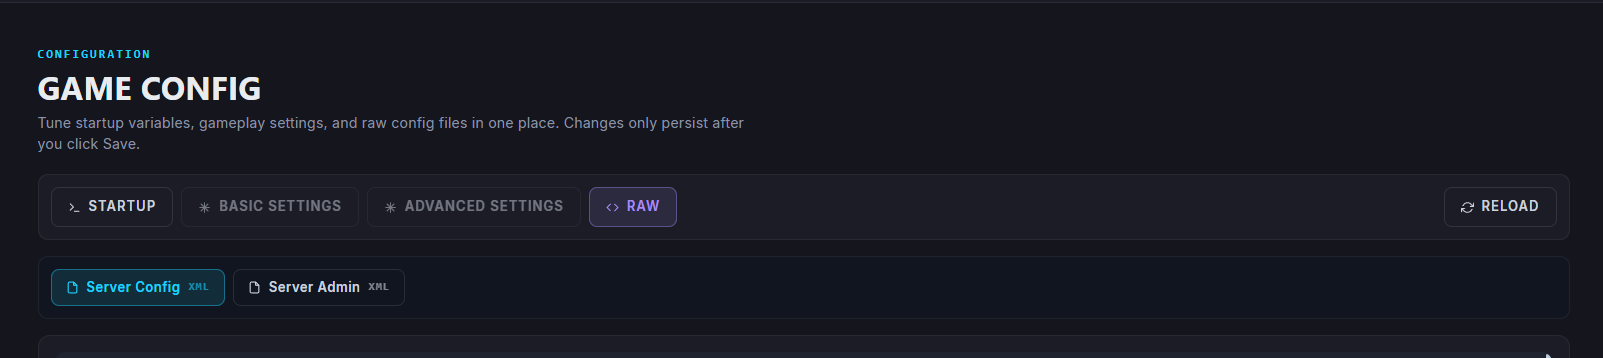
Now navigate to Game Config.

Click on </>Raw to access the serverconfig.xml file.
Update the following settings:
GameWorld → Name of the generation map (e.g. Navezgane, CustomGen)
GameName → Name of the world (e.g. MyFavouriteWorld)
WorldGenSeed and WorldGenSize → Values from your single-player world
Click Save.
Start/restart your server.

serverconfig.xml.If you’re using a completely custom map:
Log in to your ChipHead Panel and stop your server.


Download your generation map or find it locally in your game’s GeneratedWorlds folder.
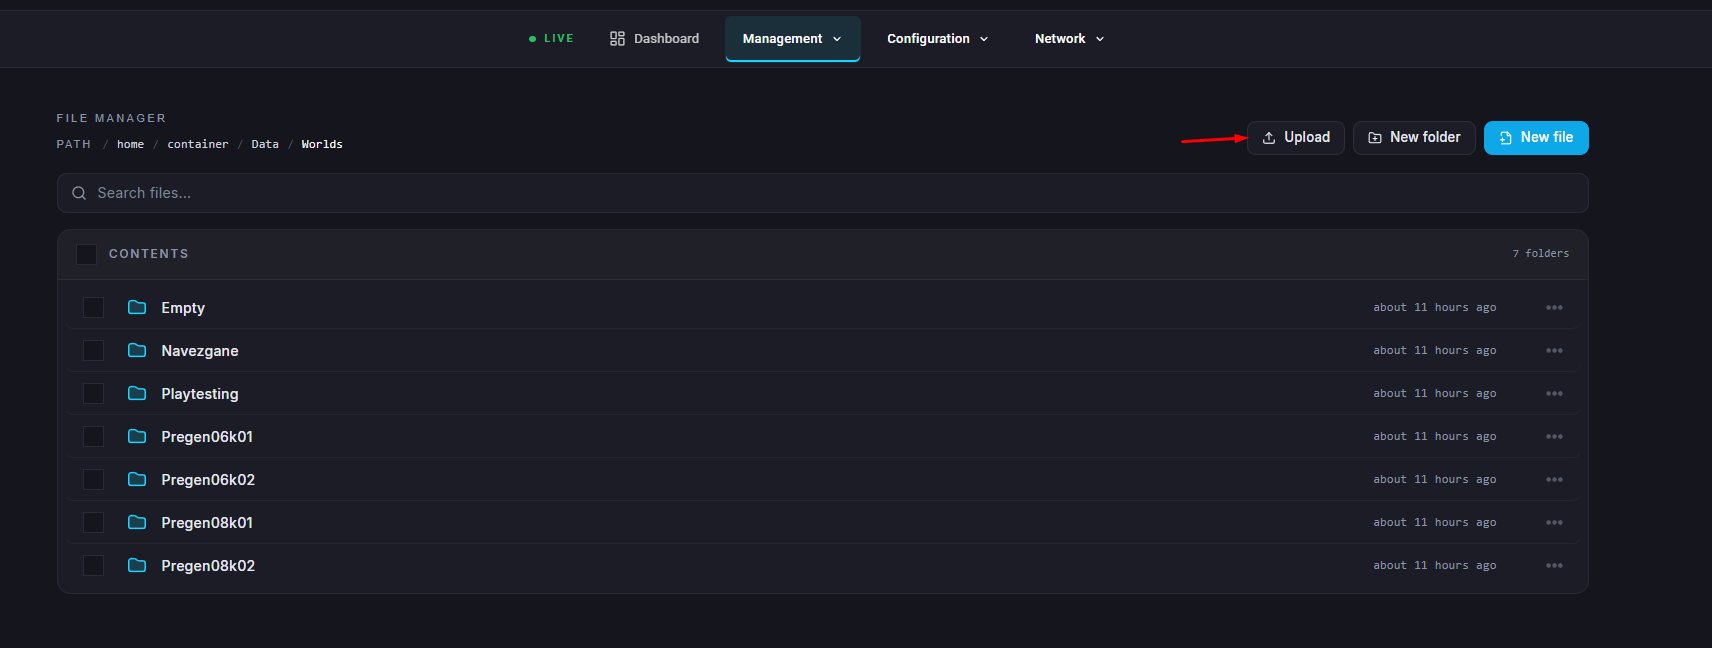
Go to Files.

Navigate to /Data/Worlds/.
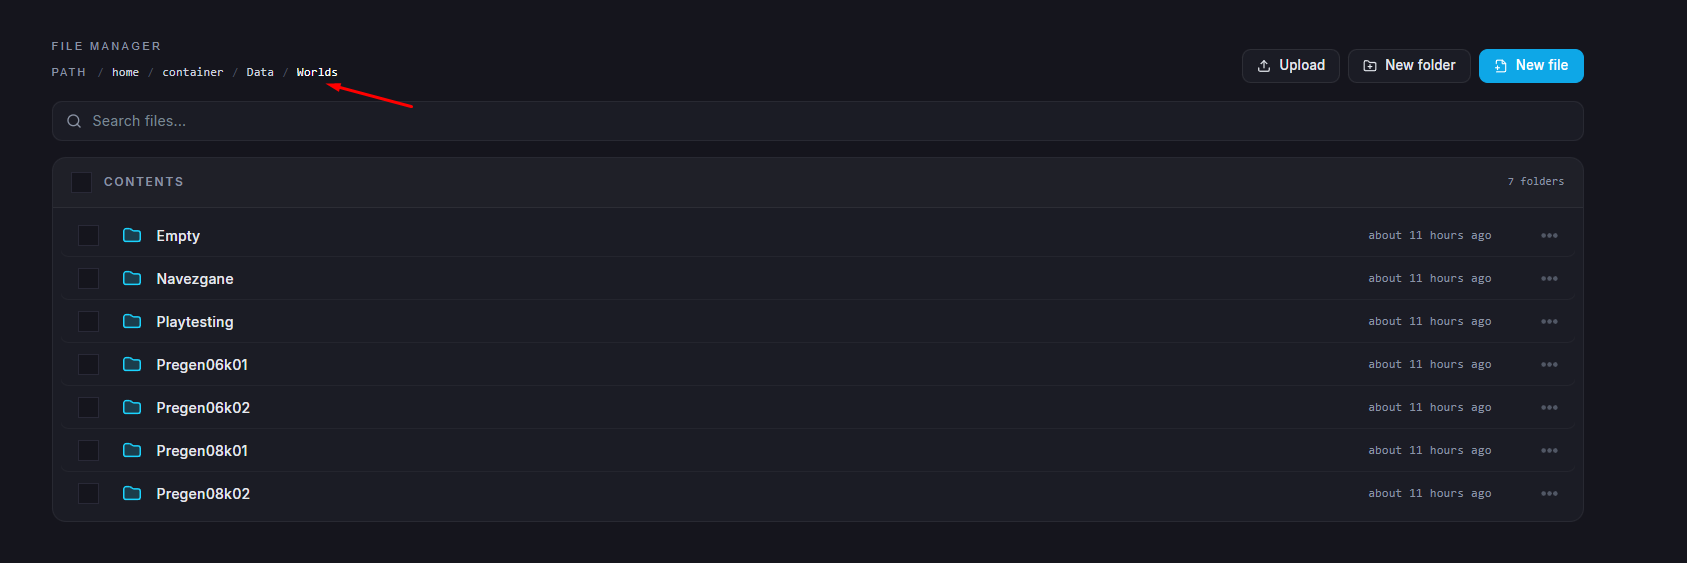
Upload your map folder here.
Navigate to Game Config.

Click on </>Raw to access the serverconfig.xml file.

Search for GameWorld, and set:
GameWorld → Your map’s name
Click on Save.
Start/restart your server.

You may need your world’s size and seed values for setup. Here’s how to find them:
Press Windows Key + R.
Enter %appdata%\7DaysToDie and click OK.
Open the GeneratedWorlds folder, then your chosen world folder.

Open map_info.xml in a text editor.

HeightMapSize → World size
Generation.Seed → World seed
If the HeightMapSize field contains two numbers, just use one of them.