company logo

Help center

Go to ChipHead
All collectionsGames Library7 Days to DieHow to Enable the Experimental Branch in 7 Days to Die

How to Enable the Experimental Branch in 7 Days to Die

Guide on switching to experimental branch

7 Days to Die often releases experimental beta versions to test new features and content before they’re officially launched. With ChipHead, switching to the experimental branch is quick and easy, letting you experience the latest updates as soon as they’re available.

warning icon
Important: Before making any changes, make sure to back up your server. You can follow our backup guide to learn how to do this safely.

Switching Your Server to the Experimental Branch

You can change your server version to the experimental branch through the ChipHead Panel:

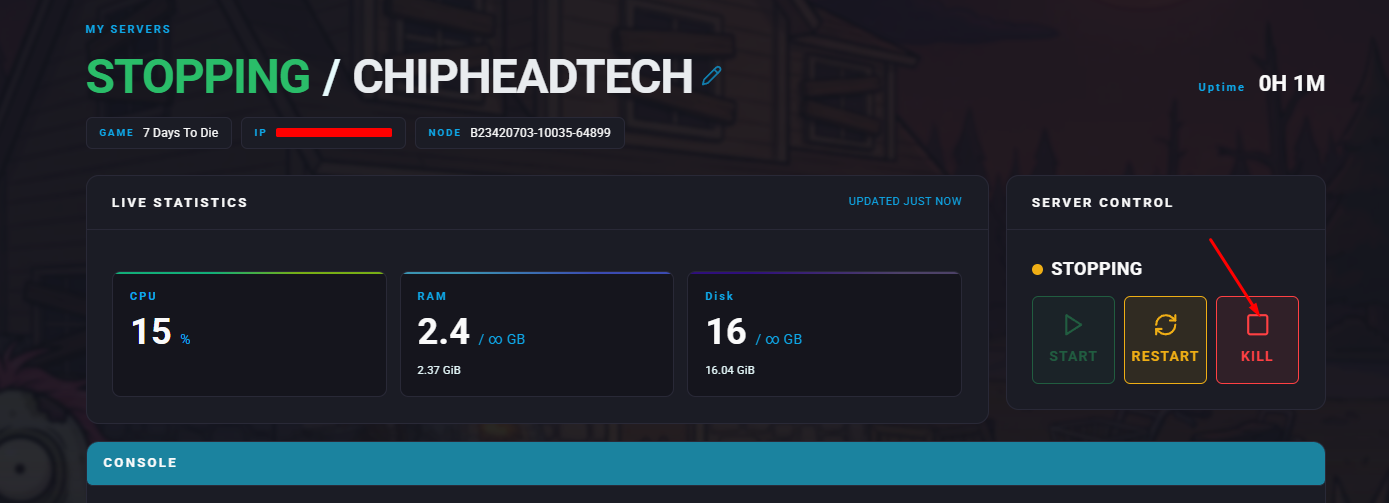
  1. Log in to your ChipHead Panel and stop your server.
  2. Navigate to Startup.

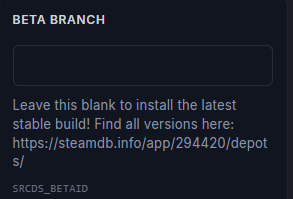
  3. Under Beta Branch field, type “Experimental” as the environment.
    warning icon
    Make sure to save your changes.
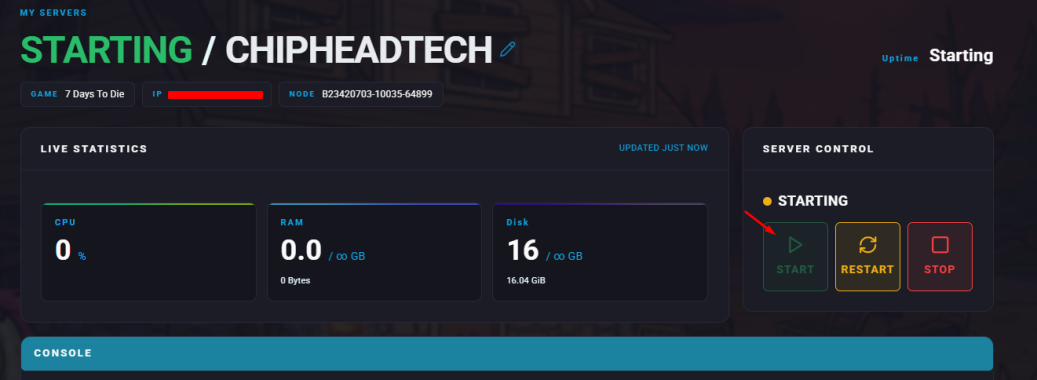
  4. Start/Restart your server to apply the new version.
success icon
Your server will now be running the experimental branch of 7 Days to Die.

Setting Your Game Client to Experimental

To join your server, you’ll also need to switch your Steam client to the same experimental version:

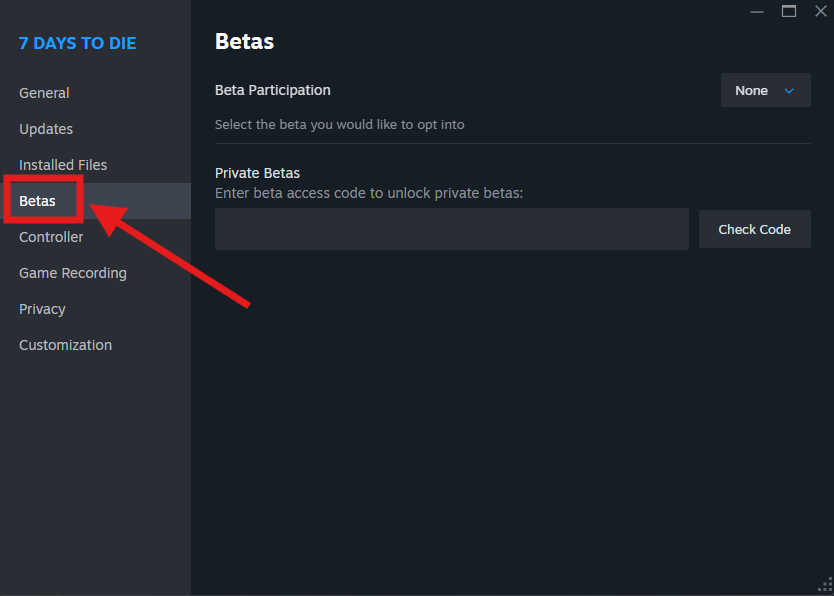
  1. Open Steam and find 7 Days to Die in your Library.

  2. Right-click the game and choose Properties.
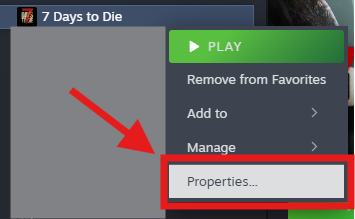
  3. Go to the Betas tab.

  4. Select the experimental build you want from the dropdown menu.
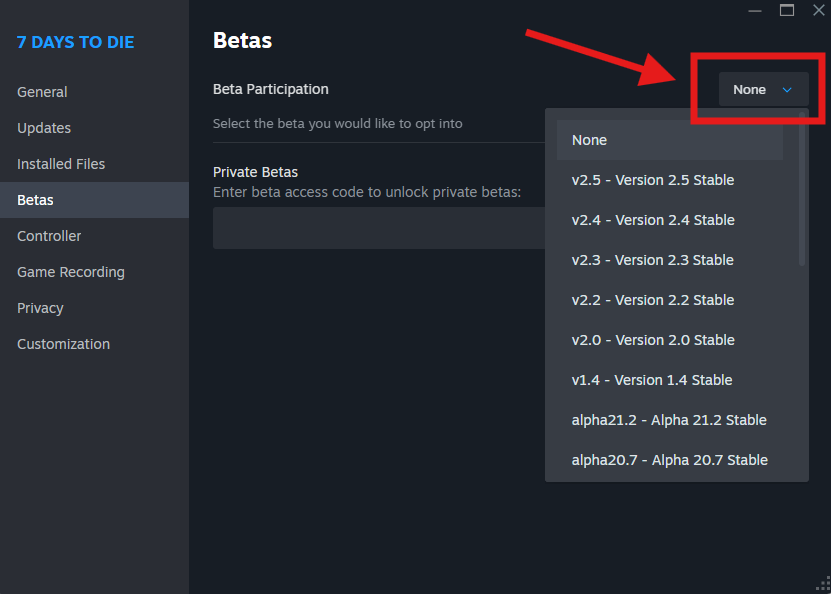
  5. Steam will automatically download and install the chosen version.

success icon
Once the download is complete, you can launch the game and connect to your ChipHead server running the experimental branch.
info icon
To return to the standard version later, repeat the same steps and select None in step 4.

success icon
That’s it! You’re now ready to explore all the new content and features in the 7 Days to Die experimental branch with your ChipHead server.

Did this answer your question?
😞
😐
😁