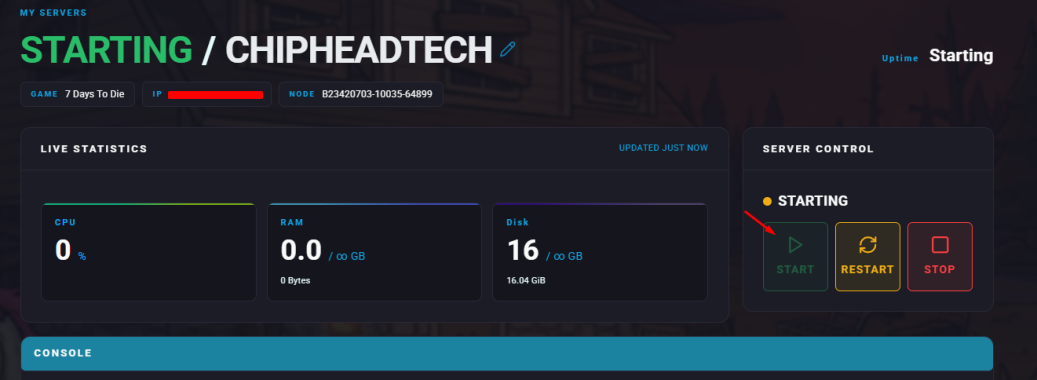
You can customise nearly every aspect of your 7 Days to Die server through the serverconfig.xml file - including the game’s difficulty level. There are six difficulty options, each offering a different challenge and affecting both player and zombie damage.
Level | Skill | Description | Zombie Damage (%) | Player Damage (%) |
0 | Scavenger | Easiest setting, perfect for beginners | 50 | 150 |
1 | Adventurer | Slightly more challenging than Scavenger | 75 | 125 |
2 | Nomad | Balanced mode for experienced FPS players | 100 | 100 |
3 | Warrior | A tougher experience for seasoned players | 150 | 75 |
4 | Survivalist | Very challenging — only for the brave | 200 | 50 |
5 | Insane | The ultimate test of survival skills | 250 | 25 |
To adjust your server’s difficulty level:
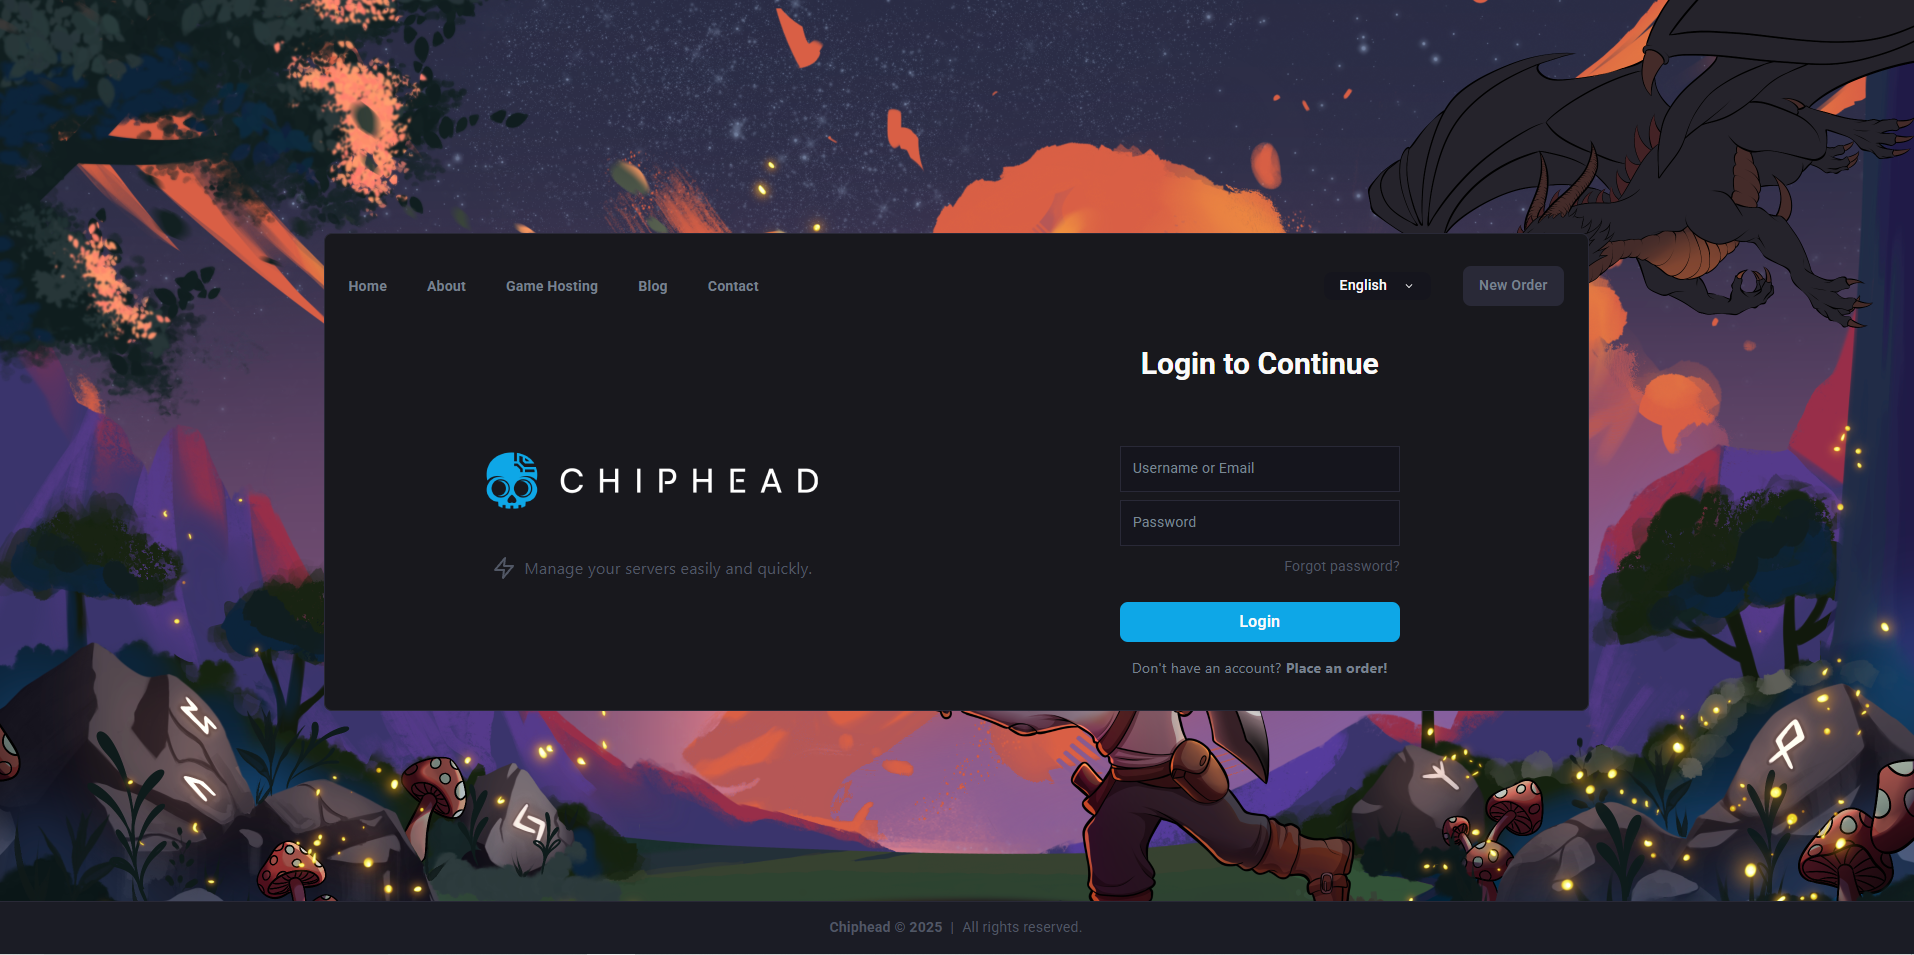
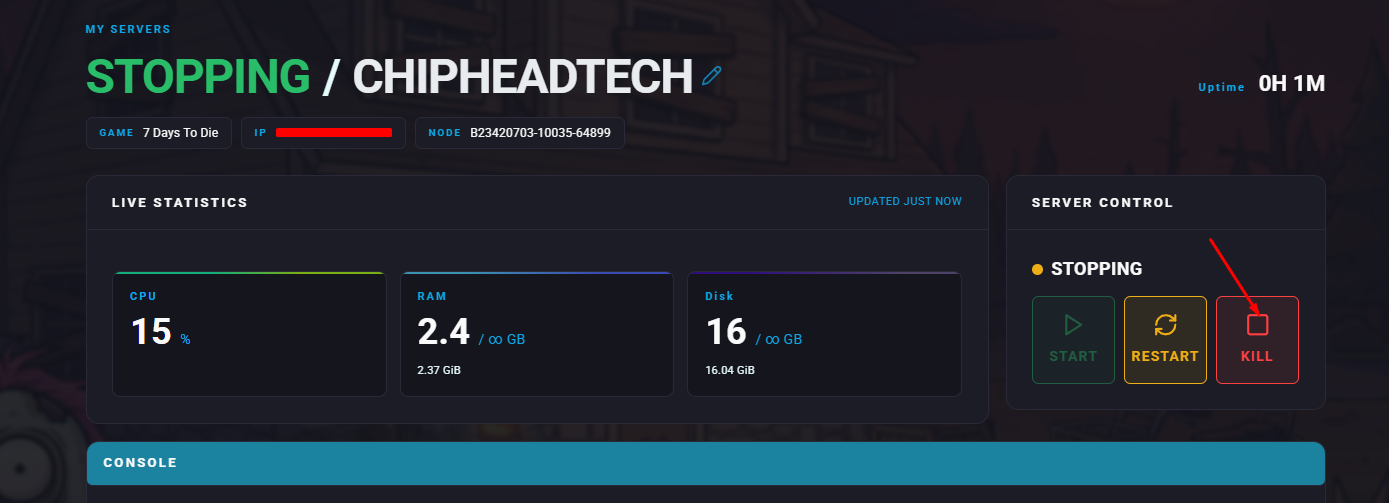
Log in to your ChipHead Panel and stop your server.
Navigate to Game Config.

Click on </>Raw to access the serverconfig.xml file.

Locate the setting GameDifficulty.

Change its value to the number that matches your desired level (0–5).
Click Save.
Start/restart your server.