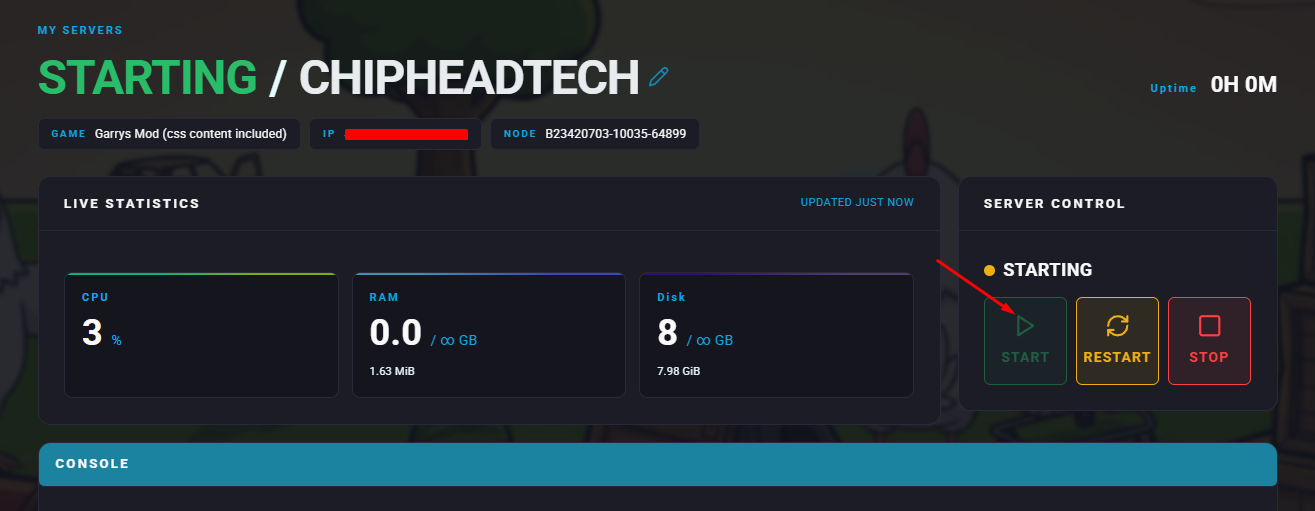
Adding a custom gamemode to your Garry’s Mod server lets you completely change how the game is played. From roleplay and mystery to survival and chaos, gamemodes like Murder, DarkRP, or Trouble in Terrorist Town (TTT) can transform your server’s experience.
By default, most servers include Sandbox and TTT, but you can easily install new ones through the Steam Workshop or by uploading them manually.
Add your chosen gamemode to a Steam Workshop Collection.
Log in to your ChipHead Panel.
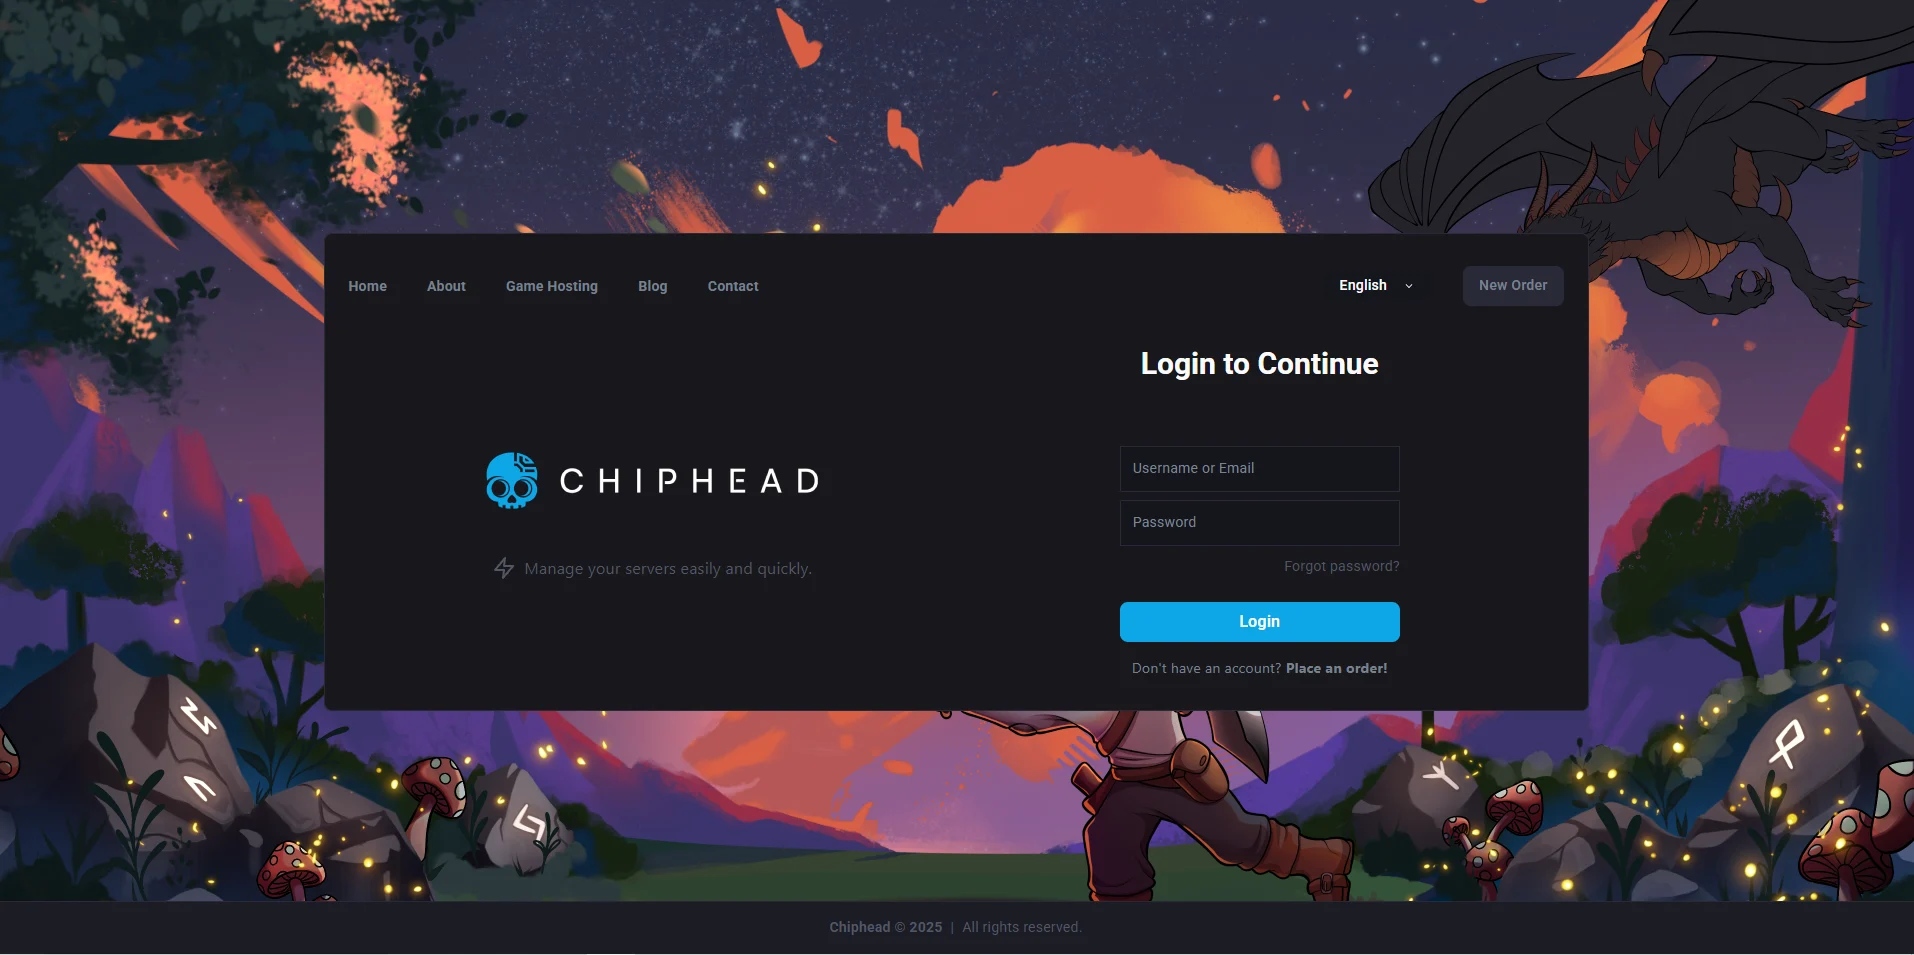
Stop your server.
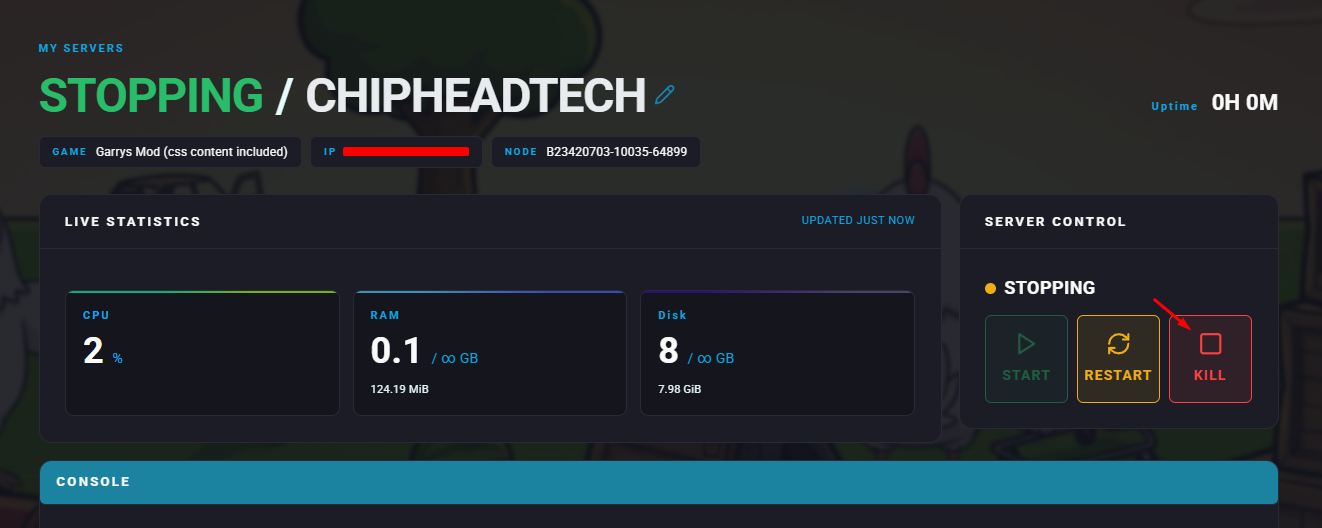
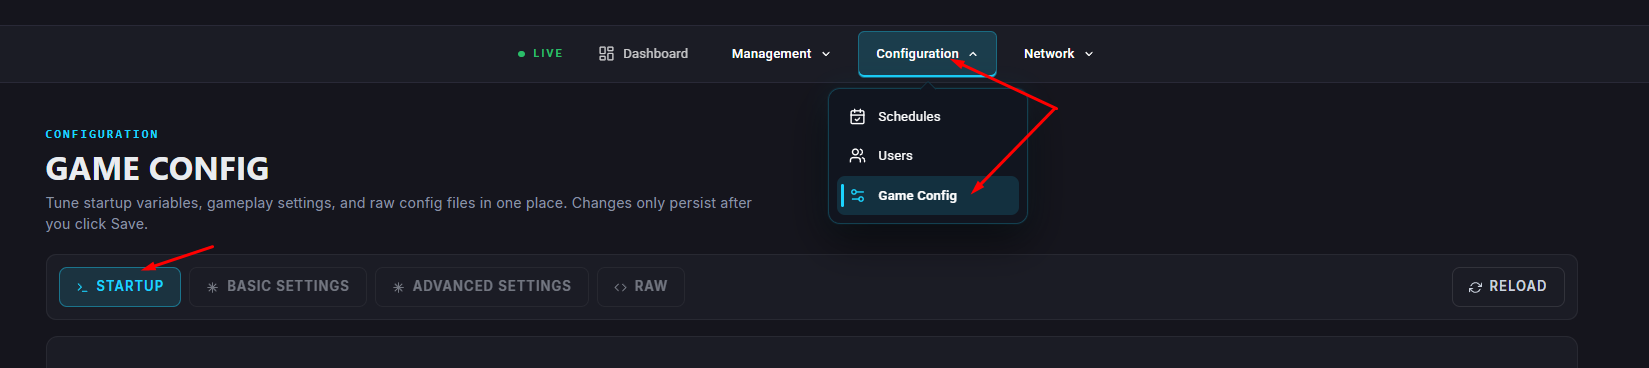
Go to “Startup”
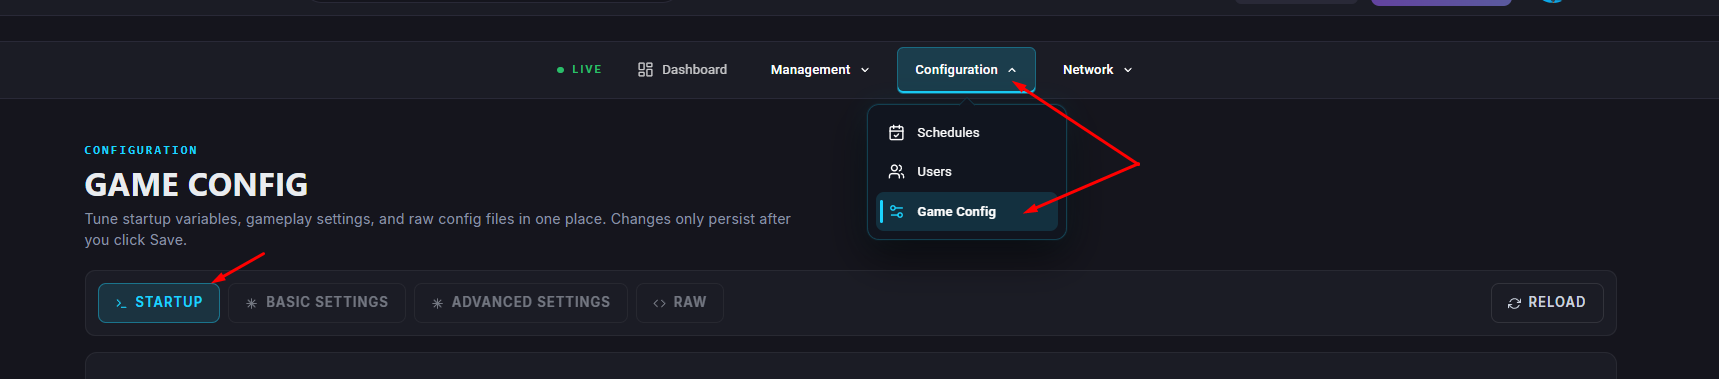
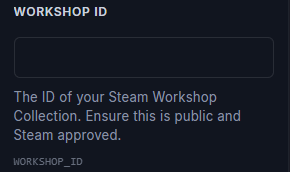
In the “Workshop ID” field, paste the Steam Workshop Collection ID.
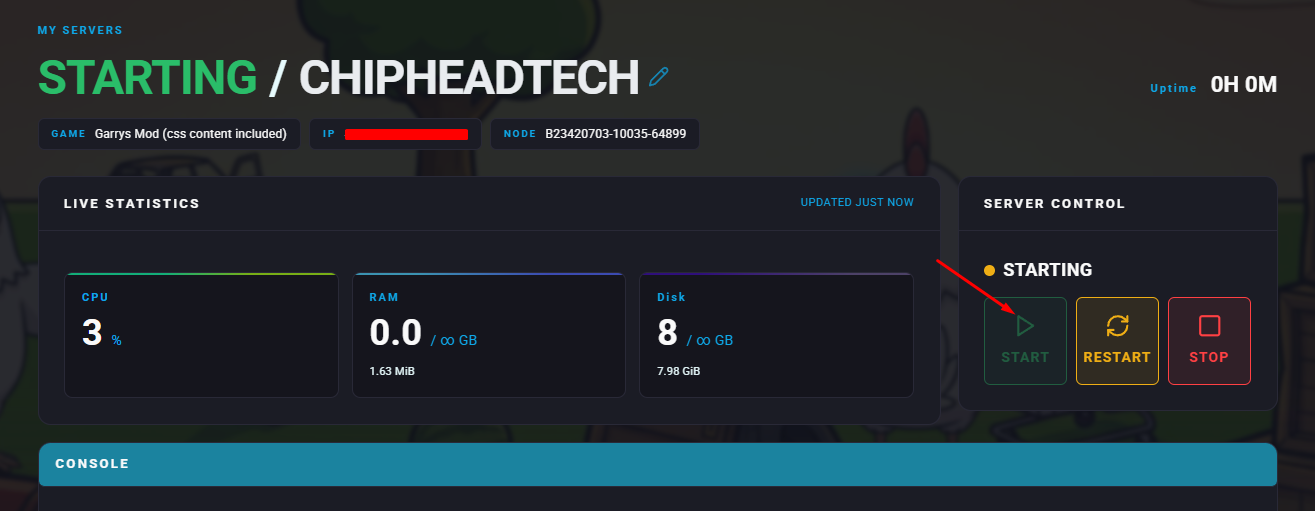
Start your server.
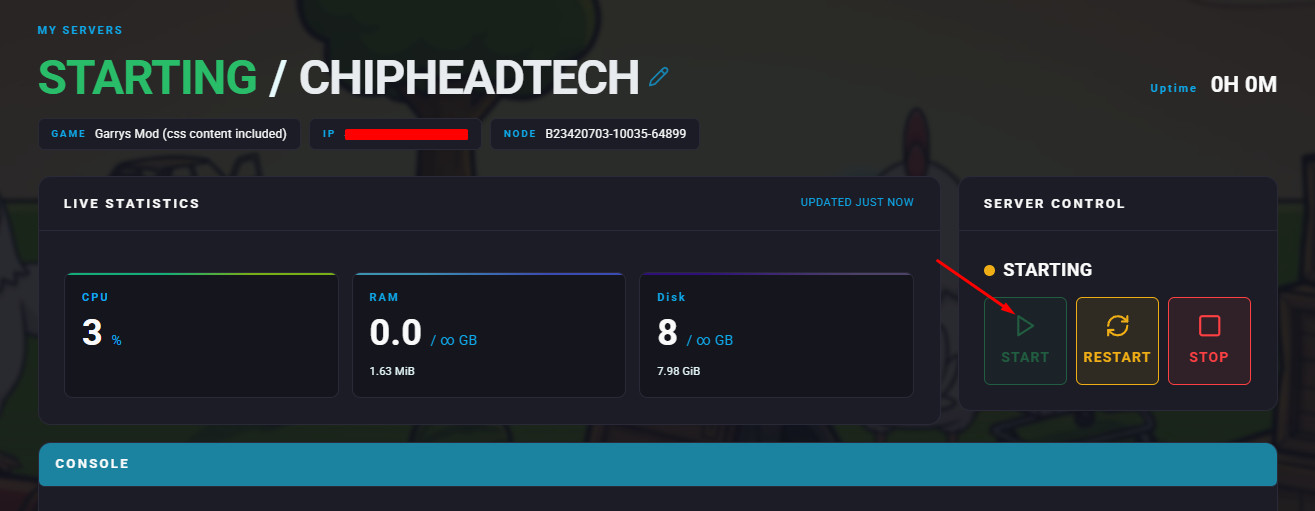
Once it’s running, continue to the Changing the Server’s Default Gamemode section below.
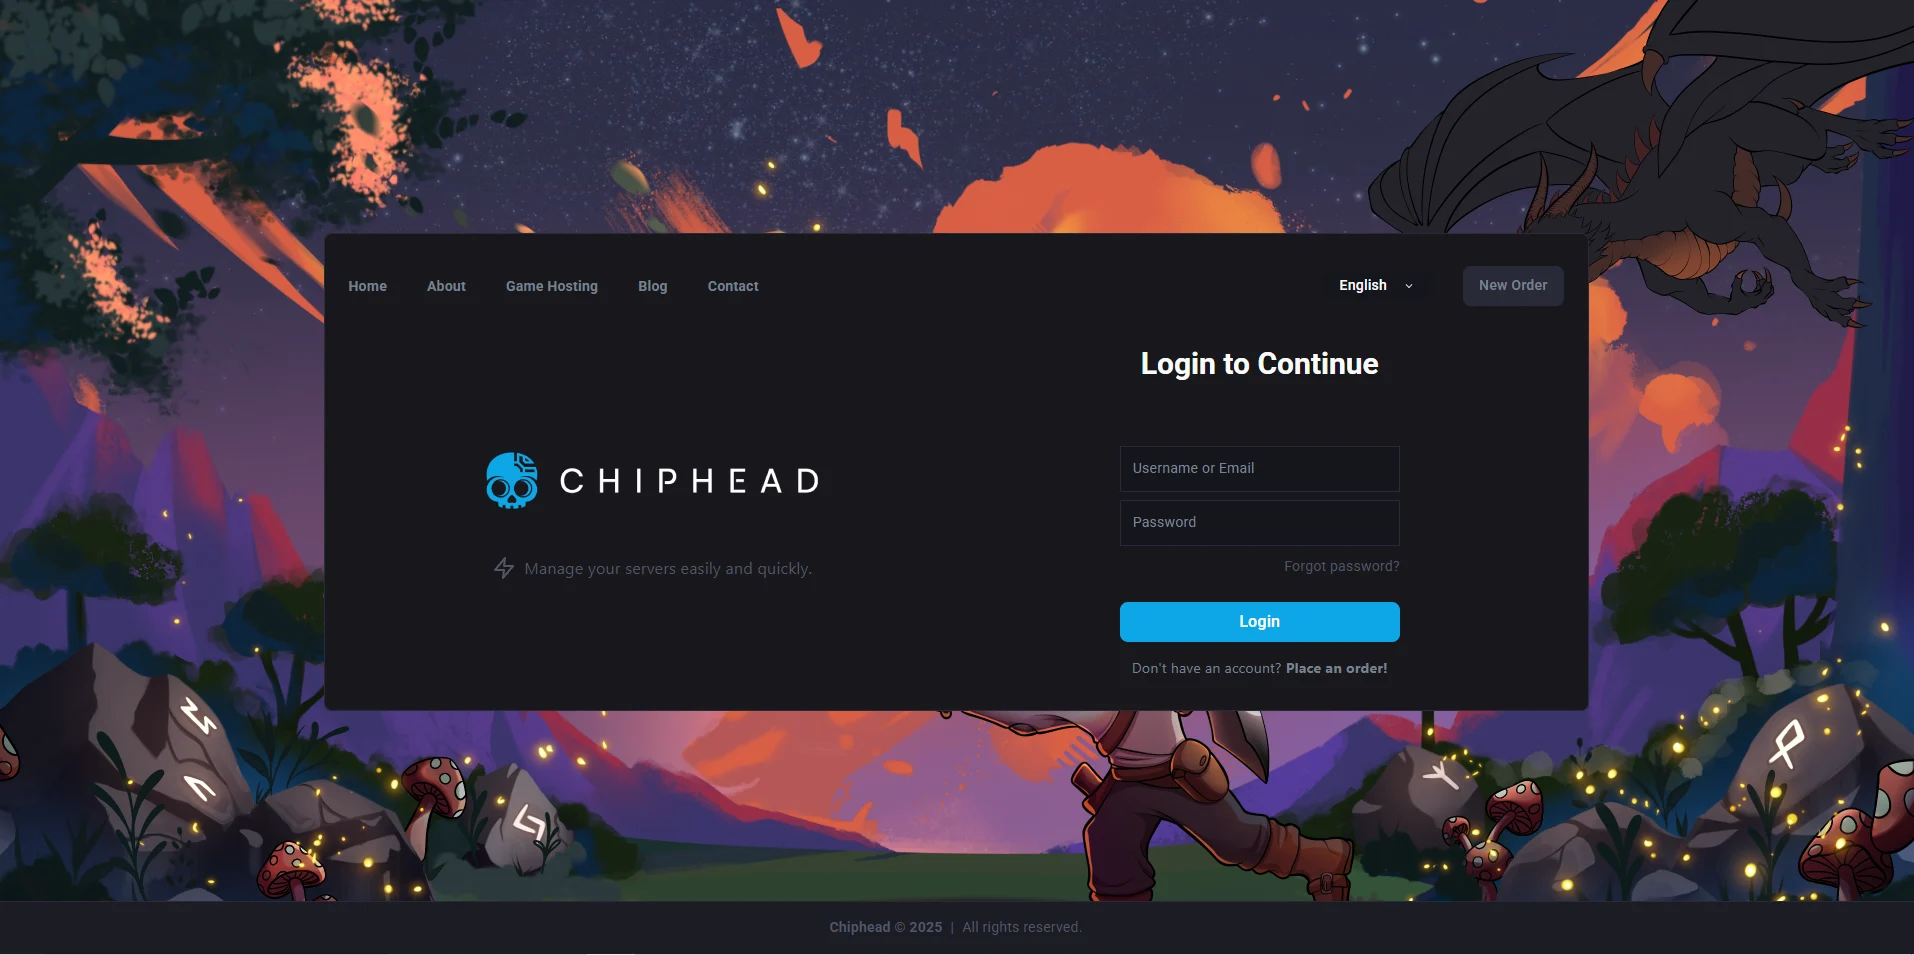
Log in to your ChipHead Panel.
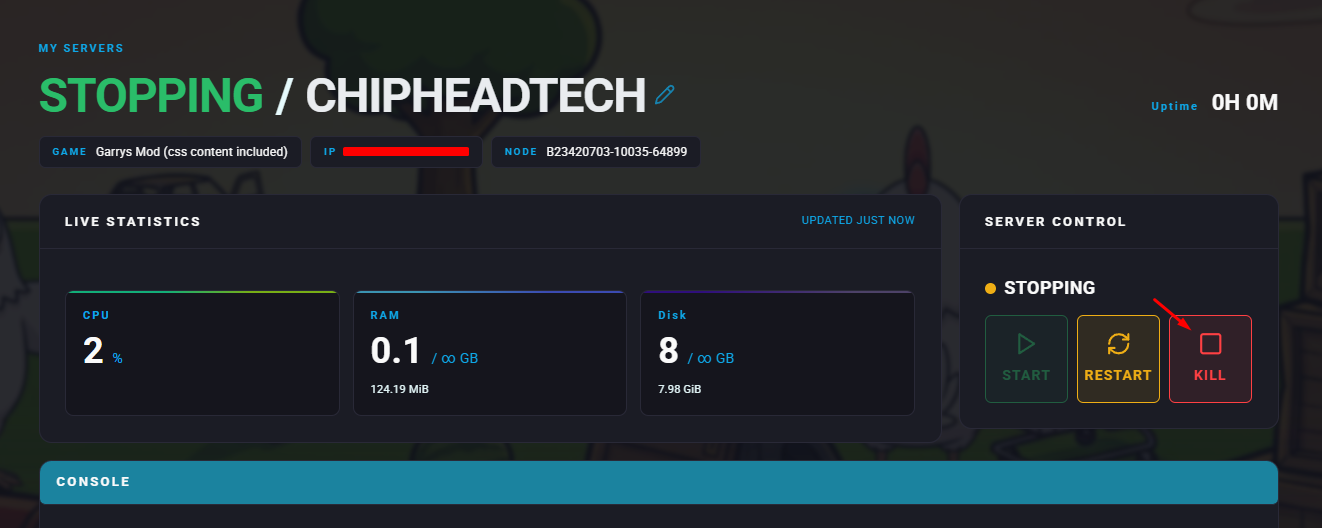
Stop your server.
Go to the Files tab & navigate to /garrysmod/gamemodes/
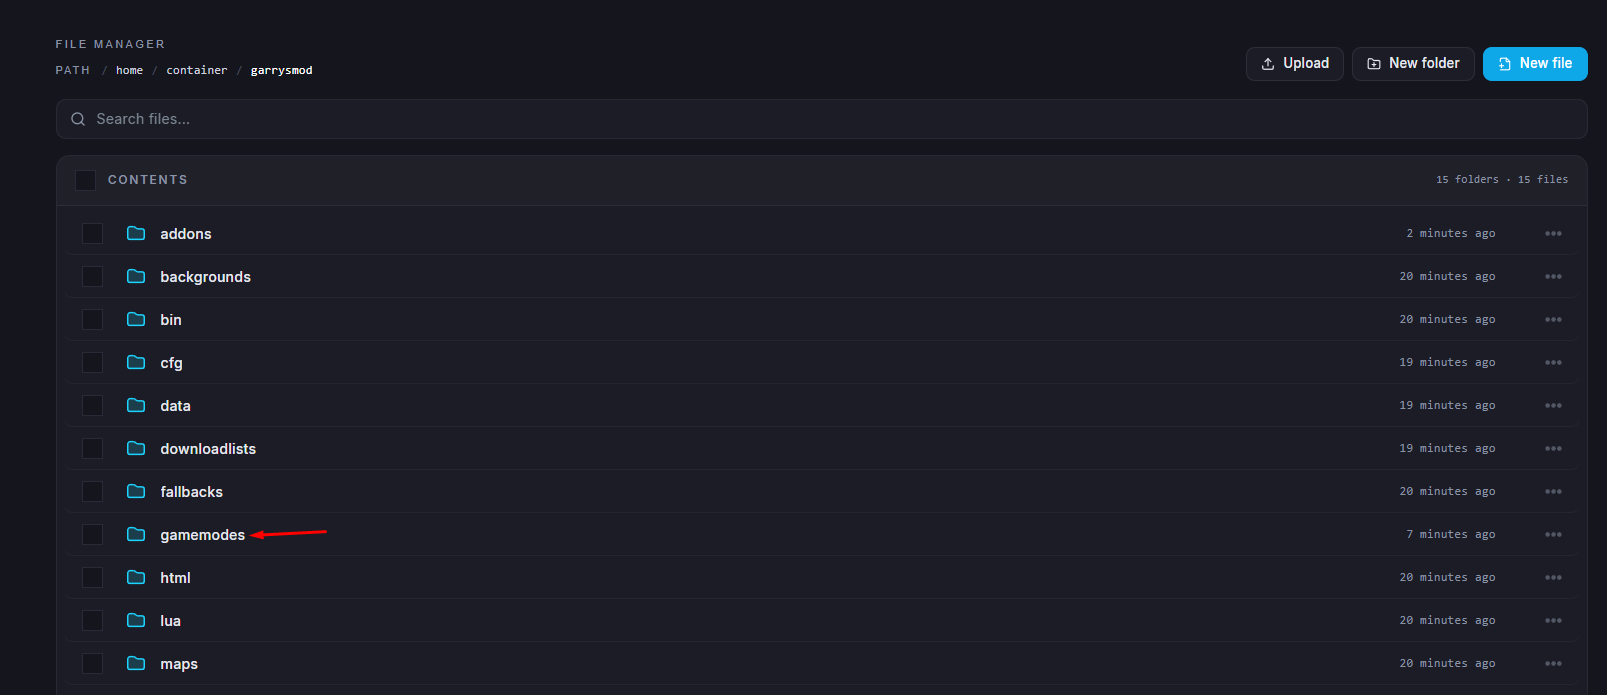
Click Create > Create Folder and name it after your chosen gamemode.
Upload the downloaded gamemode .zip file to the new folder.
Right-click the file and select Unarchive.
Start your server.
Log in to your ChipHead Panel.
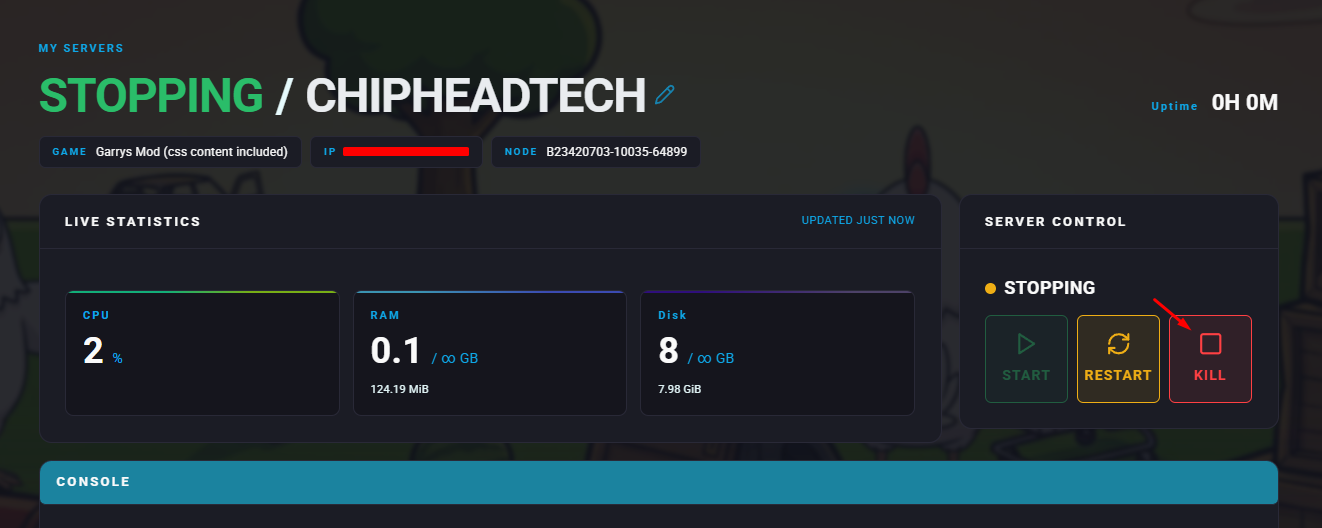
Stop your server.
Go to the Startup tab.
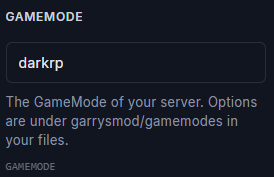
In the Gamemode field, enter the exact name of the gamemode you installed (for example: darkrp, murder, or sandbox).
Start your server again.