When you have the ULX Admin System installed on your Garry’s Mod server, you gain access to a powerful set of tools that allow you to manage players, groups, and permissions directly in-game. ULX makes it easy to give players the exact level of control you want - whether that’s simple moderation privileges or full administrative powers.

Follow these steps to assign admin permissions using the ChipHead Panel and console:
Launch Garry’s Mod and connect to your server.
Log in to your ChipHead Panel.
Go to the Console tab.
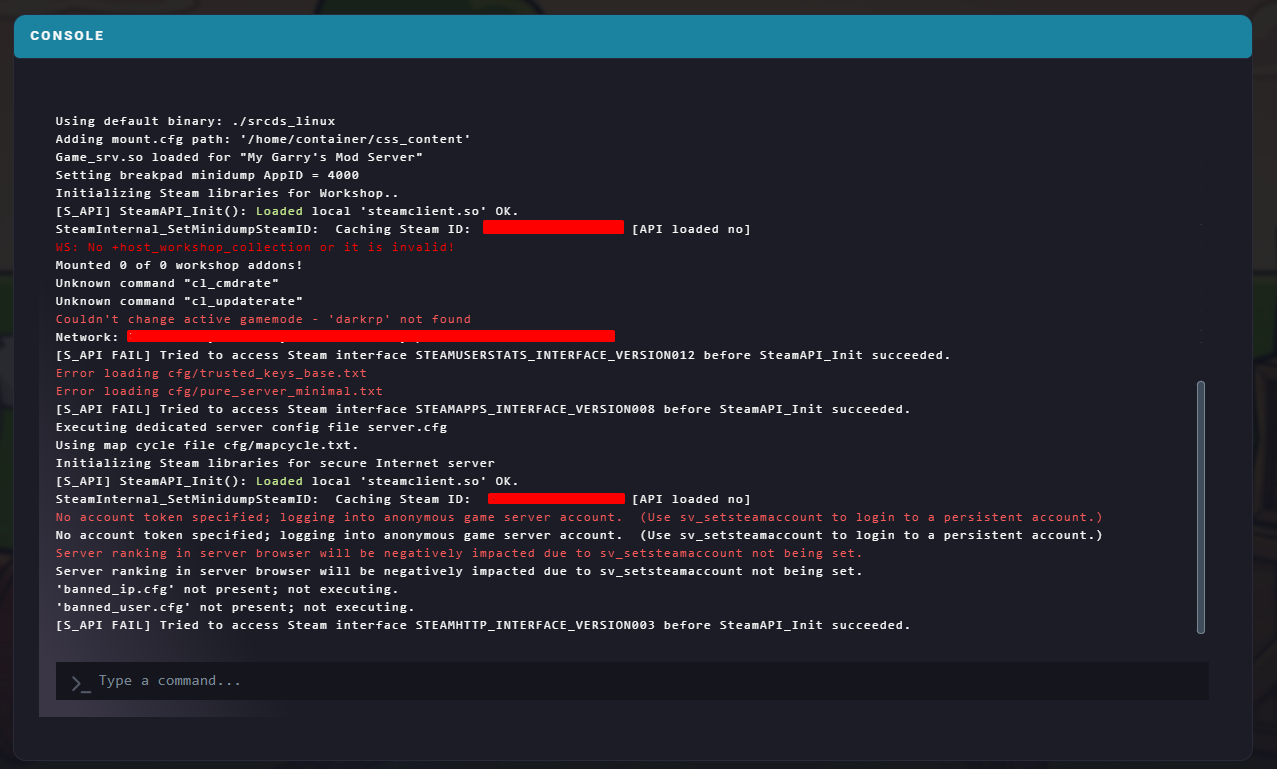
Enter the following command:
ulx adduser [Username] superadminReplace [Username] with your Steam username.
The console will confirm once the command has been successfully executed.
To further refine roles and permissions within ULX:
In-game, open the ULX menu by typing !menu in chat or by binding a key to it.
Go to the Groups tab.
Open the dropdown menu and select Manage Groups.
Use the chart below as a guide for managing and creating new groups:
Setting | Description |
Name | The group’s name (use lowercase letters and underscores |
Inherits From | Copies permissions from another group to save time when creating new roles. |
Can Target | Defines which groups this role can target. For example, a |
To edit specific permissions, select the group from the dropdown menu.
Click Manage Permissions and check or uncheck features to enable or restrict access.