Joining your Project Zomboid server is quick and easy - whether you prefer to connect directly in-game or through your Steam favourites. Follow the steps below to get started and jump straight into survival.

Log in to your ChipHead Panel.
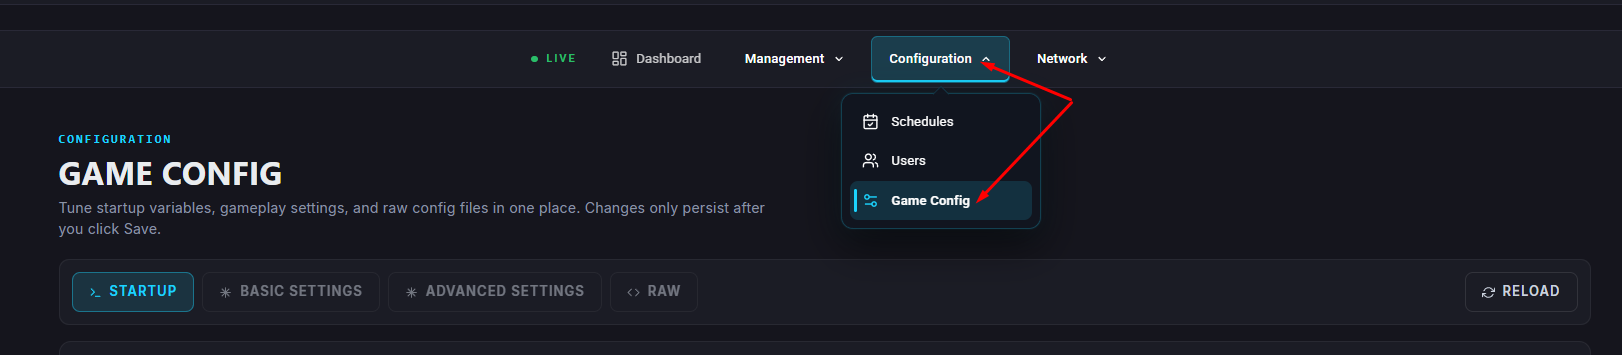
Navigate to Startup.
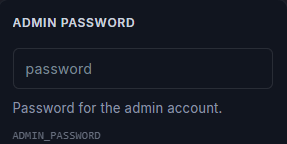
Enter a chosen Admin Password under the Admin Password field.

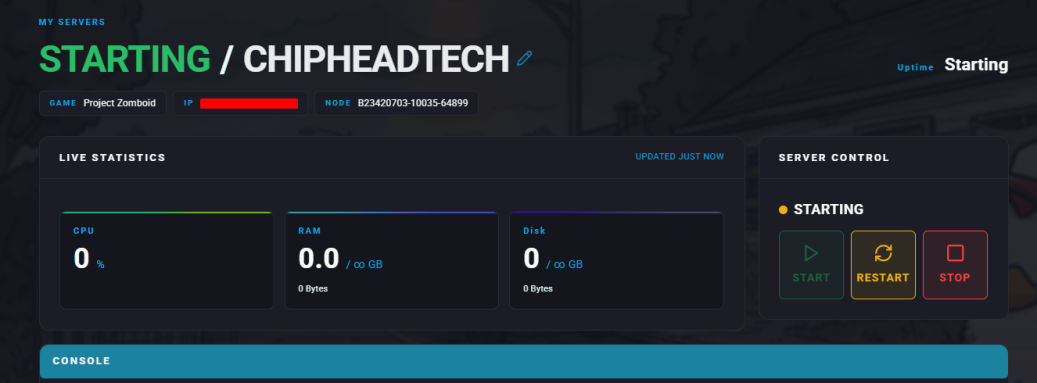
Start your server for the first time.
The simplest way to connect to your server is by adding it to your in-game favourites list:
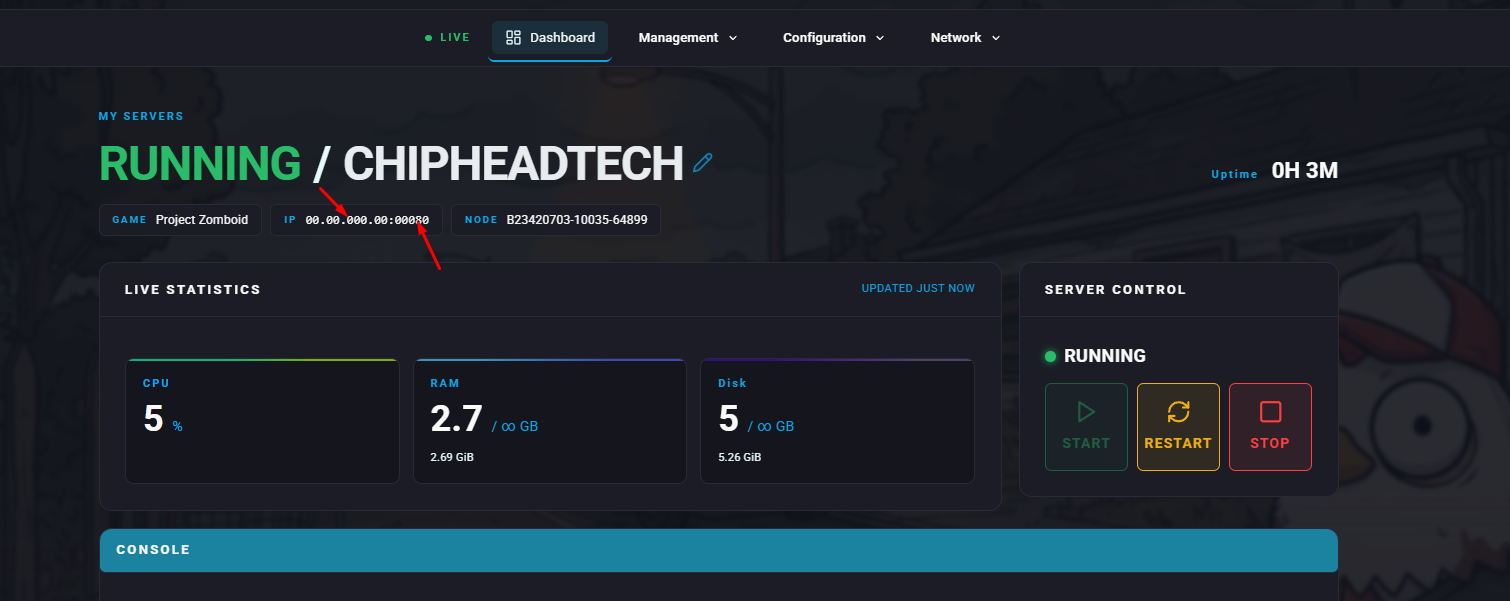
Log in to your ChipHead Panel.

Copy your Server IP Address from your Dashboard.
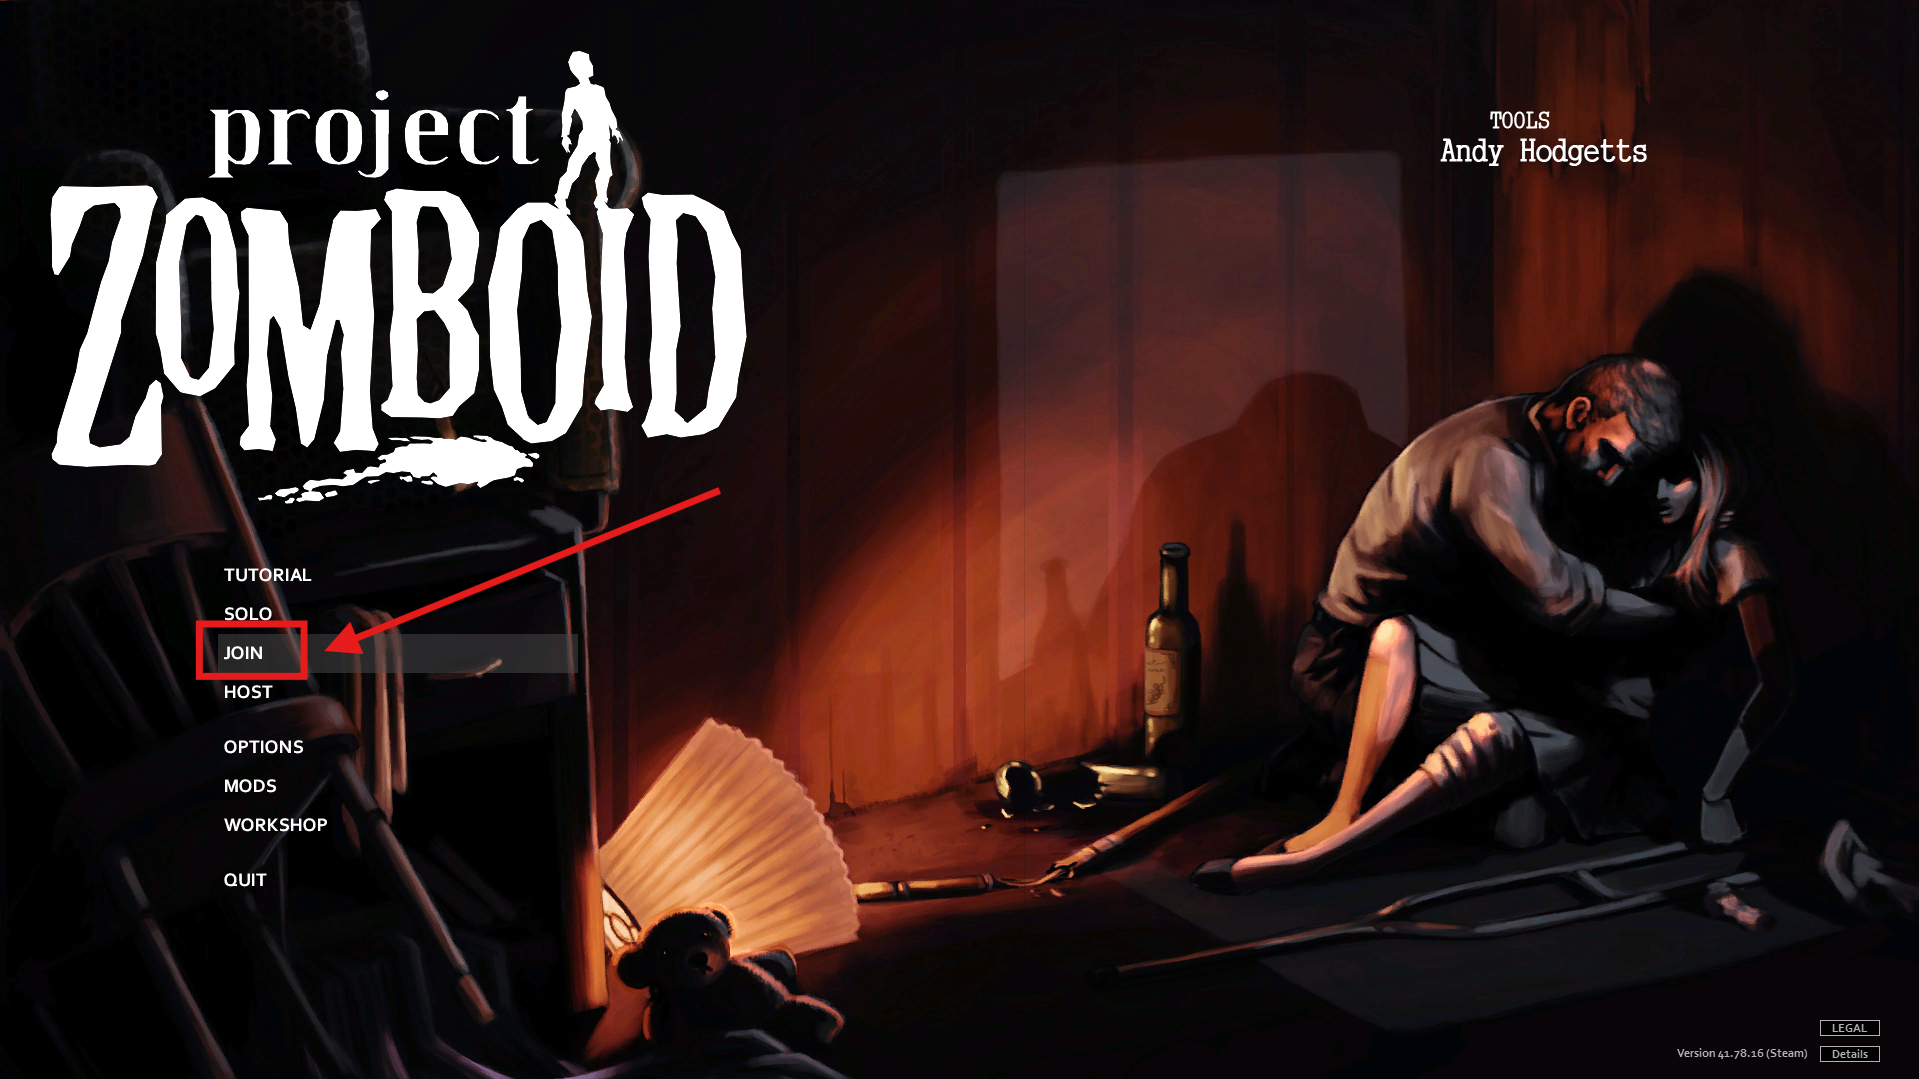
Launch Project Zomboid and click Join.
On the right side of the screen, enter the following details:
IP: Paste your copied server IP.
Port: Enter your server’s port number.
Account Username: Choose your in-game username.
Account Password: Enter your chosen password.
Enter a Favourite Name for your server so you can easily find it later.
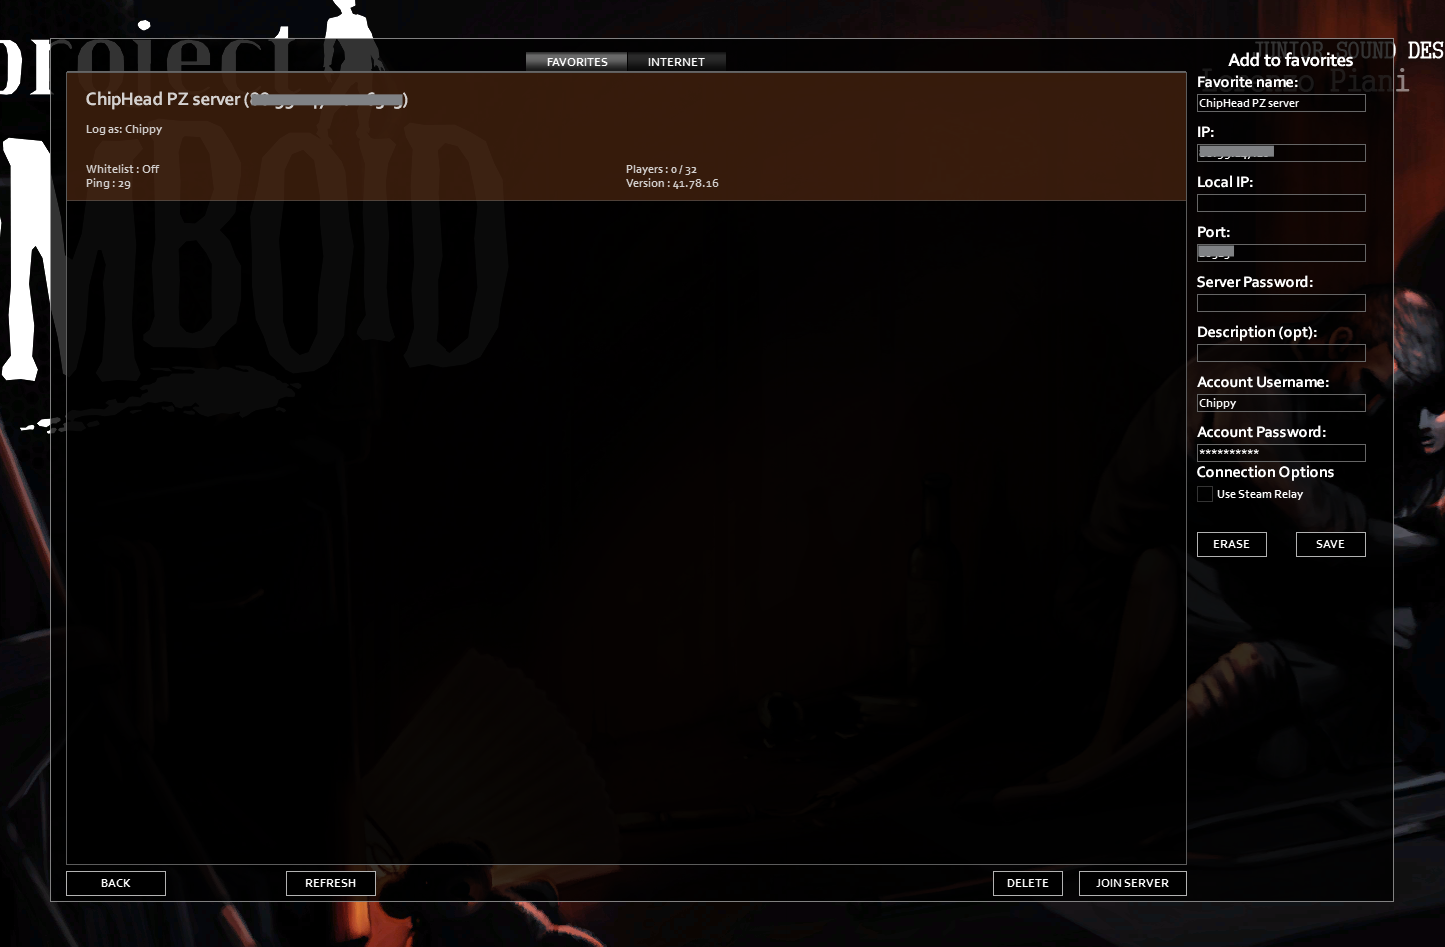
Click Save and Refresh.
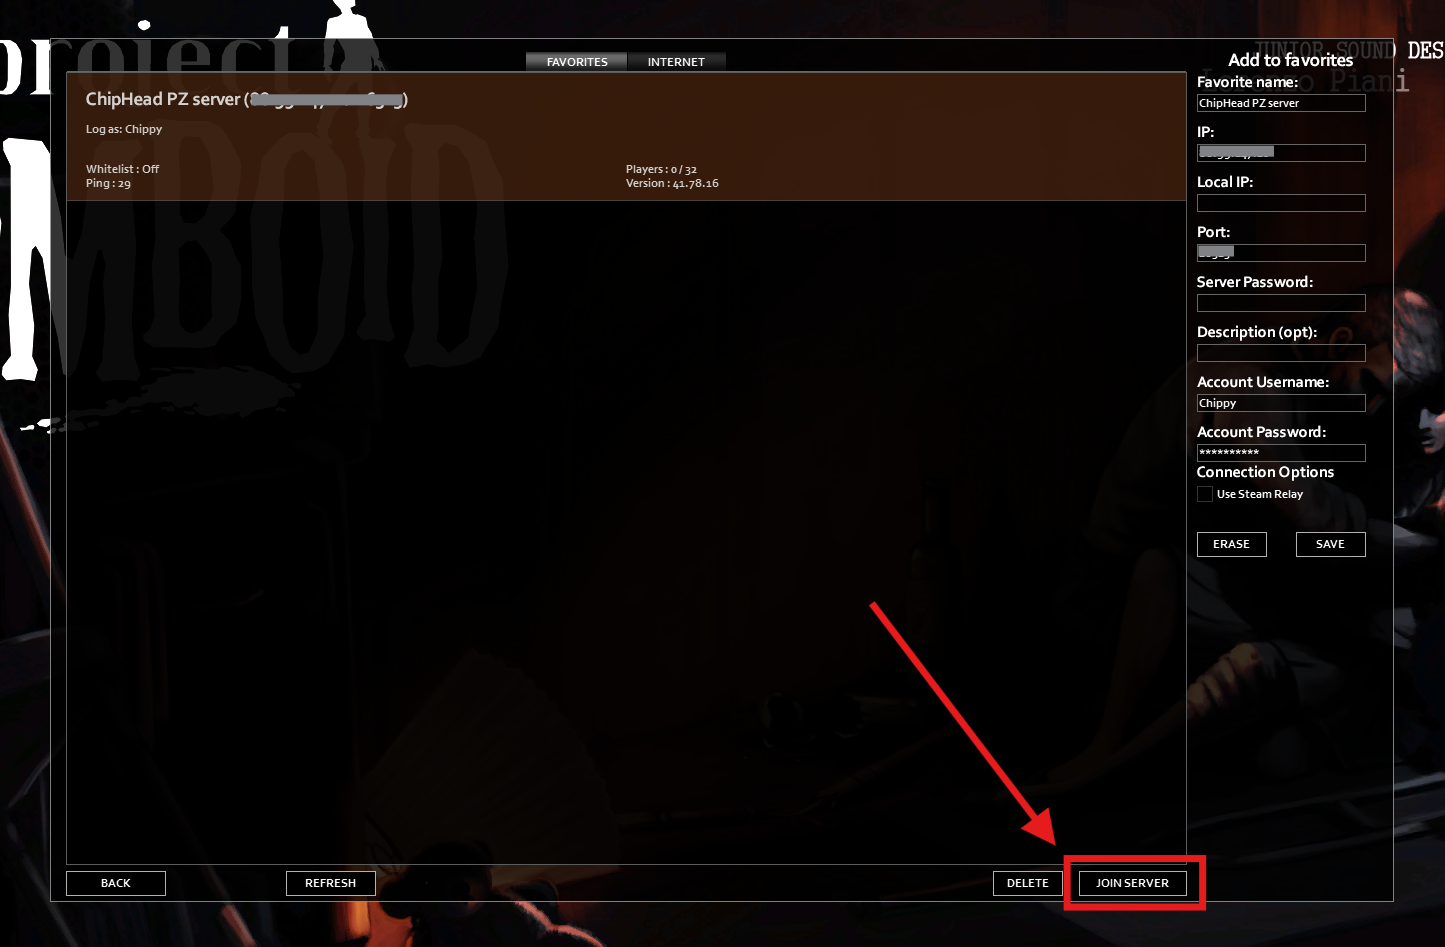
Select your server and click Join to start playing.
You can also connect through your Steam client using the built-in server browser:
Log in to your ChipHead Panel and copy your Server Address.
In Steam, click View > Game Servers from the top menu.
Open the Favourites tab and click Add a Server.
Paste your server’s IP address into the popup box and click OK.
Select your server from the list and click Connect.