Granting Admin access on your Project Zomboid server allows players to use special commands like banning, muting, or kicking users - as well as managing various in-game settings. It’s an essential part of moderating and maintaining a healthy server environment.
For a full list of available admin commands, check the official Project Zomboid Wiki.
Before assigning roles to others, you’ll need to log in using the admin account to gain full permissions:
Log in to your ChipHead Panel.
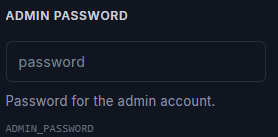
Navigate to Startup.

Locate and copy your Admin Password.
Save your server to your favourites in Project Zomboid with the following details:
Account Name: admin
Account Password: the copied admin password
Join your server - you’ll now have full admin rights in-game.
Project Zomboid includes multiple admin levels, each with its own permissions and available commands:
Level | Description |
admin | Full access to all commands and settings. |
moderator | Basic moderation tools like kick, mute, and warn. |
overseer | Broader permissions for managing gameplay and server events. |
gm | Game Master - limited creative and admin tools. |
observer | Read-only access; can spectate but not affect gameplay. |
To assign admin rights to another player:
Open the Console tab in your ChipHead Panel.
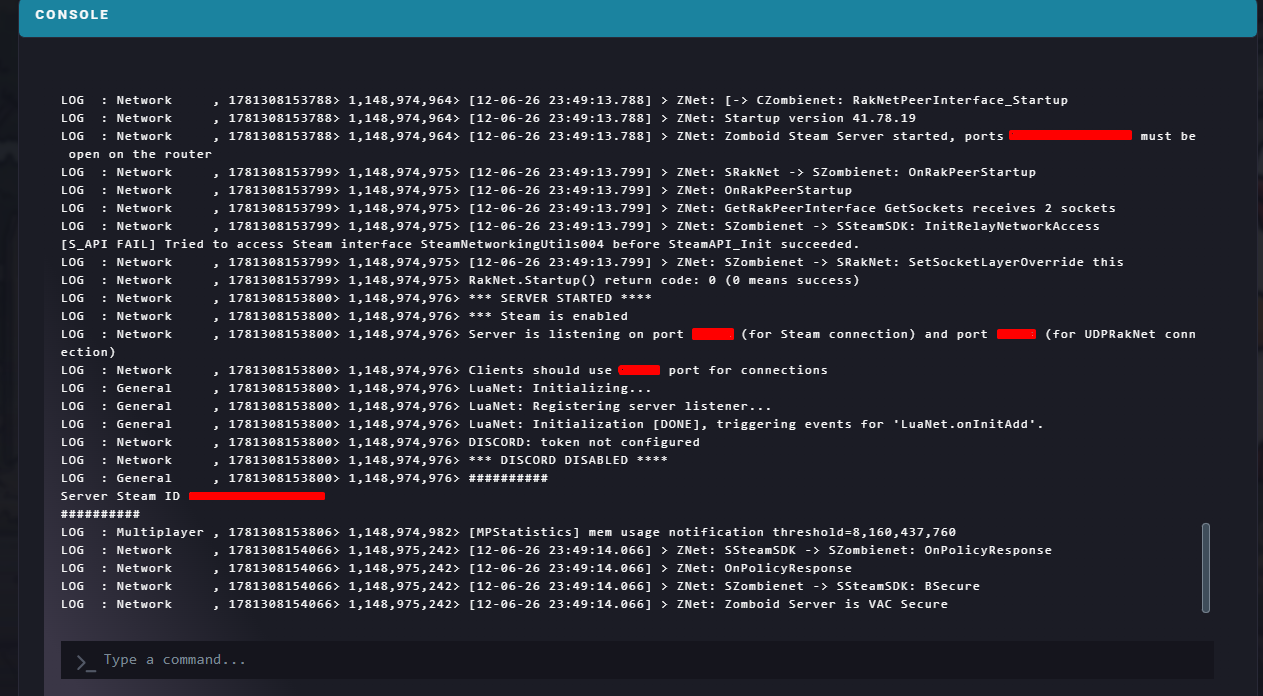
Enter the following command:
SetAccessLevel <username> <level>Replace <username> with the player’s in-game name and <level> with the desired rank (e.g. admin, moderator, etc.).
To remove access, set the level to none.
Press Enter to execute the command.
You’ll receive a confirmation message in the console once the permission level has been applied.