DayZ servers can be customized in many ways, from administrative options to gameplay adjustments. At the end of this guide, you’ll find a list of the most commonly used settings and their default values.
You can modify your server settings through the serverDZ.cfg file in your control panel.
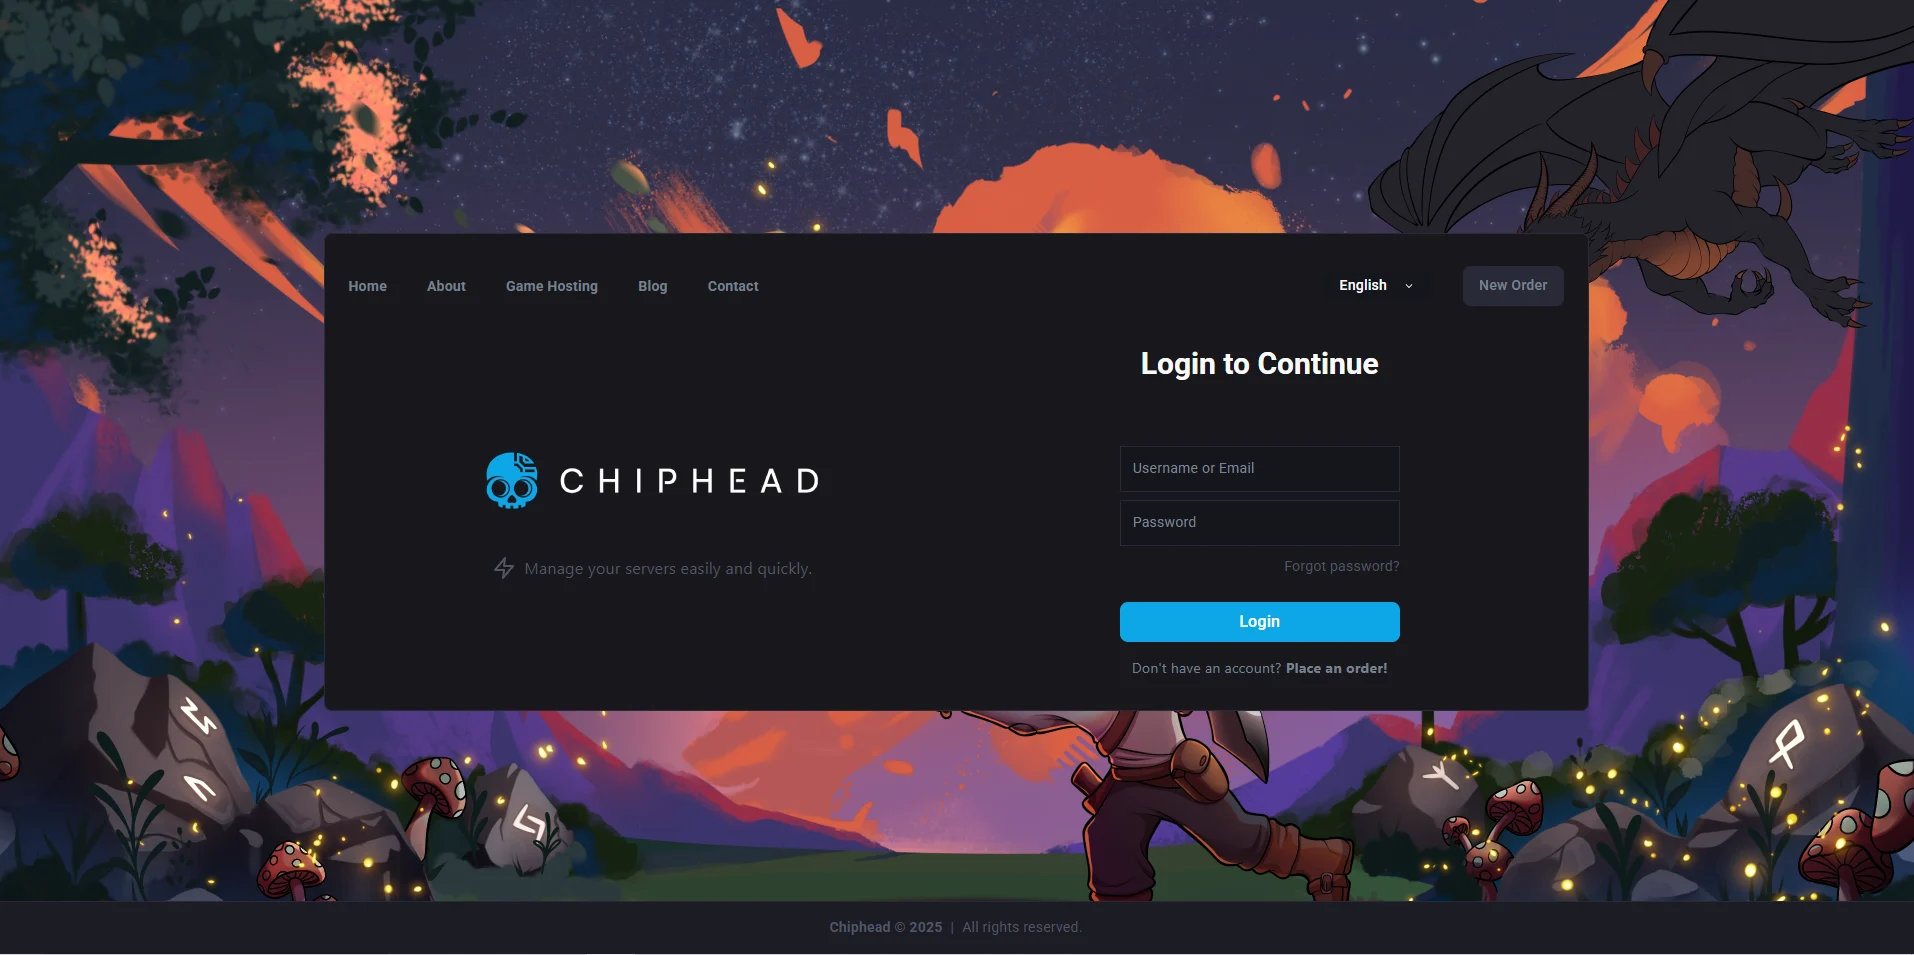
Log in to the ChipHead Control Panel.
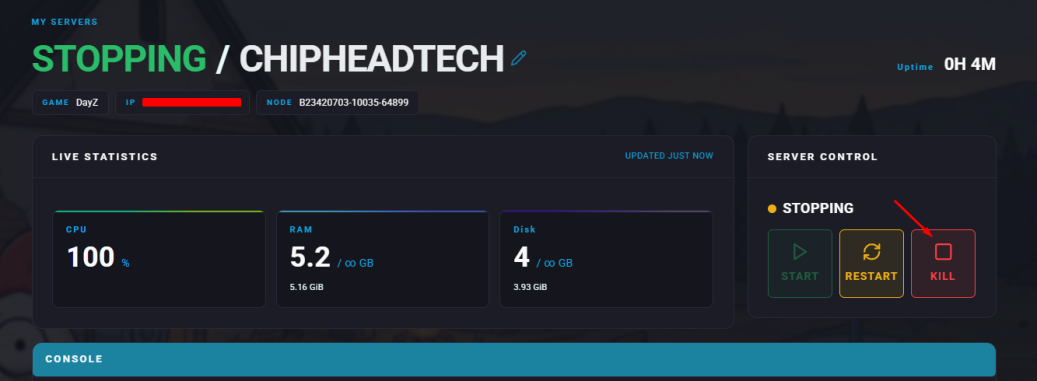
Stop your server.
Go to the Files tab & Navigate and open the serverDZ.cfg file.

Edit the settings as desired to match your preferred configuration.
Save the file

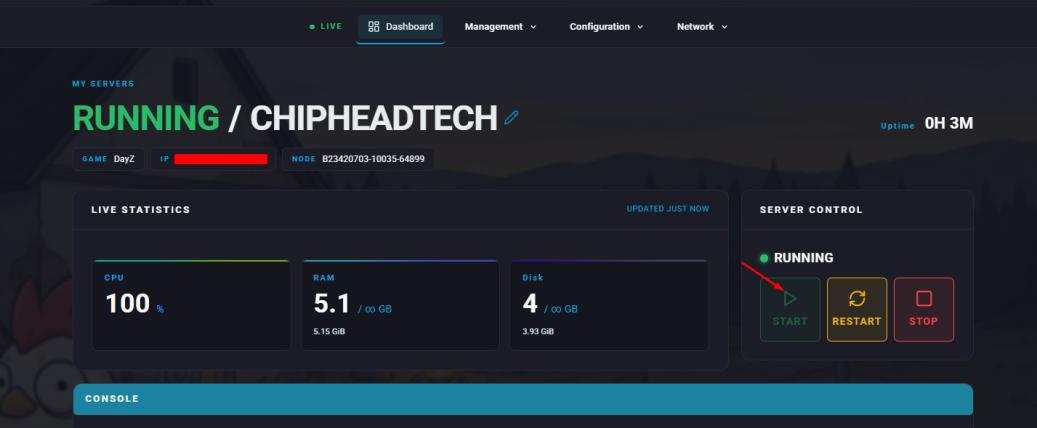
Start your server.
The table below provides an overview of common DayZ server settings, including administrative options, time settings, and communication controls.
hostname | Sets the server name displayed publicly. | N/A |
password | Sets the password required to join the server. | N/A |
passwordAdmin | Sets the password used to gain admin access. | N/A |
enableWhitelist | Enables or disables the whitelist feature. | 0 (Disabled) |
disableVoN | Enables or disables Voice over Network. | 0 (Disabled) |
vonCodecQuality | Sets the audio quality for Voice over Network. | 20 |
serverTimeAcceleration | Determines how fast in-game time passes. | 12 |
serverNightTimeAcceleration | Determines how quickly night passes. Multiplied by the serverTimeAcceleration value. | 1 |