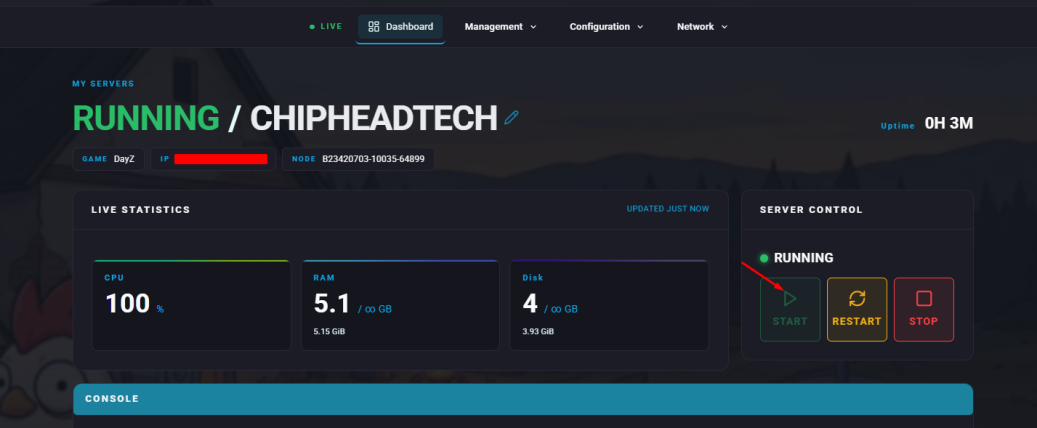
DayZ offers a huge selection of community-made mods that can enhance gameplay, add new features, or completely change how the game feels. Installing these mods on your server is straightforward and allows you to create a customized DayZ experience.
You can install mods by copying them from your DayZ client and uploading them to your server.
Launch DayZ and open the MODS tab.
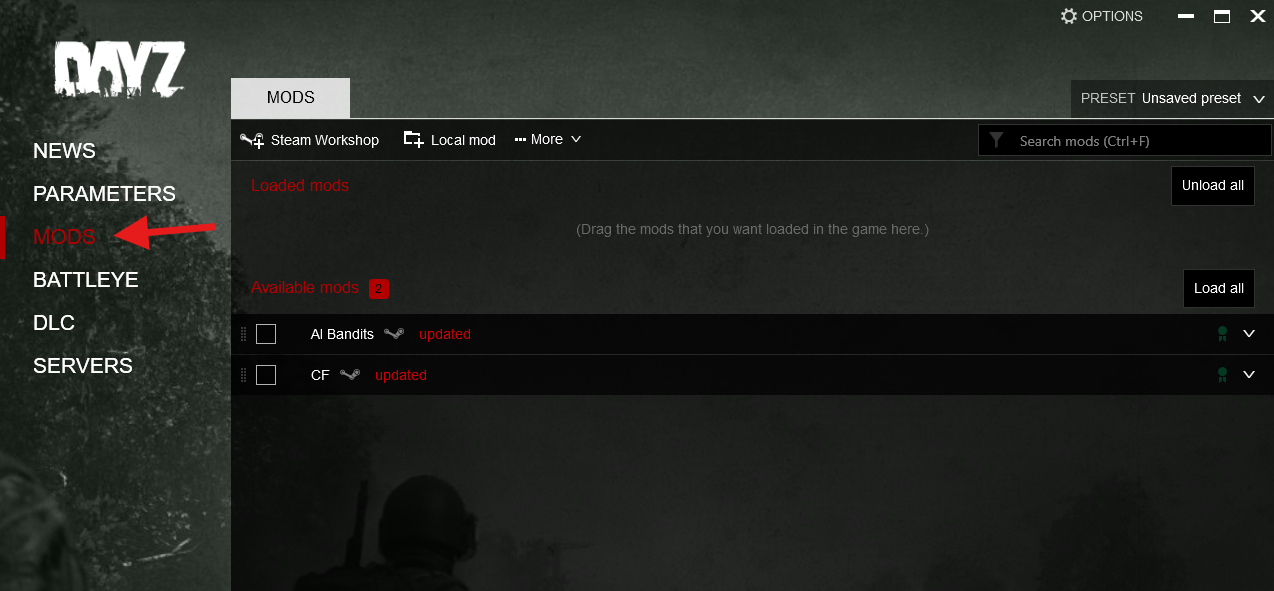
You can open Steam Workshop & “Subscribe” to a mod or upload a Local Mod
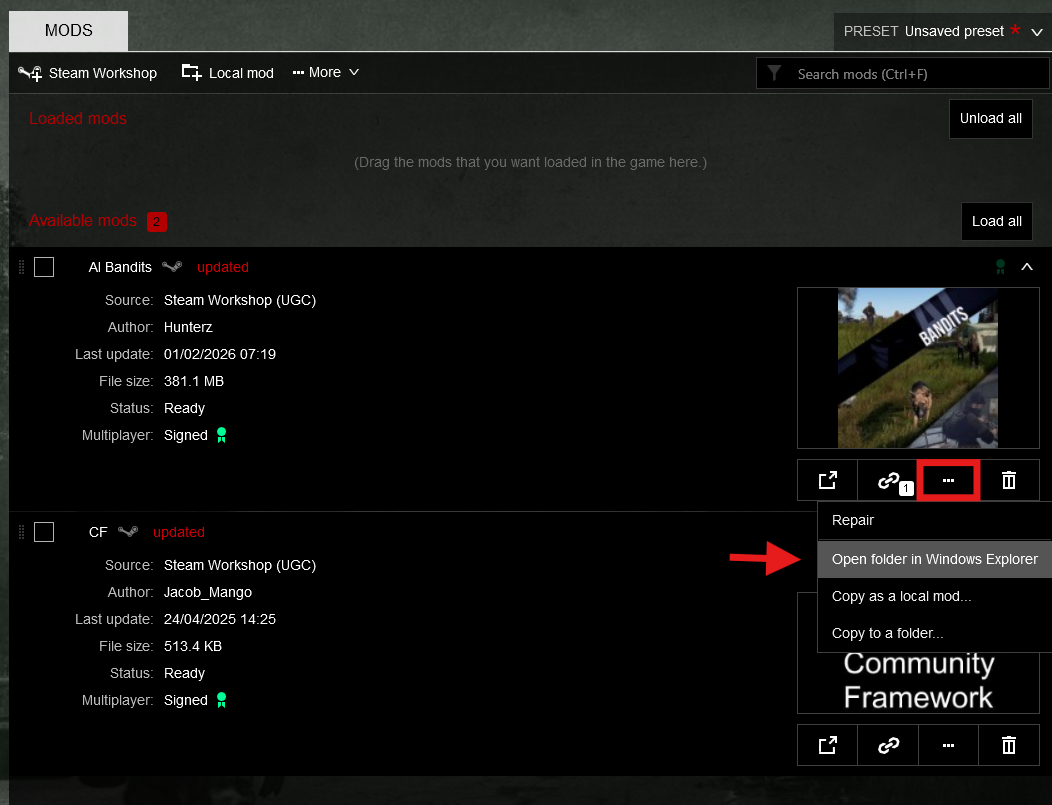
Click on the highlighted Menu and select “Open folder in Windows Explorer”

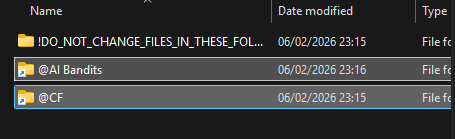
Once finished Zip your created folder:

Log in to the ChipHead Control Panel.
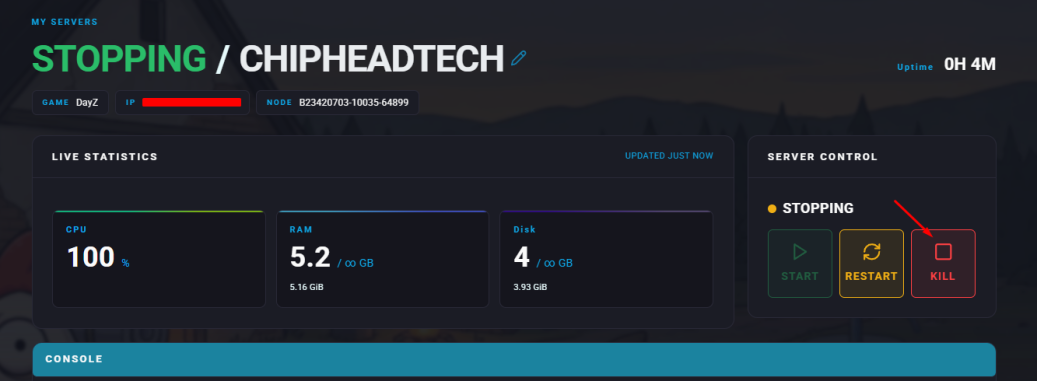
Stop your server.
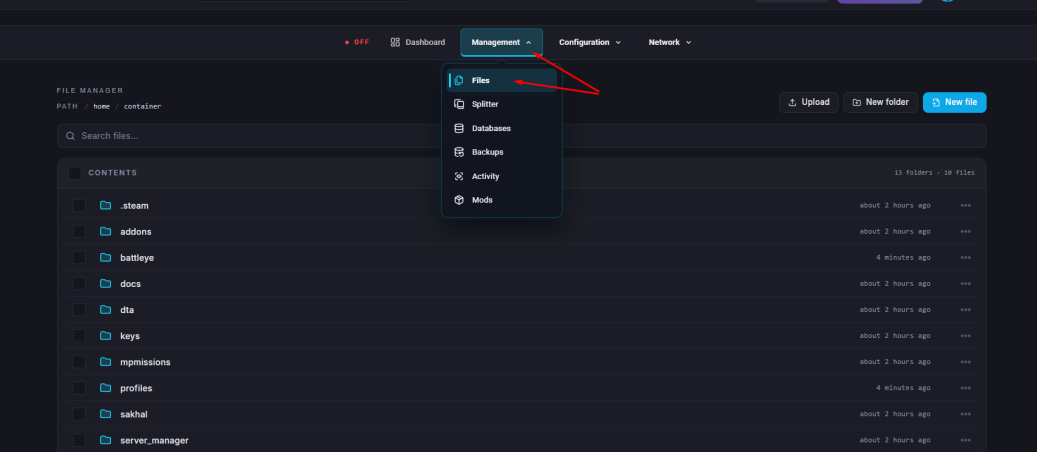
Go to the Files tab.
Upload your Zipped file using either the “Panel UI” or “FileZilla” method

Select your Uploaded folder and “Unarchive” it
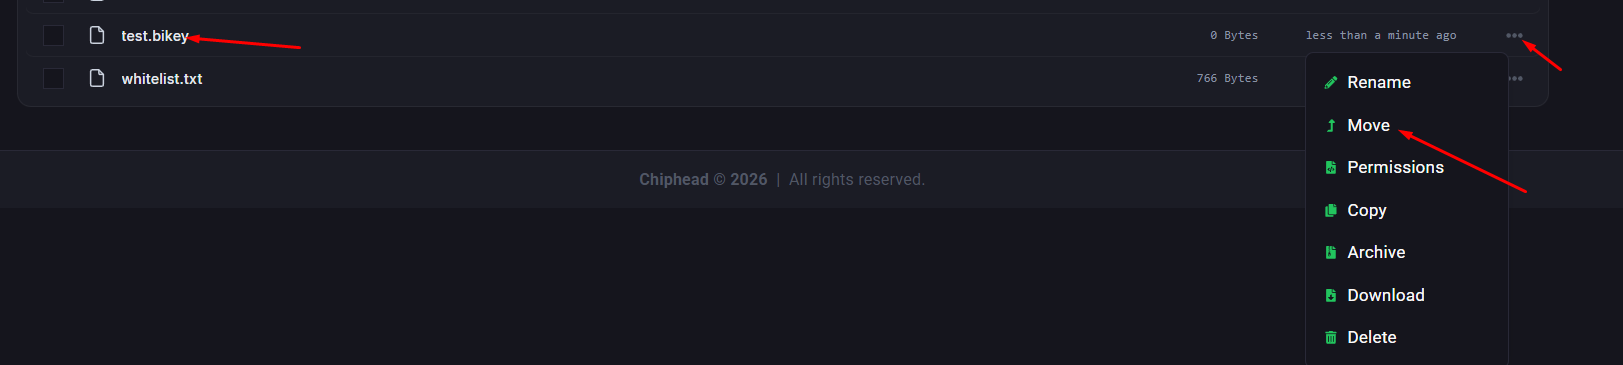
For each mod, open its folder and locate the Keys folder
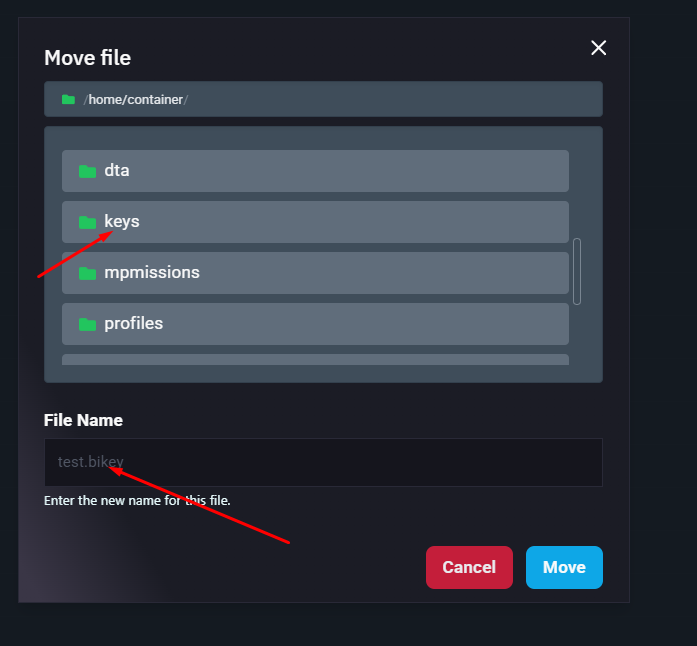
Move the .bikey file found inside to the keys folder in your server’s root directory
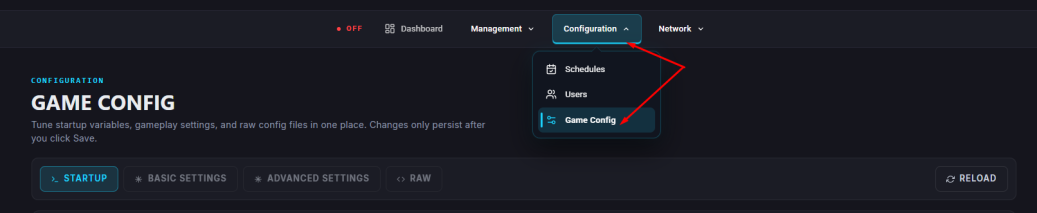
Navigate to “Startup”
Find the “Additional Mods” Field
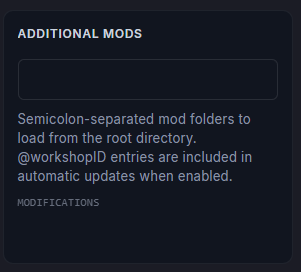
Separate each mod in the list using a semicolon ;.

Start your server.