
Summary
Adding an administrator to your Arma 3 server gives that player permission to perform administrative actions, manage server settings, and execute all available commands.
This is especially useful for server owners who want to modify missions during gameplay or moderate and remove disruptive players.
Adding an Admin
You can assign an admin by configuring the appropriate property in the Arma 3 Server Config file found in your ChipHead Control Panel.
Log in to your ChipHead Control Panel and stop your server.
Navigate to Game Config.
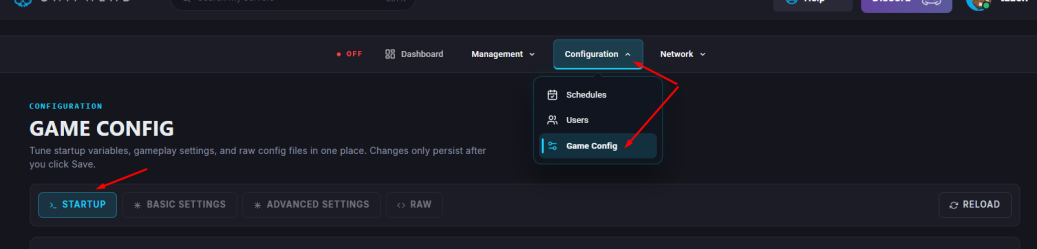
Scroll to the bottom of the Server Config file, add the following line:
admins[]={};Enter the player’s SteamID64 inside the brackets. The format should look like this:
admins[]={123456789};Click Save.

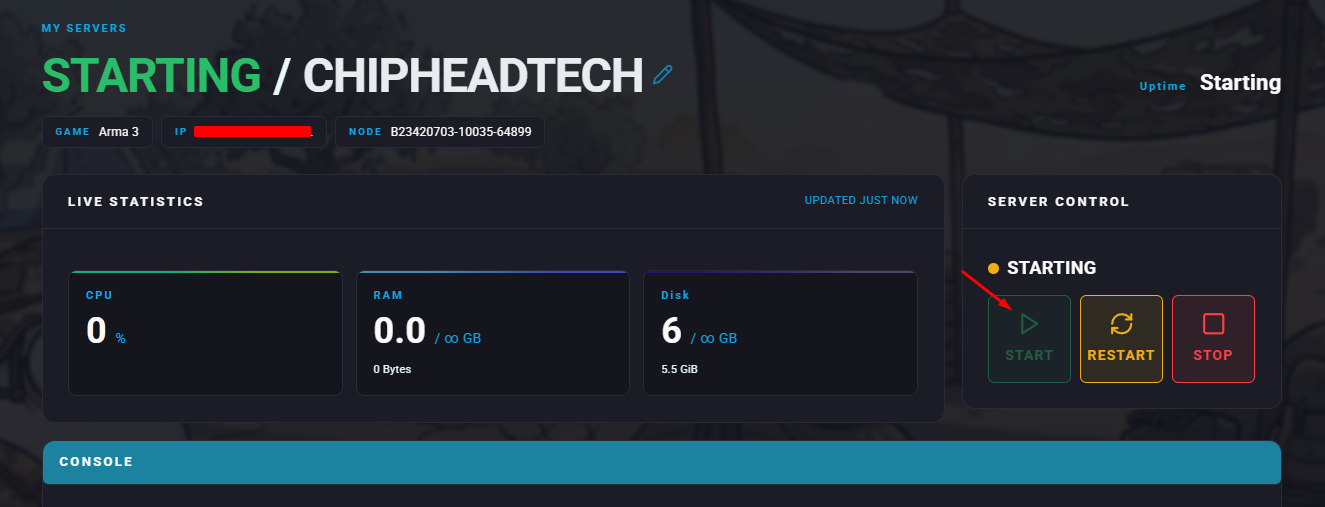
Start/restart your server.

The player you added will now have full administrative access to your Arma 3 server.