Arma 3 servers include a built-in voting system that lets players decide on in-game events or changes dynamically. As the server owner, you can configure which commands are available and how voting behaves by editing the server.cfg file.
Arma 3’s voting system follows a specific syntax for configuration. Below is the general format:
allowedVoteCmds[] = {{<commandName>, <preMissionStart>, <postMissionStart>, <votingThreshold>}, ...};Parameter | Description |
| The name of the command (e.g., |
| Set to true to allow the command before a mission starts (default: true) |
| Set to true to allow the command after a mission starts (default: true) |
| Defines the vote threshold (0–1). Default: |
| Sets the percentage of side votes required (0–1). Default: |

You can control which voting commands are available to players by editing your Arma 3 Server Config file through the ChipHead Control Panel.
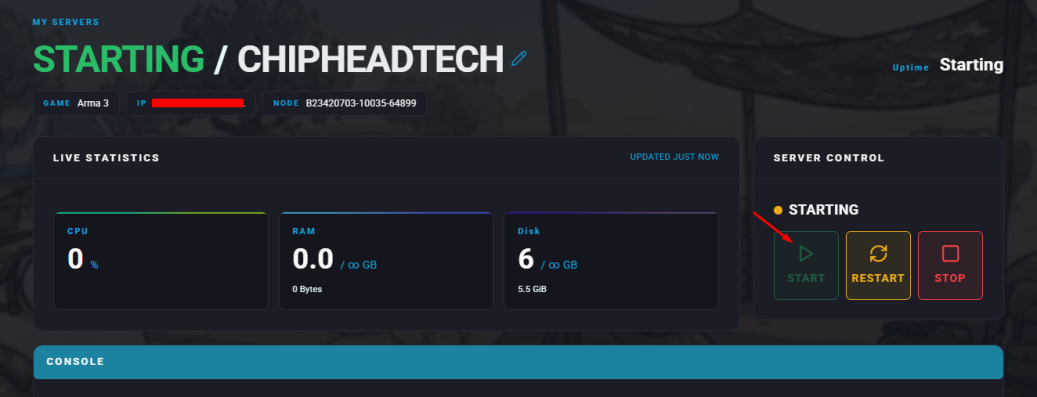
Log in to your ChipHead Control Panel and stop your server.

Navigate to Game Config.
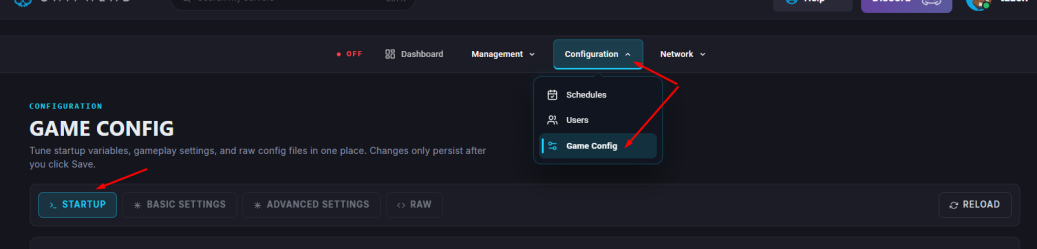
Within the RAW file locate the section labeled //VOTING configuration.
If it doesn’t exist, add it manually using the syntax above.
Configure the allowed vote commands and thresholds to your preference.
Click Save.

Start your server.
You can also define which commands “voted-in” admins are allowed to use.
Access your ChipHead Control Panel and stop your server.

Navigate to Game Config.

Within the RAW file scroll to the bottom and paste the following example:
allowedVotedAdminCmds[] =
{
    { "mission", true, true },
    { "missions", true, true },
    { "restart", true, true },
    { "reassign", true, true },
    { "kick", true, true }
};
Adjust the commands and permissions as needed.
Click Save.

Start your server.