Arma 3 missions offer unique scenarios and campaigns that keep your server’s gameplay fresh and engaging. If you want to run a single mission consistently—such as a persistent campaign—you can easily configure your server to always load that mission.
Before setting this up, you’ll first need to locate your mission files and upload them to your server.
After downloading or creating custom missions, their .pbo files can be found in your MPMissionsCache folder.
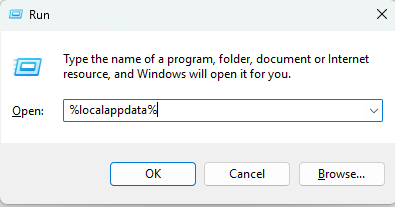
Press Win + R on your keyboard to open a Run window.
Type %localappdata% and press OK.
In the directory that opens, navigate to /Arma 3/MPMissionsCache/.
Locate your desired mission’s .pbo file.
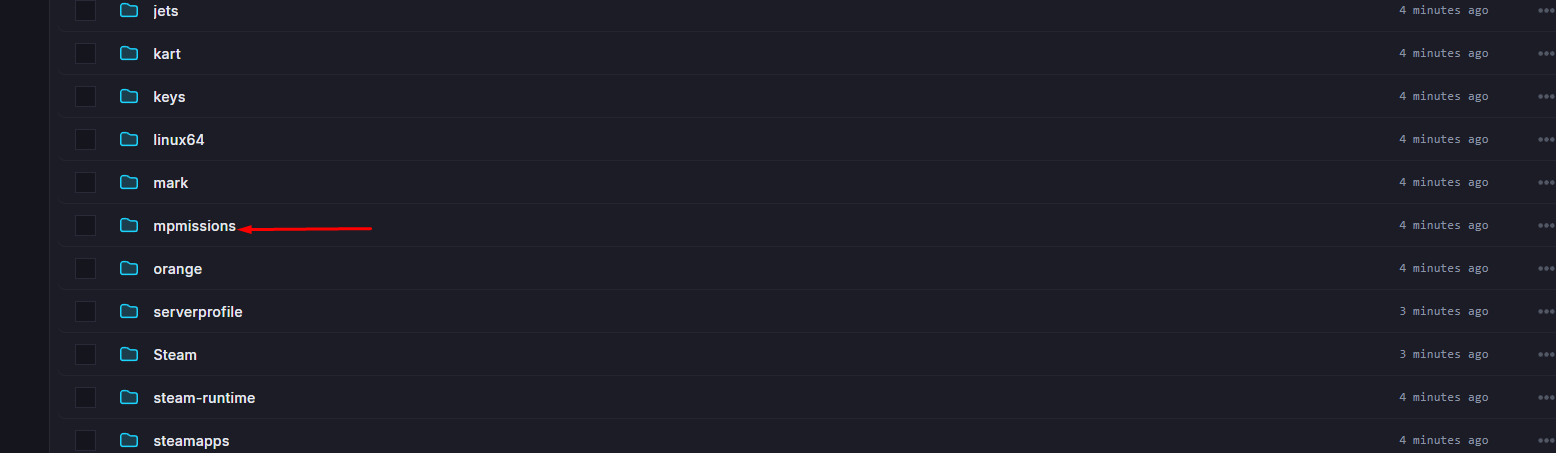
Once you’ve found your mission file, upload it to your server’s mpmissions directory.
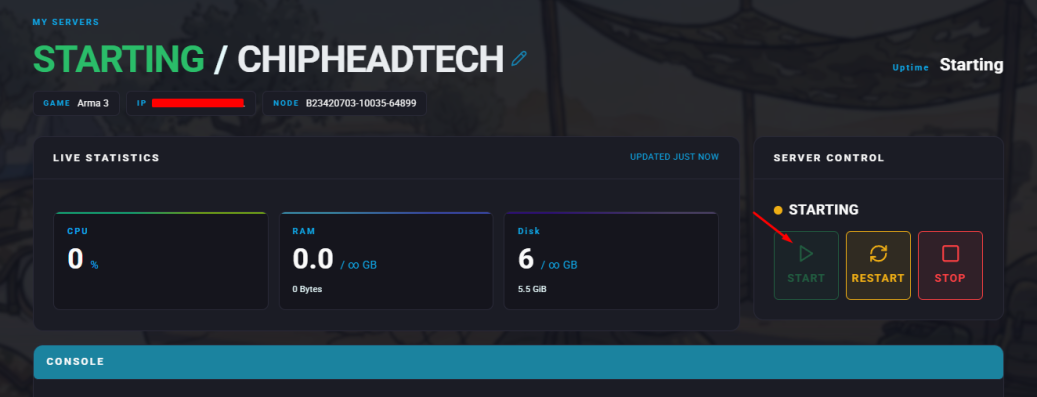
Log in to your ChipHead Panel and stop your server.
Navigate to Files.
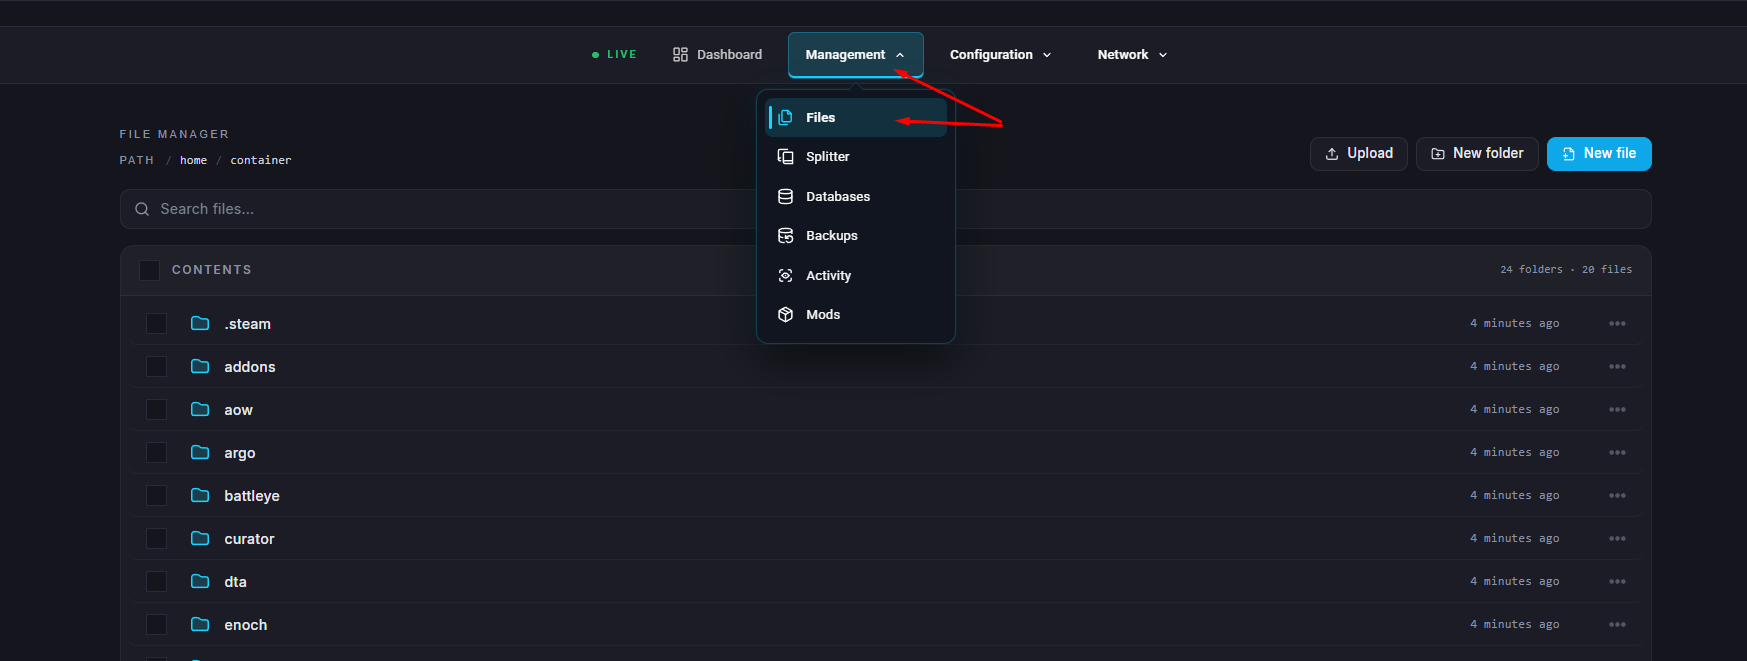
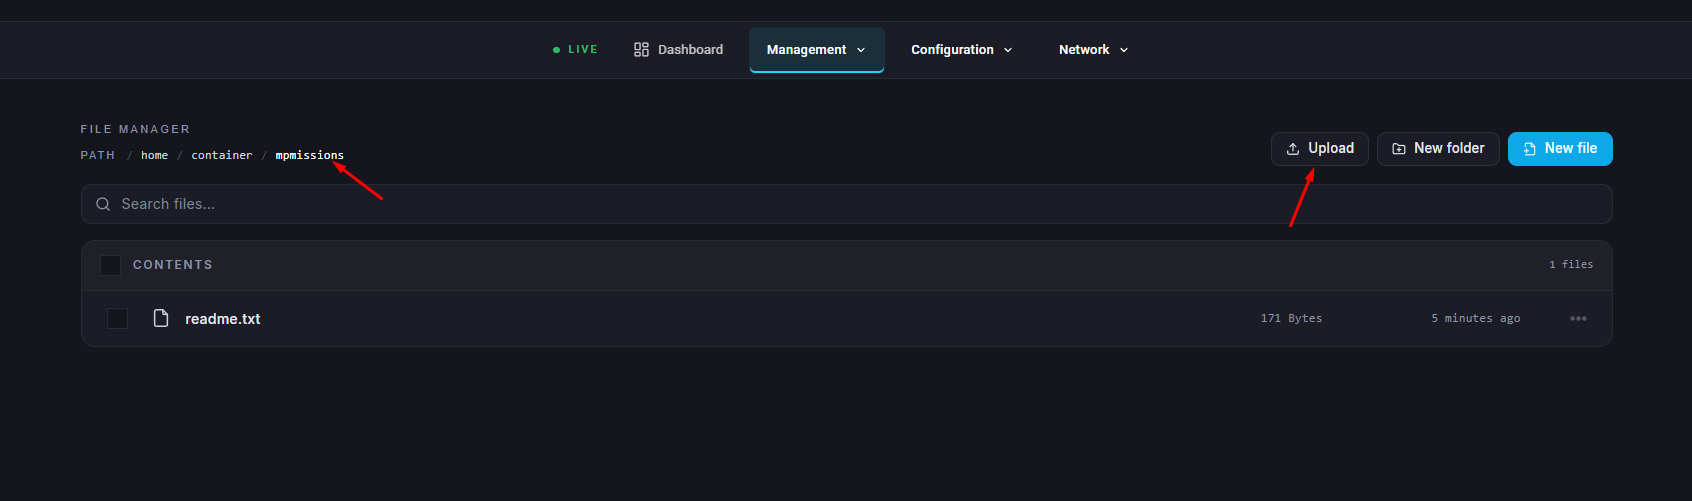
Open the /mpmissions/ folder.
Upload your mission .pbo file into this directory. (Or drag and drop .pbo file in.)
To set a single mission as always active, you’ll need to define it in your server.cfg file.
Access your ChipHead Control Panel and stop your server.

Navigate to Game Config.
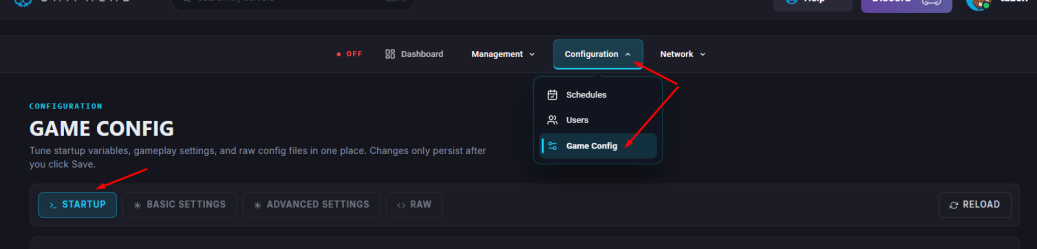
Scroll to the bottom of the <> RAW and paste the following code block:
class Missions
{
    class TestMission01
    {
        template = MAP_NAME;
        difficulty = "veteran";
        class Params {};
    };
};
(Optional) You can add multiple missions in rotation, for example:
class Missions
{
    class Mission1
    {
        template = MAP_NAME_WITHOUT_PBO;
        difficulty = "veteran";
        class Params {};
    };
    class Mission2
    {
        template = MAP_NAME2_WITHOUT_PBO;
        difficulty = "veteran";
        class Params {};
    };
    class Mission3
    {
        template = MAP_NAME3_WITHOUT_PBO;
        difficulty = "veteran";
        class Params {};
    };
};
Replace MAP_NAME with the name of your mission file without the .pbo extension.
Click Save.

Start/restart your server.