ChipHead Euro Truck Simulator 2 and American Truck Simulator servers fully support the use of mods. While mods only need to be installed and enabled locally, your server’s server packages must be updated to include them.
Important:
Before installing mods, make sure the developer console is enabled in-game. If it isn’t, refer to our guide on how to enable it.
To install mods, you’ll need to generate new server packages locally and then upload them to your ChipHead server. This example uses Euro Truck Simulator 2, but the same process applies to American Truck Simulator.
Enable your desired mods in the in-game Mod Manager.
Sign in to your preferred profile and start driving.
Open the developer console by pressing the key, then type: export_server_packages`
Press Enter to generate your updated server packages.Close the game and open your Euro Truck Simulator 2 data folder.
Note: This folder is usually located in your Documents directory on Windows:
C:\Users\[YourName]\Documents
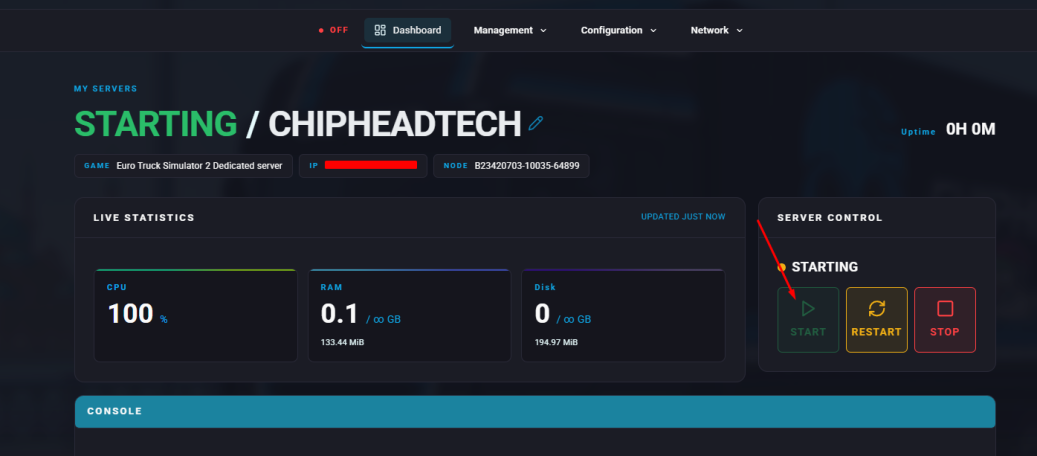
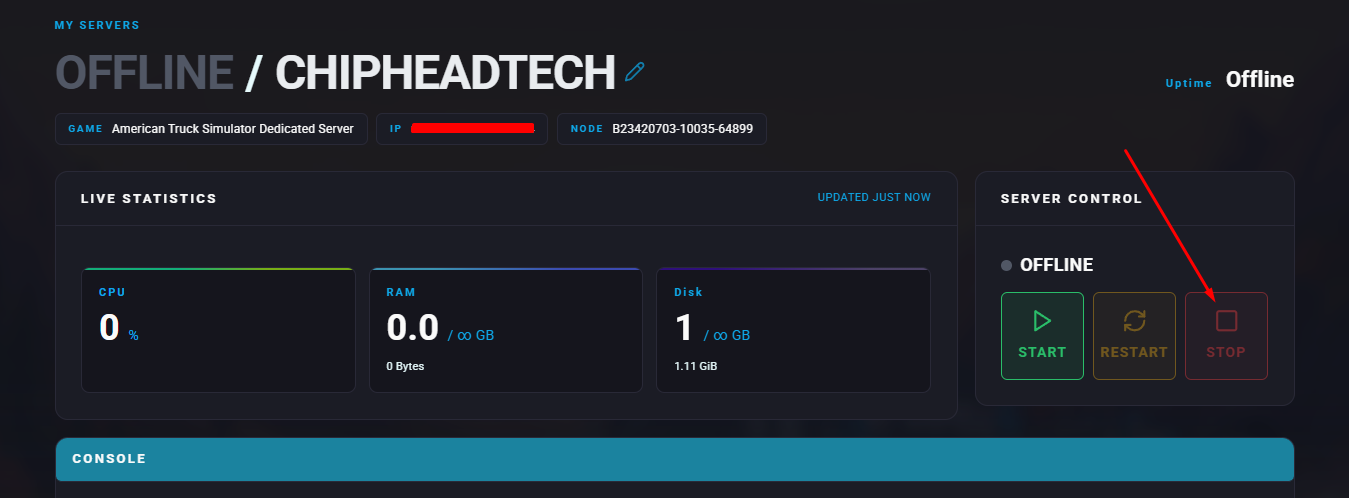
Log in to the ChipHead Panel and stop your server.
Go to the Files tab.

Navigate to: .local/share/Euro Truck Simulator 2
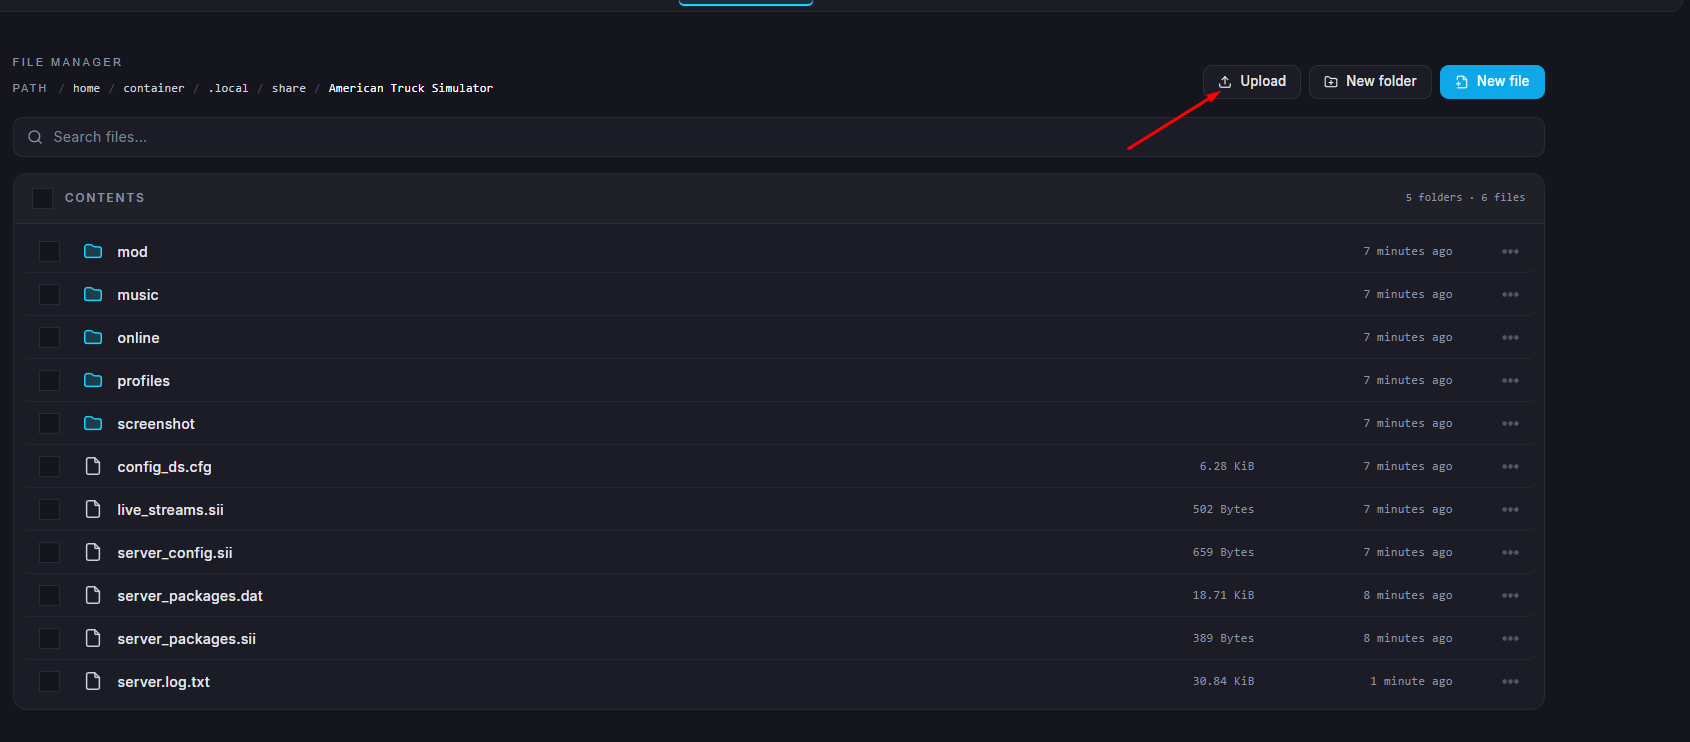
Click the Upload button or drag & drop, upload the following two files from your local data folder:
server_packages.sii
server_packages.dat
Start your server.