You can customize many aspects of Don’t Starve Together’s world generation, such as animal and resource spawn rates, season length, the starting season, and more. To do this, you’ll need to create and upload a configuration file called leveldataoverride.lua to your server. This guide will walk you through the entire process.
The easiest way to create the leveldataoverride.lua file is by using the in-game world generation tools.
Launch Don’t Starve Together.
Select “Host Game” & create a new world.
Choose your game mode and make any changes to the World/Worldgen settings.
After generating, return to the main menu and select Data.
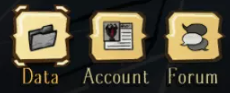
Select and open from the Cluster folders. The number will be based on the Save Slot.
Choose the “Master” folder.
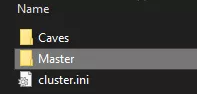
Locate your “leveldataoverride.lua” file

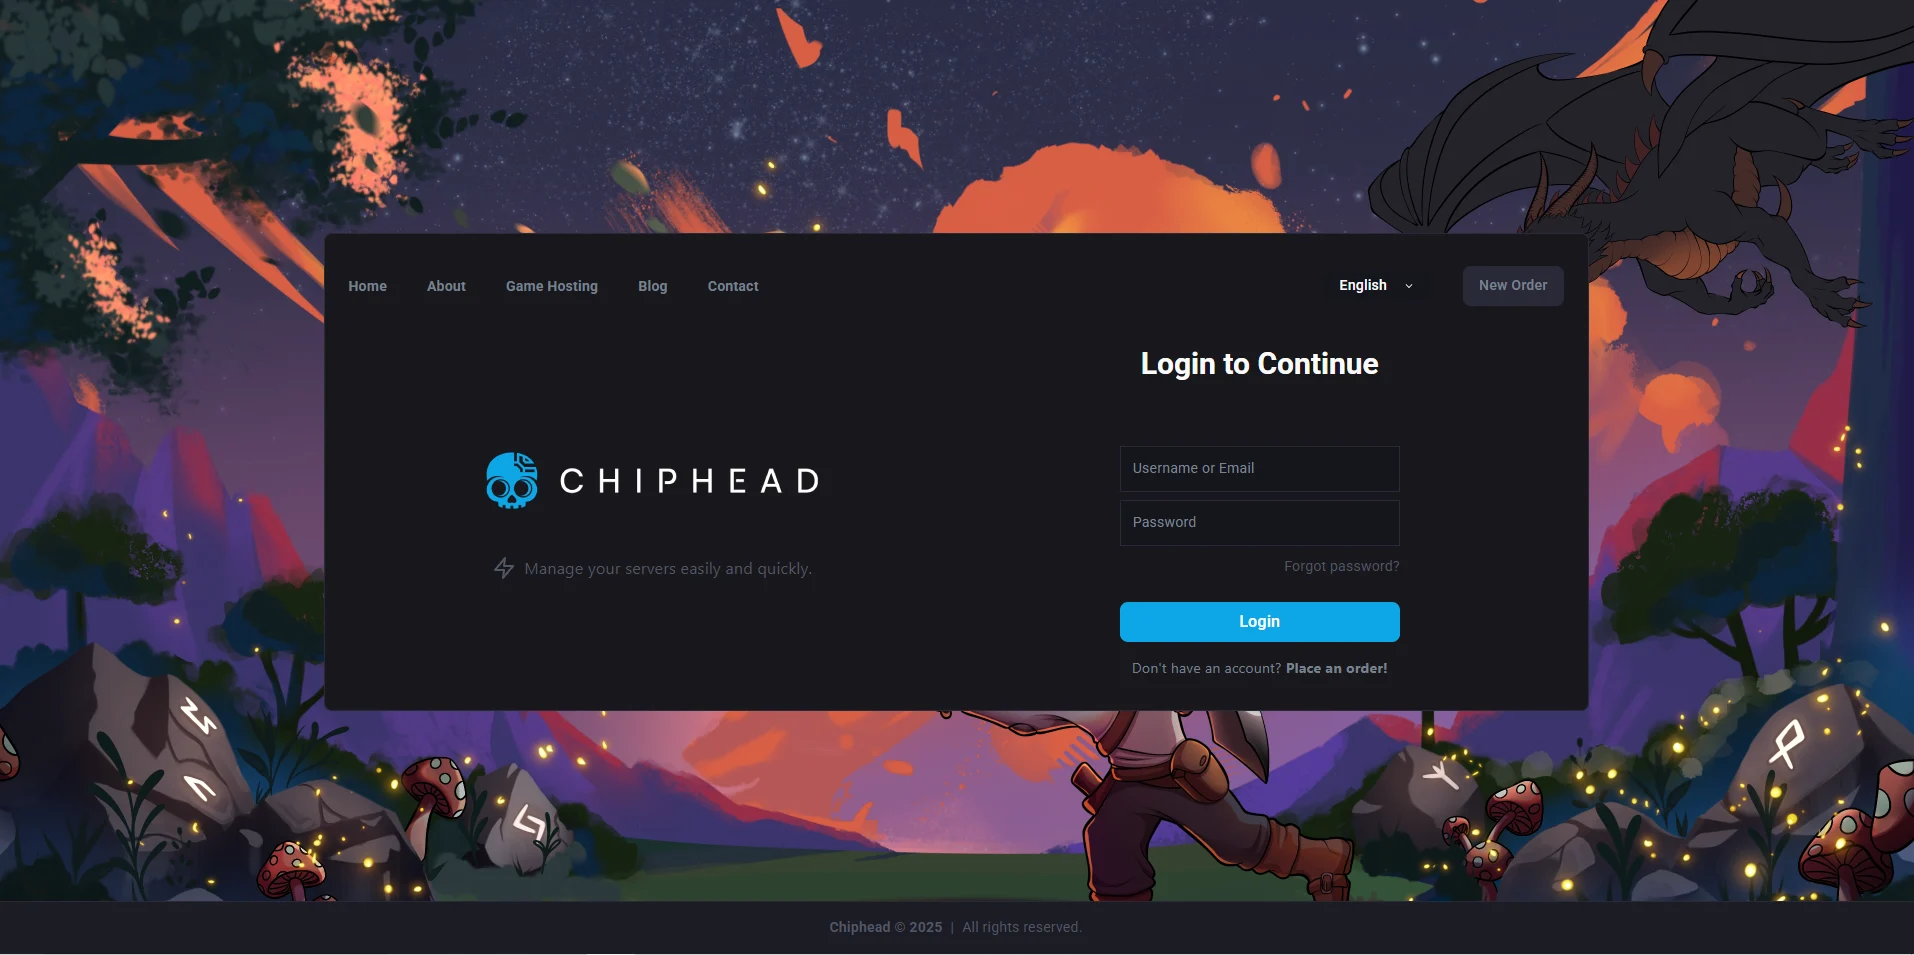
log into your ChipHead Panel
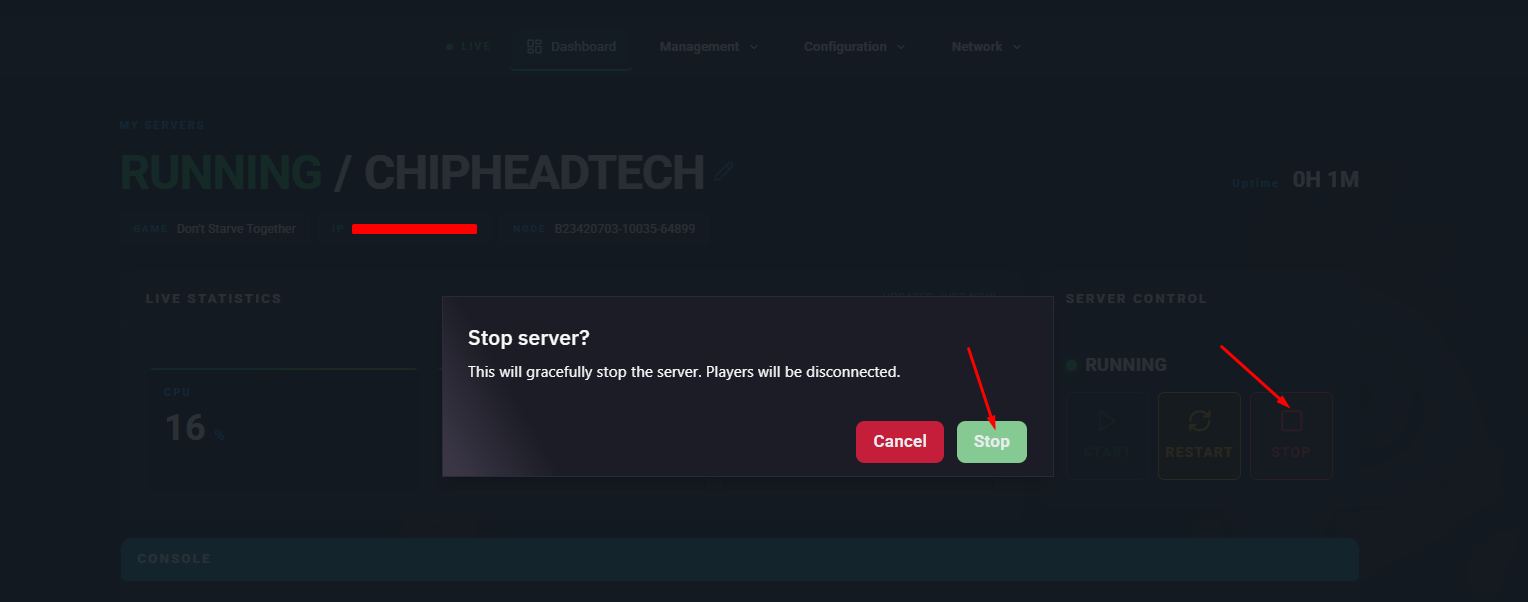
Stop the server
Go to Files & Navigate to the following directory:/home/container/DoNotStarveTogether/config/server/Master
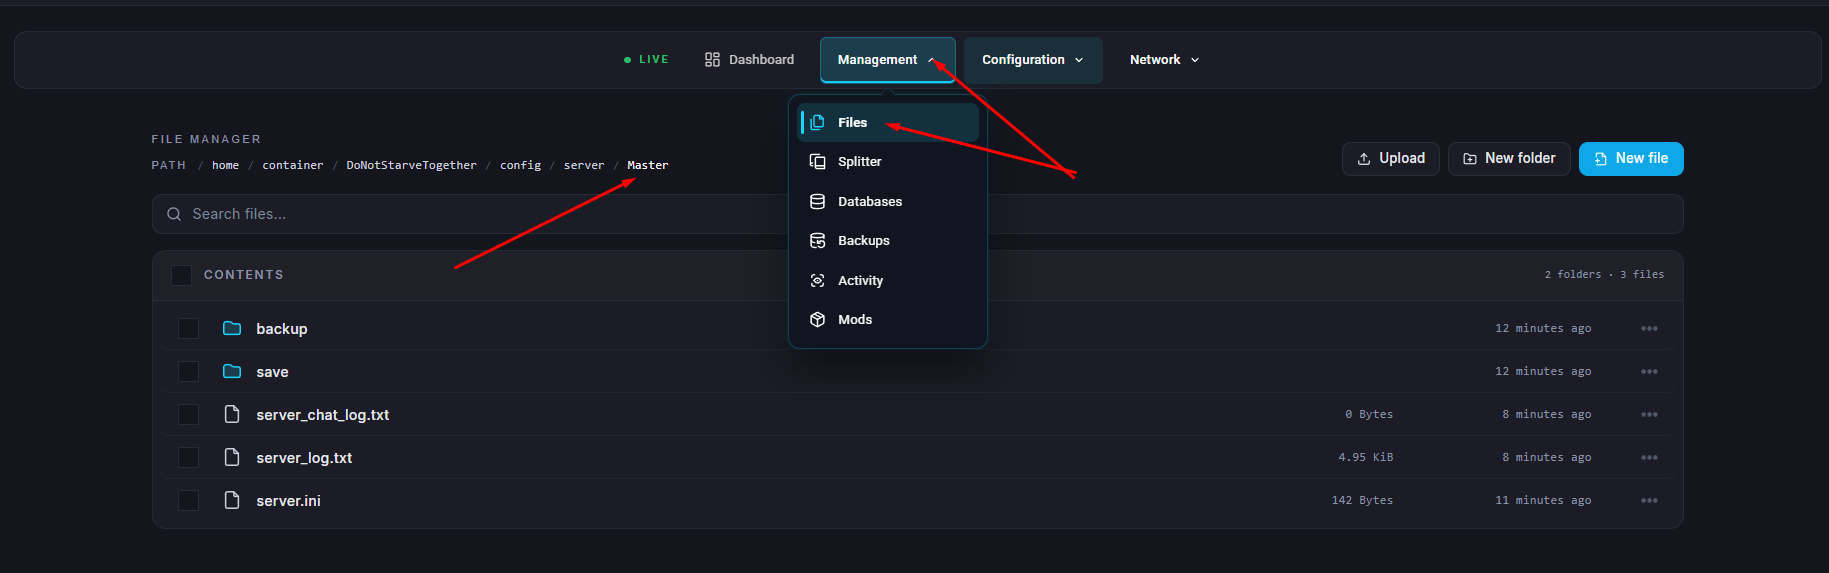
Upload the leveldataoverride.lua file from Step 7 by drag and dropping or using the upload icon.
If you have generated a new world delete any existing save folders
If caves are enabled repeat steps 6-11 for the “Caves” folder
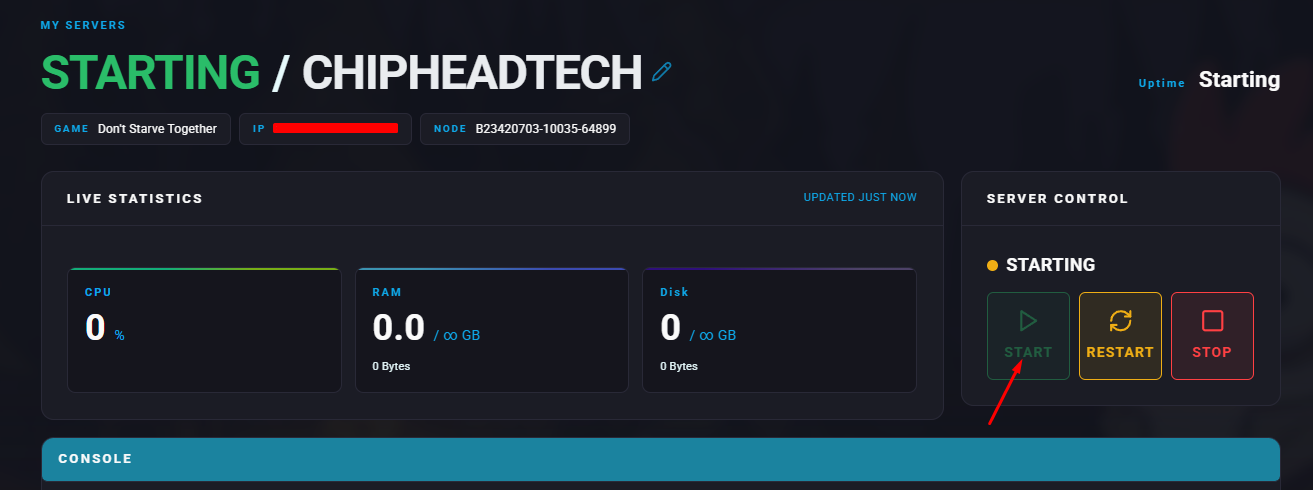
Start the server

/config/<ClusterName>/Master/ before the leveldataoverride.lua file will take effect.