Setting a player as an admin on your Core Keeper server is an essential part of server management. Admins have powerful permissions that allow them to moderate players, manage settings, and maintain order. You can assign admin status to multiple players, ensuring the server is monitored even when you’re offline. Admins can also access the Manage Players menu and regenerate a new Game ID if needed.
You can manually add admins using the Admins.json file located in your server files.
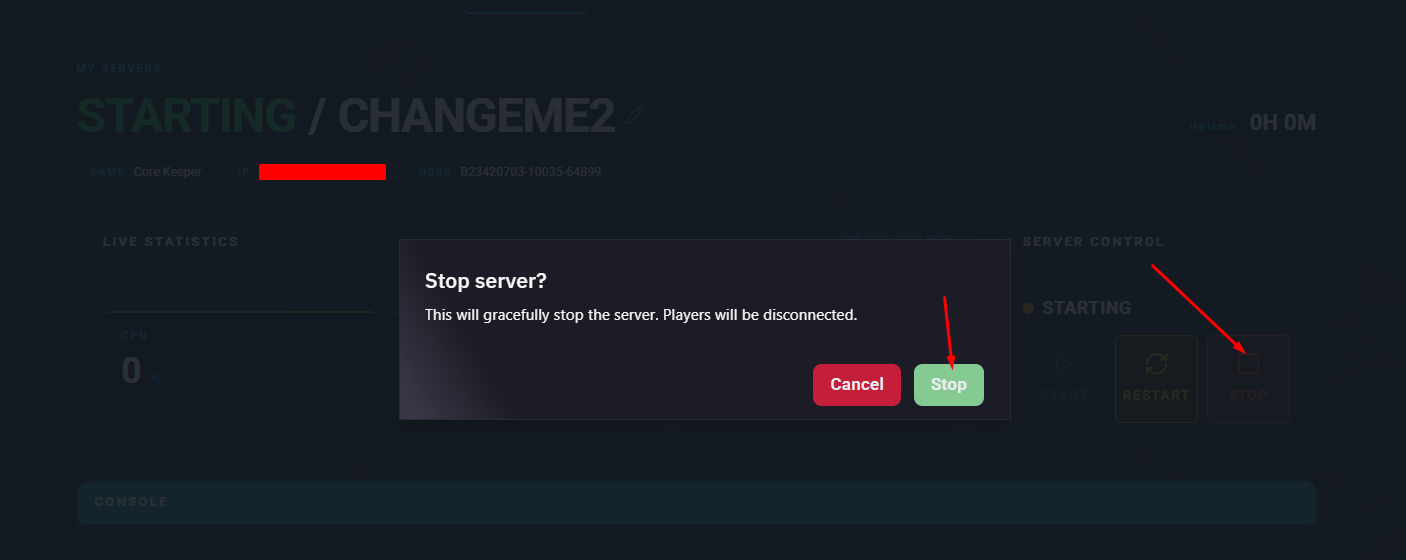
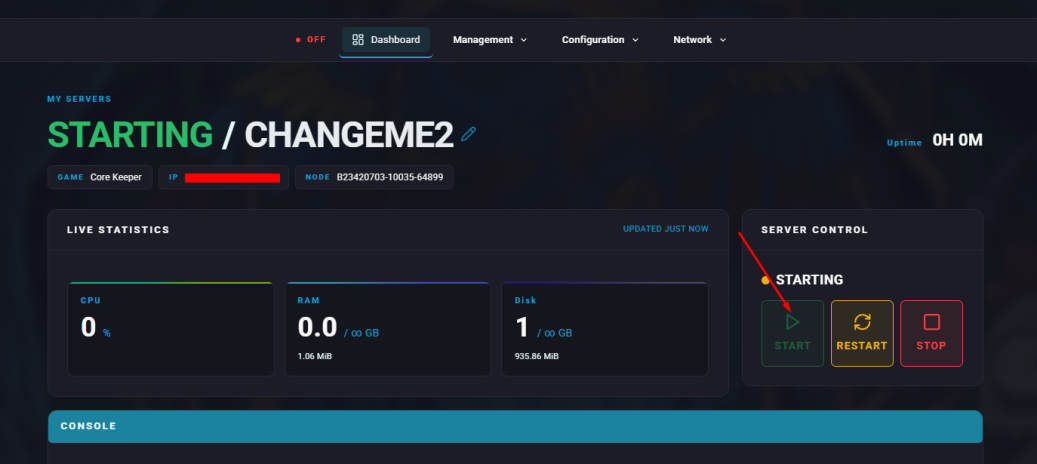
Log in to the ChipHead Panel and stop your server.

Go to your Configuration → Game Config.
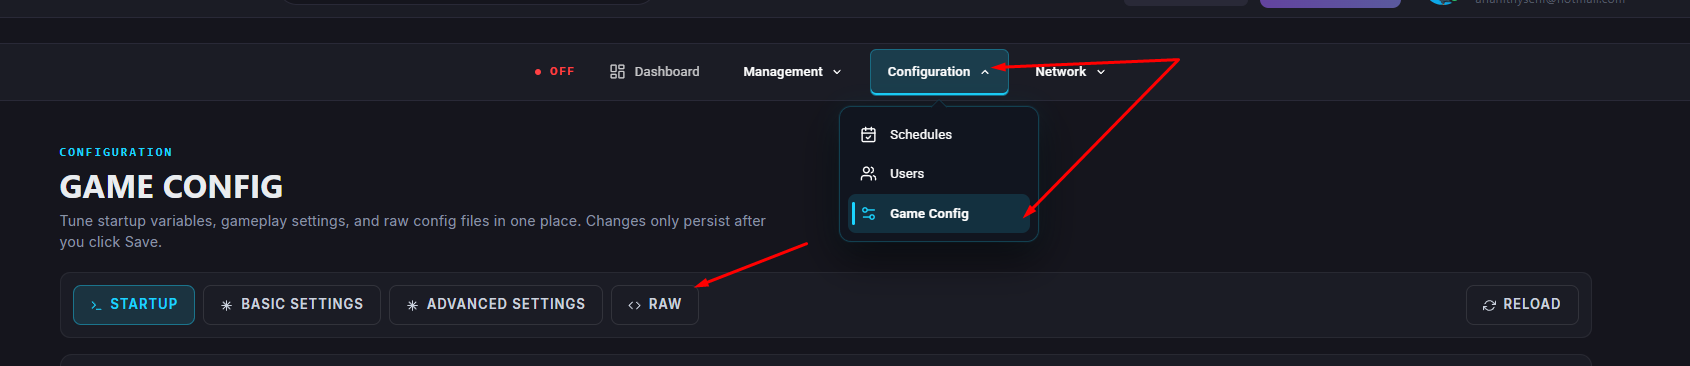
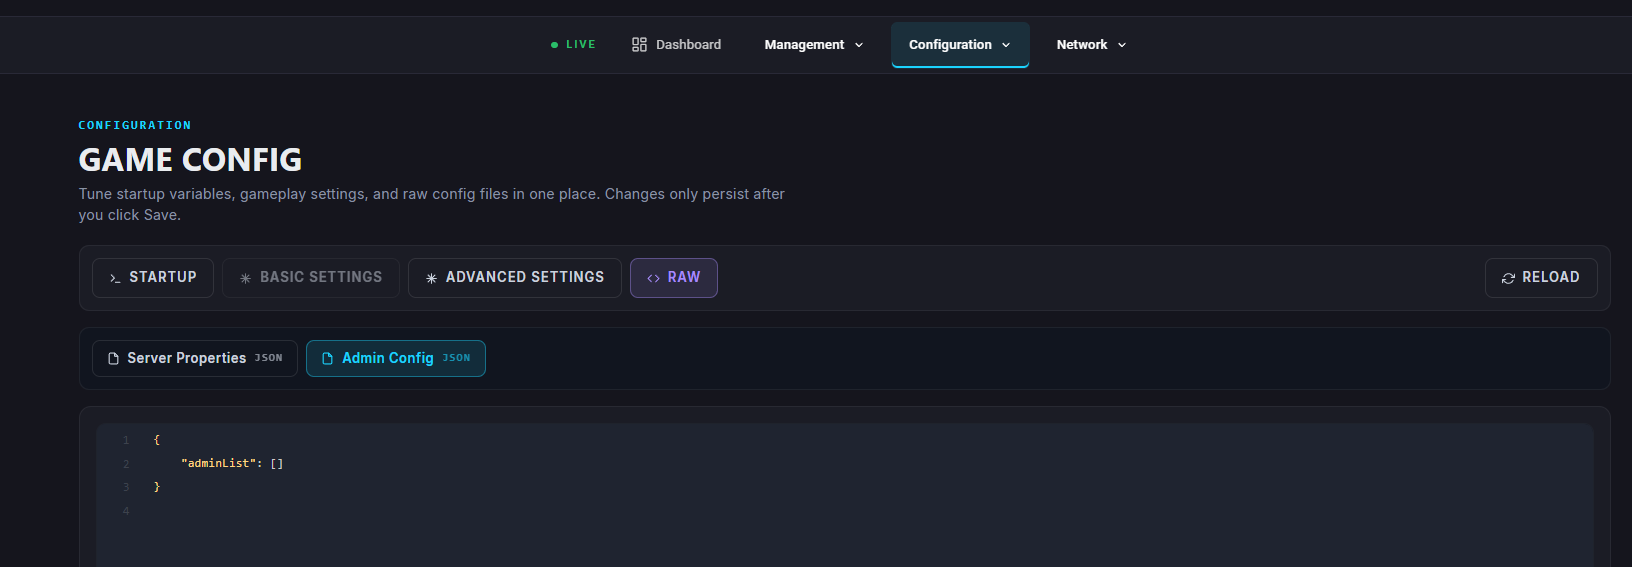
Click into <>Raw.
Find your Steam64ID and your in-game character name.
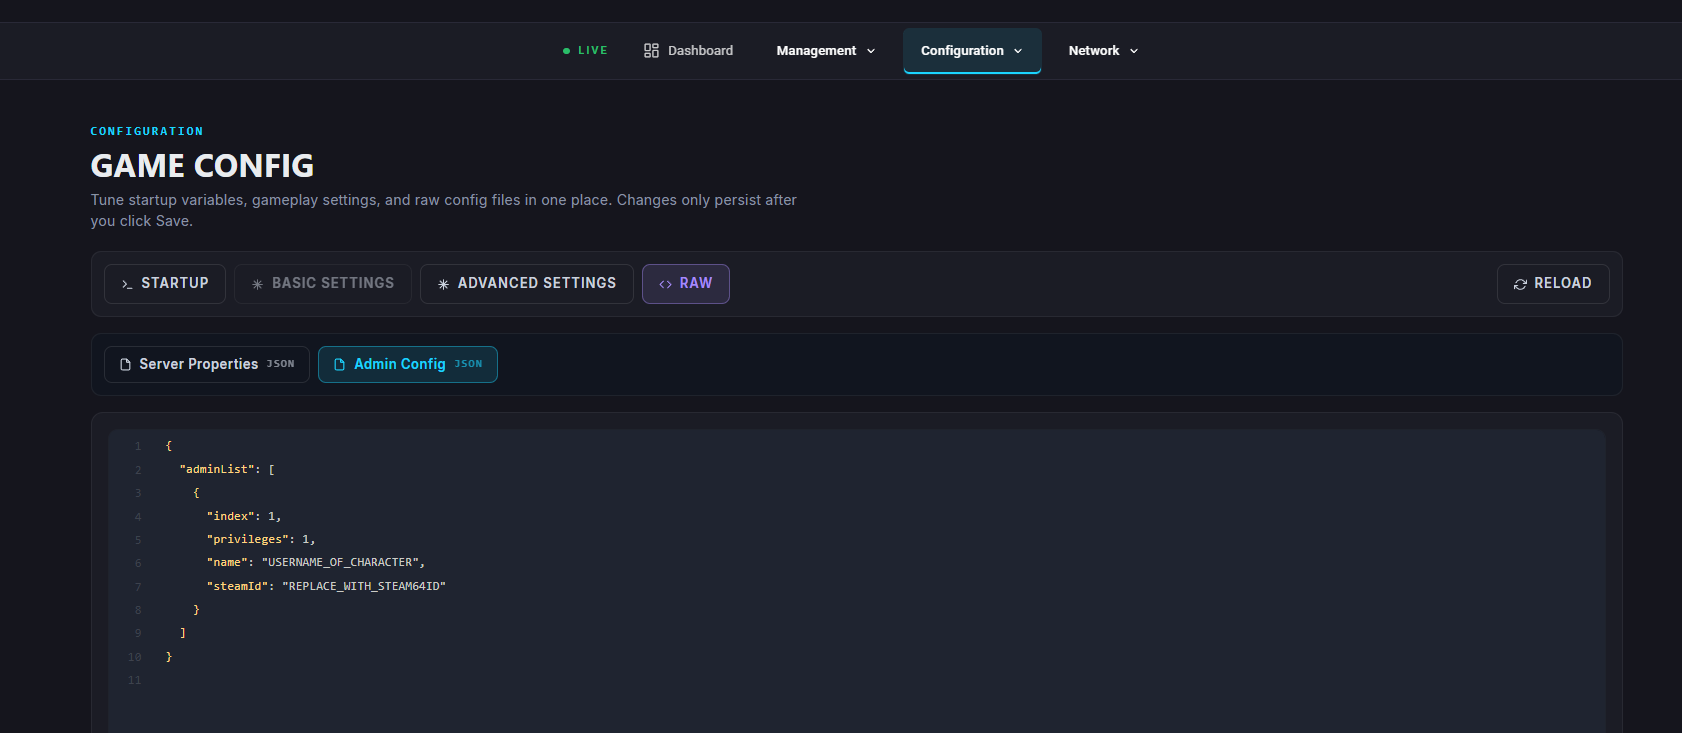
Add the following information between { "adminList": [ ... ] }:
{
   "index": 1,
   "privileges": 1,
   "name": "USERNAME_OF_CHARACTER",
   "steamId": REPLACE_WITH_STEAM64ID
}
Save your changes.
Restart/Start the server.
You can also grant admin permissions directly in-game once you’ve made yourself an admin.
Make sure you are already set as a server admin (see the steps above if not).
Connect to your Core Keeper server.
Open the pause menu by pressing ESC.
Click the star icon next to the player you want to promote to admin.
Confirm the action by clicking Yes.