You can add an admin to your server using their username, entity ID, or Steam ID.
Once you've retrieved their ID, they can be added as an admin by editing the serveradmin.xml file.
Adding an Admin by Editing the serveradmin.xml File
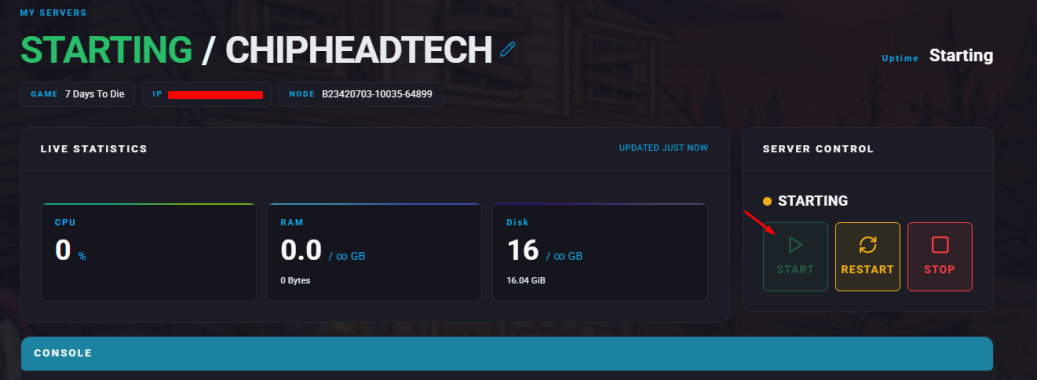
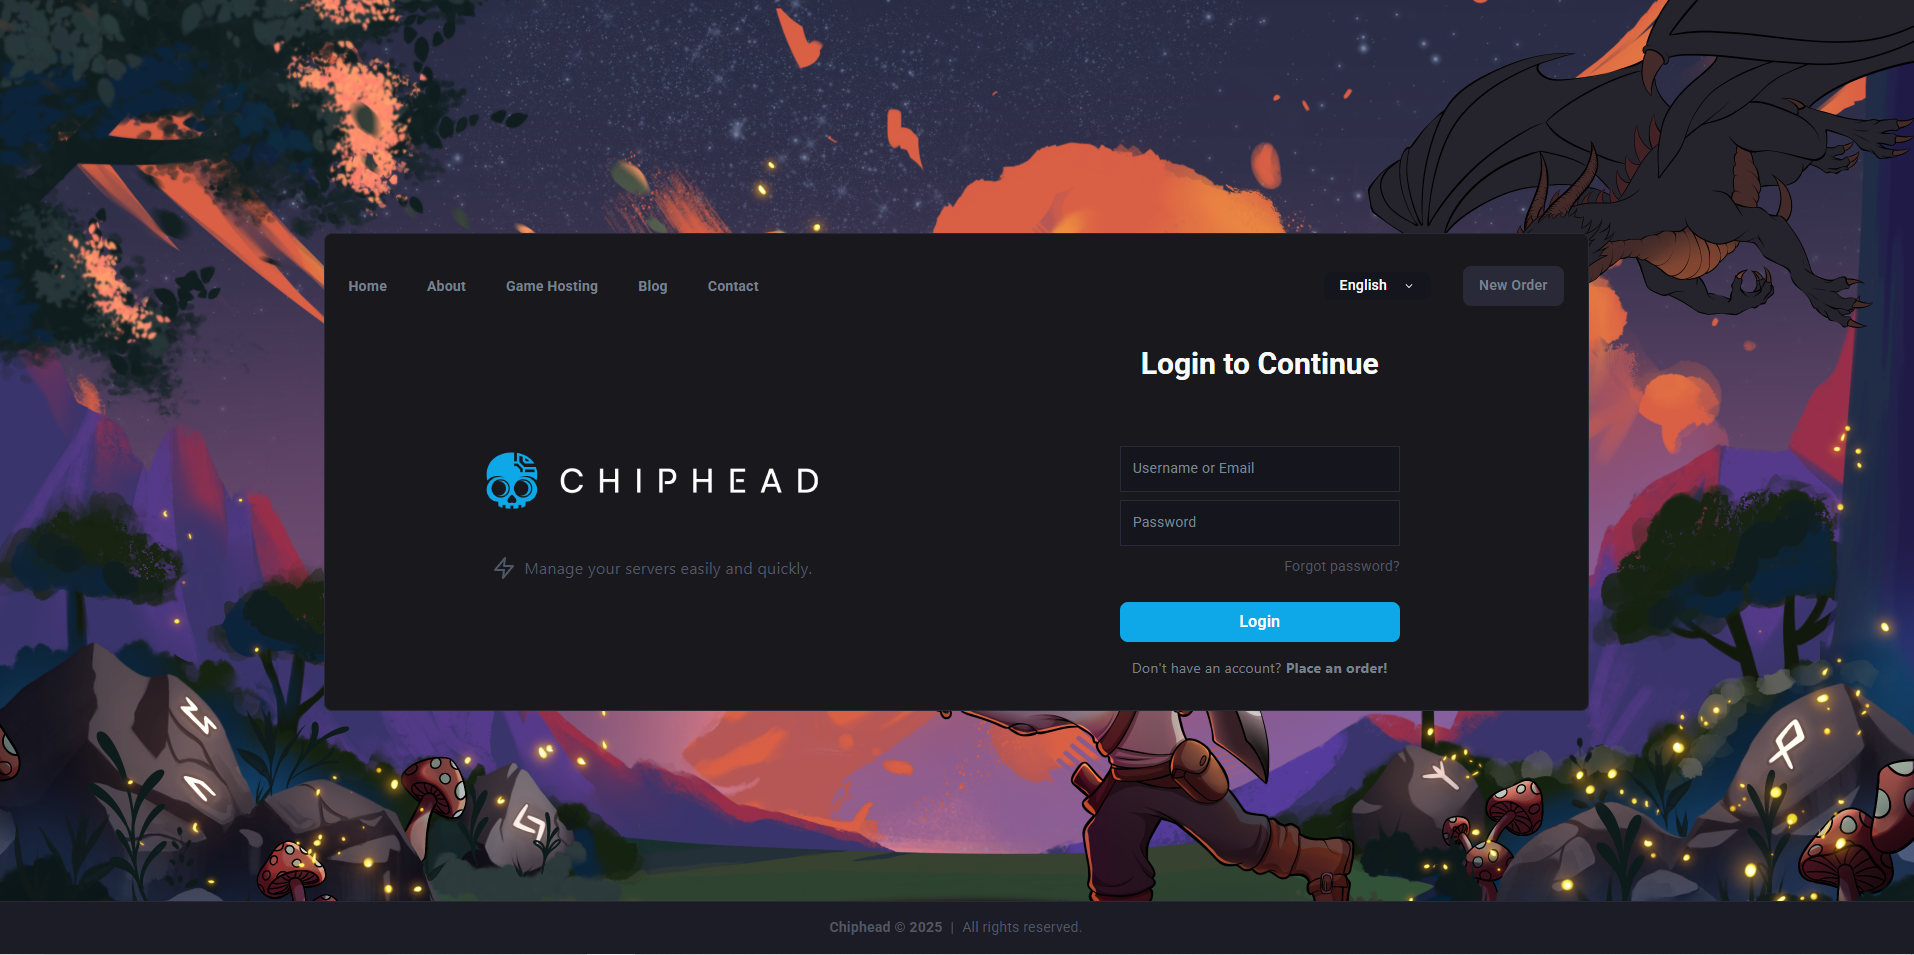
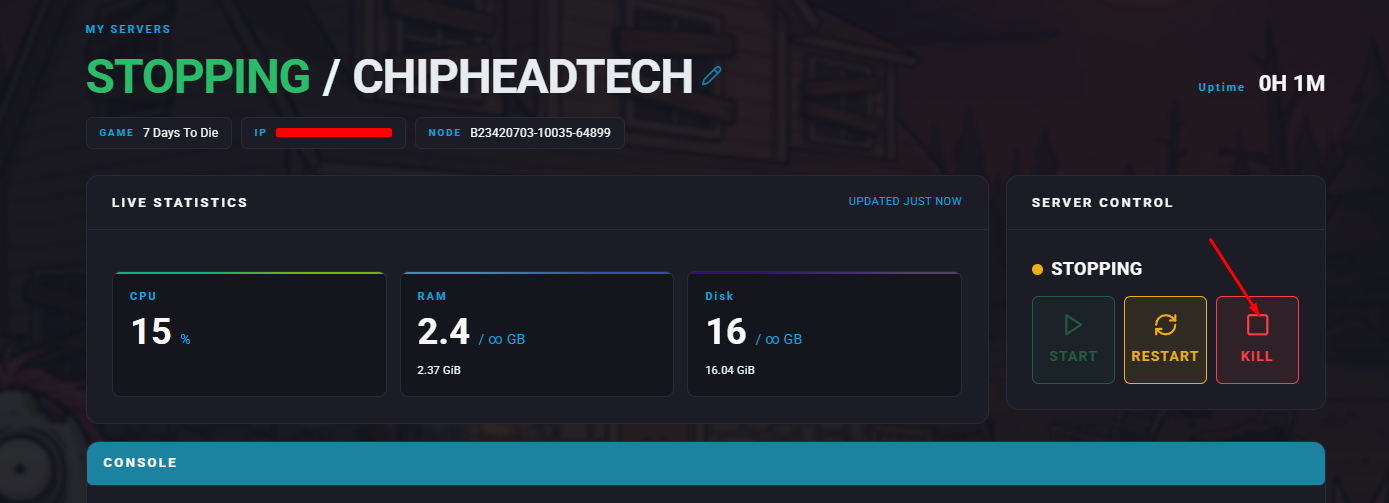
Open the ChipHead Panel and Stop your server.
Go to the Config tab.

Select the Server Admin file.
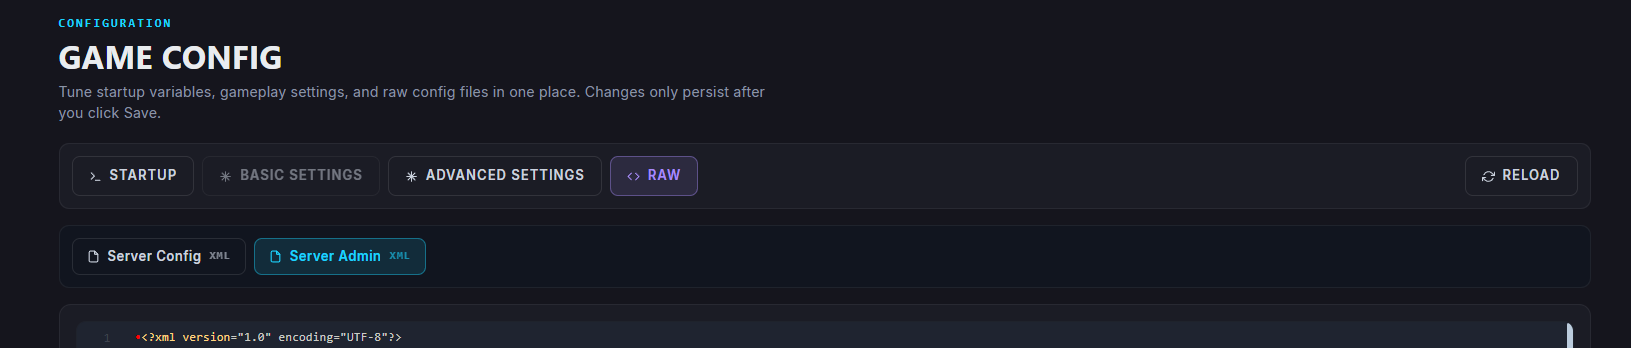
 If you’ve installed your 7 Days To Die instance for the first time on your server, you might not see the Server Admin config file right away.
Make sure to start the server and refresh the Game Config page and it should appear.Click on </>Raw to access the serveradmin.xml file.
Locate the
<users></users>section (where admins can be added).
Inside the user section, add the following line:
<user platform="Steam" userid="STEAMID" name="Admin's Name" permission_level="0" />Replace the values inside the line to assign a new admin.
userID="STEAMID"- ReplaceSTEAMIDwith the admin's Steam ID.name="Admin's Name"- ReplaceAdmin's Namewith the admin's name.permission_level="0"- Set the number between0-1000(0 grants the highest authority)
Click Save.
Start/restart the server.