
Summary
World borders let you control how far players can explore in your Minecraft server. By setting specific sizes and dimensions, you can create a closer, more community-focused environment while also reducing lag by preventing far-off chunks from loading. World borders are also great for guiding players through custom maps, events, or adventures, giving your server a more immersive and controlled feel.
How to Add a World Border to Your Minecraft Server
Log in to the ChipHead Panel.

On the Dashboard scroll down to the Console.
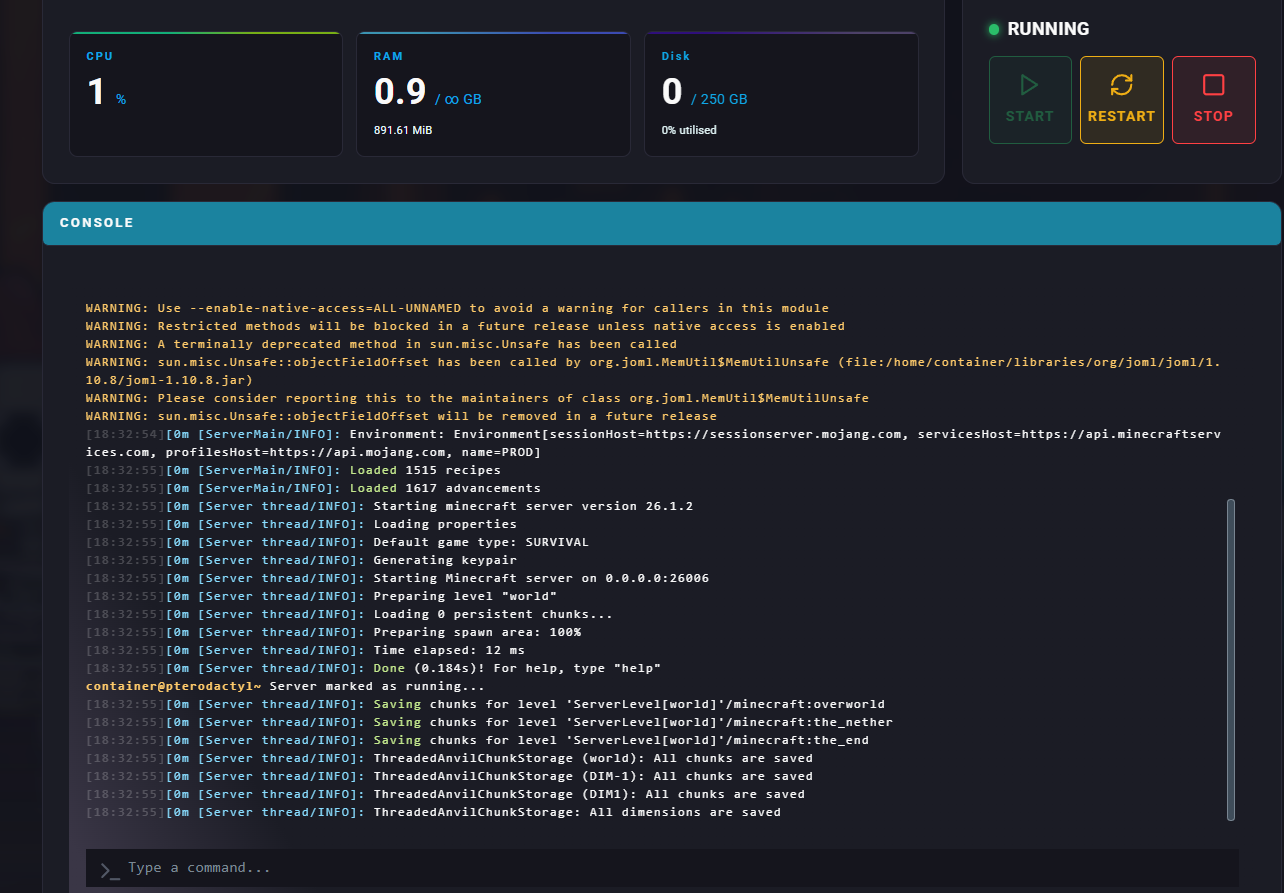
Set the centre of the border by running:
“worldborder centre [X] [Z]”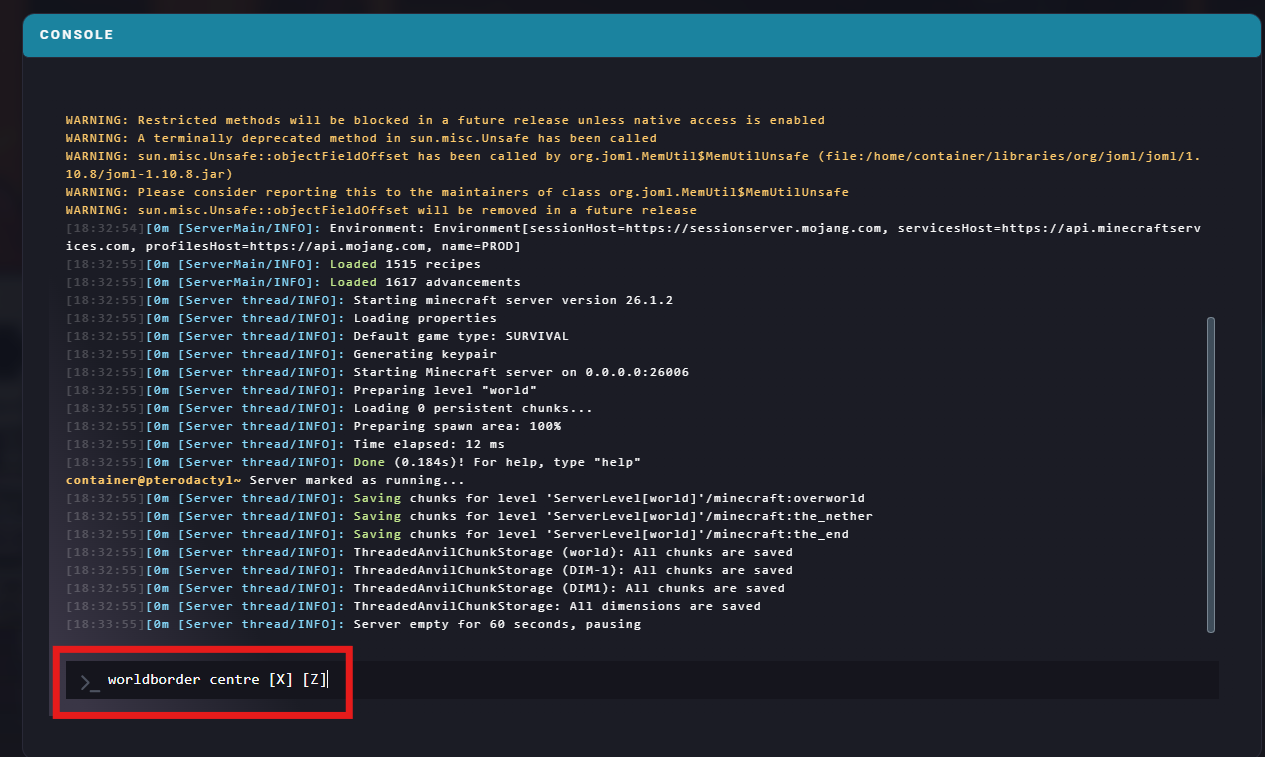
 (Replace [X] and [Z] with your chosen coordinates. Tip: matching the border centre with your world spawn is recommended. You can find your position by pressing F3 in-game.)
Set the size of the border with:
“worldborder set [size]”
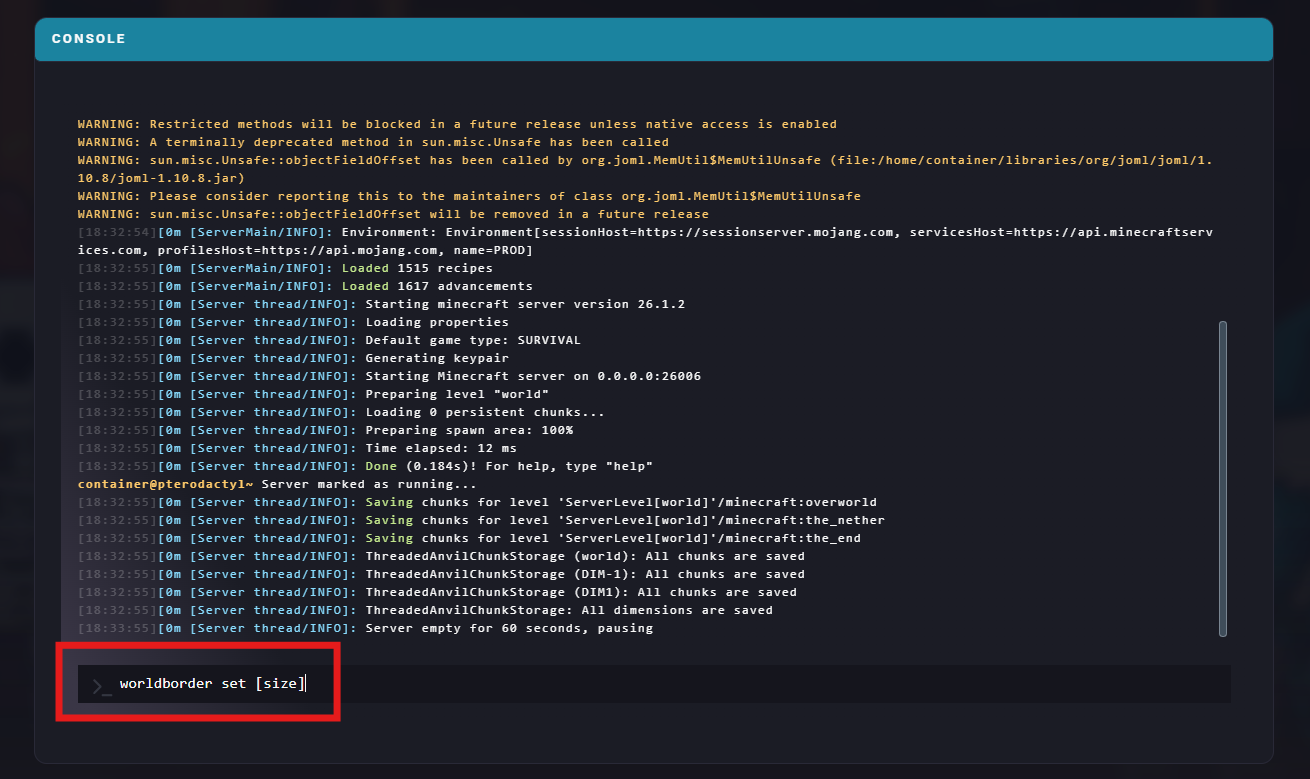
(Replace [size] with the number of blocks away from the centre.)
Once complete, the console will confirm the commands were successful.