BepInEx is an addon for Valheim that lets you install and manage mods on both your PC and server. Once it’s installed, you can easily add new mods to enhance your Valheim gameplay experience.
This guide explains how to install BepInEx onto your PC. If you’re looking to install it on your server, check out our guide: Installing BepInEx Mods Onto Your Valheim Server.
Go to the r2modman installer page on Thunderstore.
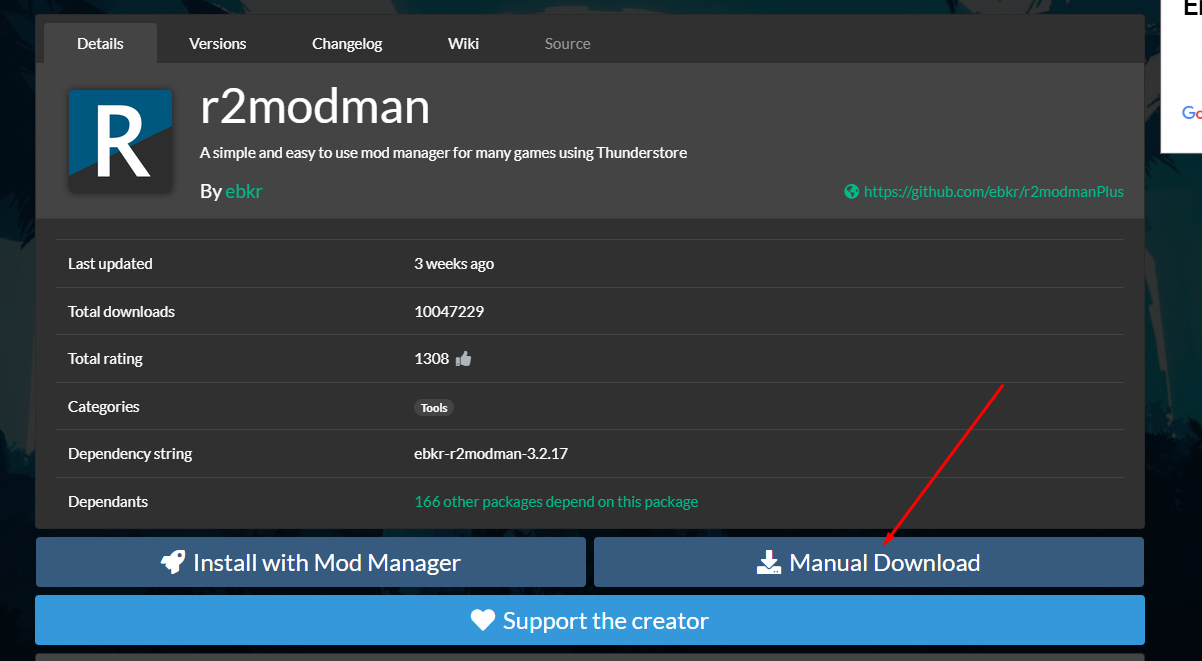
Click Manual Download to download the zip file.
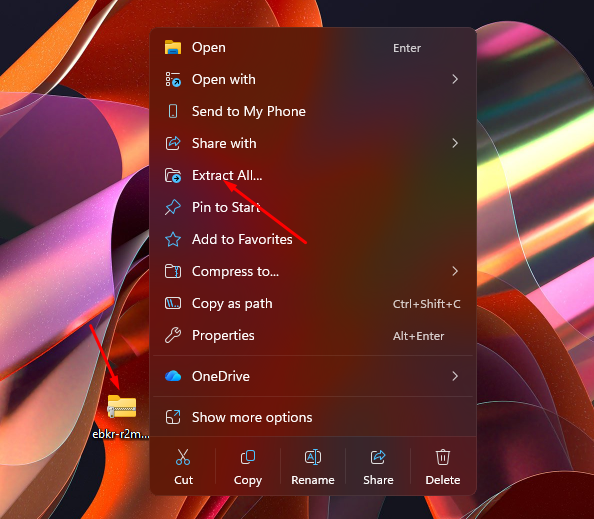
Once downloaded, extract the contents to a safe folder (for example, your desktop).
Run r2modman Setup .exe and follow the on-screen instructions.
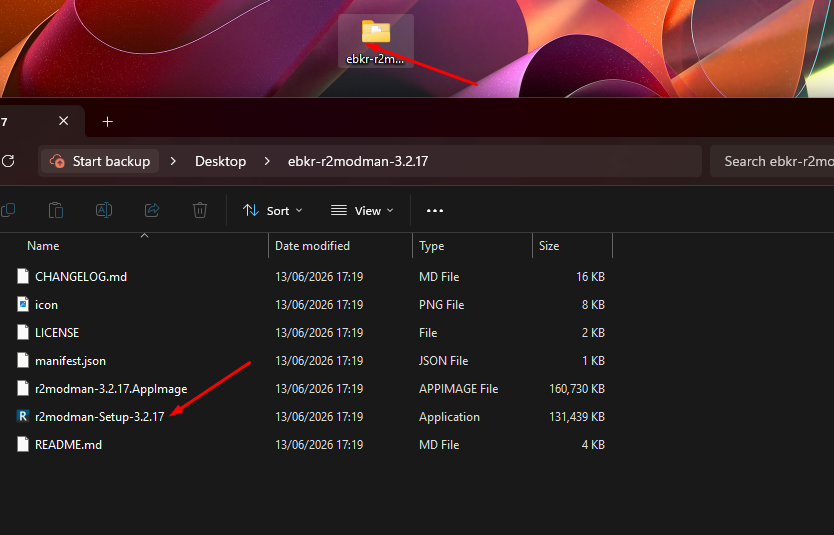
Launch the r2modman application once installed.
Launch the r2modman program.

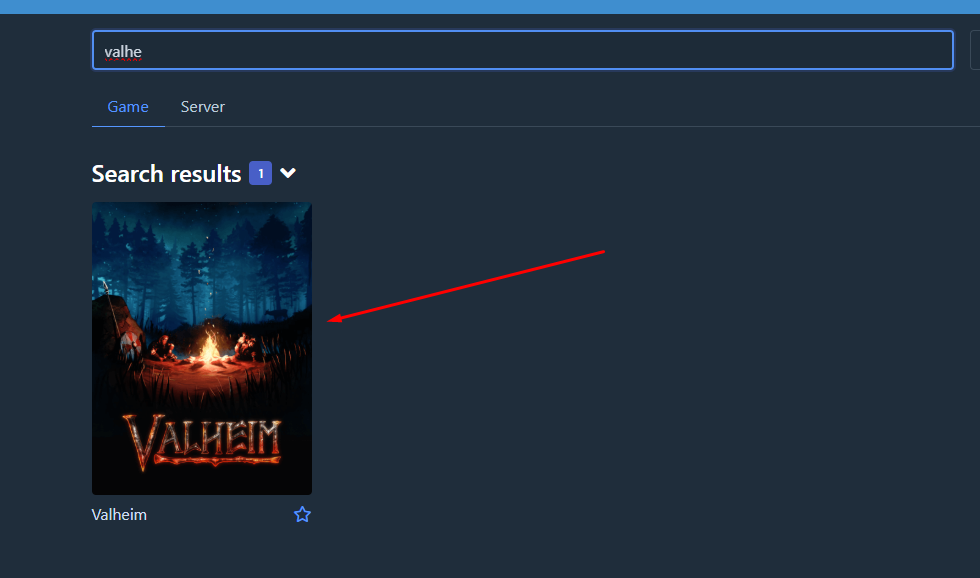
Select Valheim, then choose Select Game.
Click Select Profile to create a new profile. Each profile is a separate installation with its own set of mods.
Locate your Valheim Game Directory: open Steam, right-click Valheim, select Manage > Browse Local Files, then copy the file path of the folder that opens.
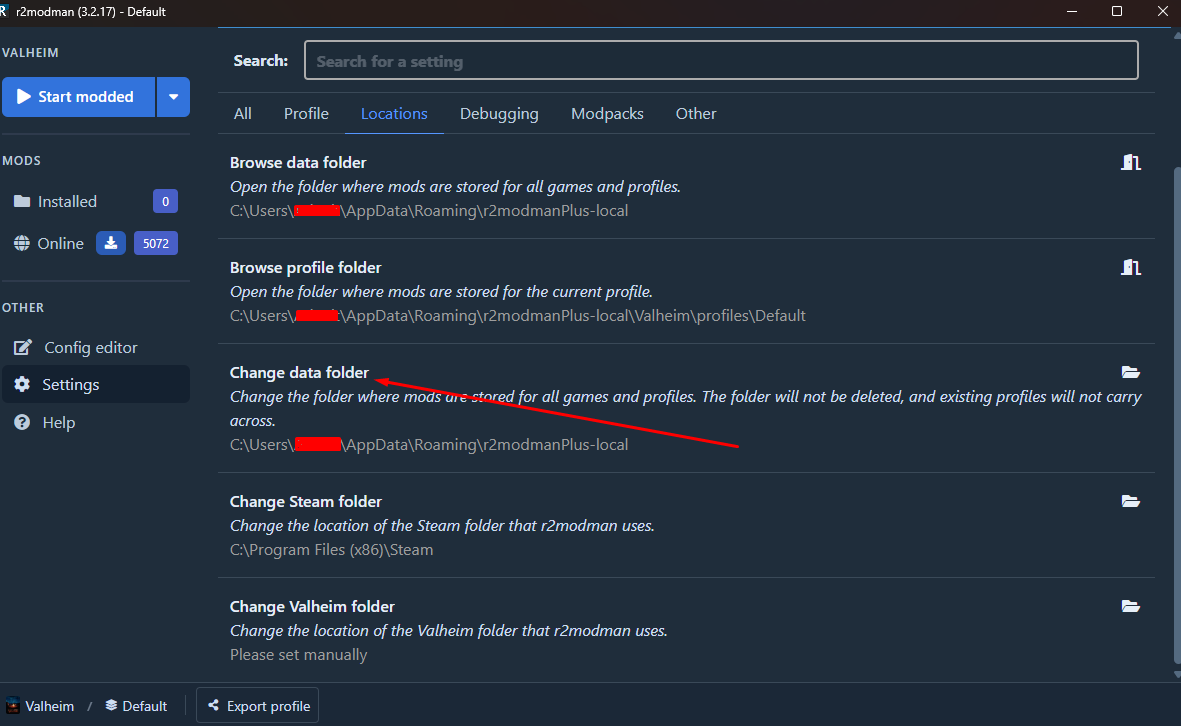
In r2modman, go to Settings > Locations and paste the copied path into Change Valheim Directory.
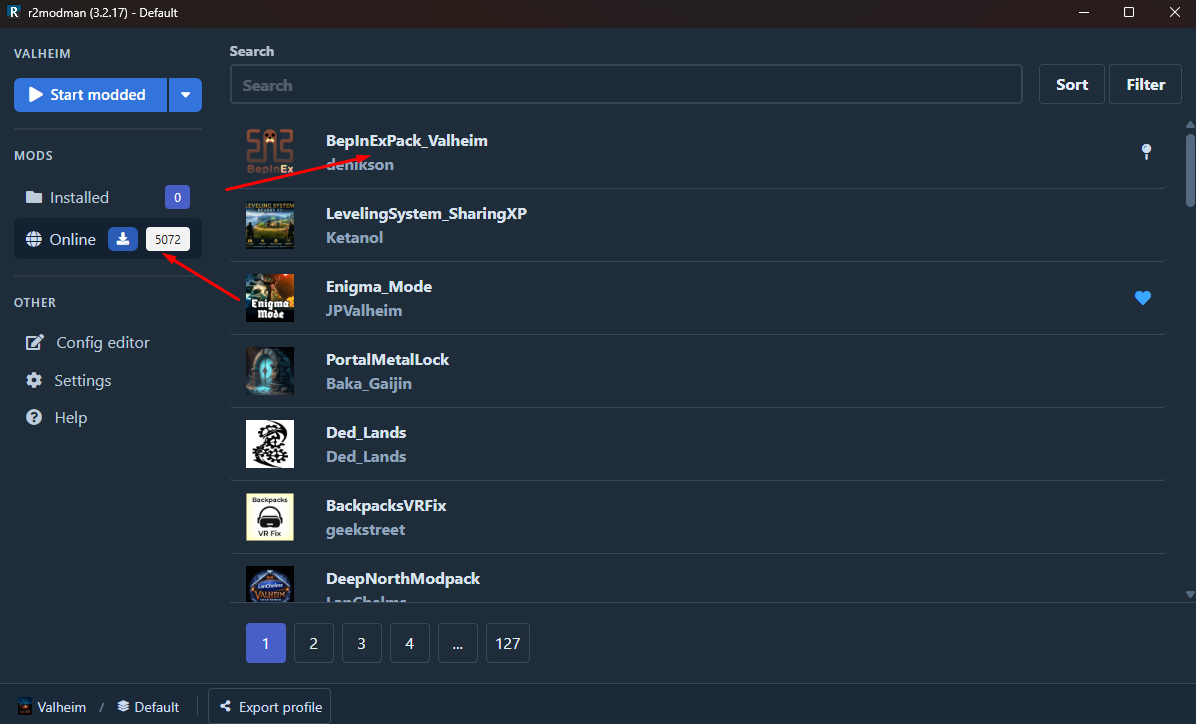
To install BepInEx, go to the Online category in r2modman.
Select BepInEx (it’s usually listed first) and click Download.
In the new window, choose Download with dependencies to install it.
You’re now ready to install additional mods. Simply browse the mod list and repeat the process to add them to your game.
If you prefer, visit the official BepInEx website for the most up-to-date installation instructions for Windows and Linux.
To install mods manually:
Download your desired mods from the official Valheim mod page on Thunderstore.
Extract the mod files into your Valheim root directory (the same folder as Valheim.exe).
Once you’ve installed your mods, open r2modman and click Start Modded to launch Valheim with BepInEx active.