Installing mods is a great way to expand your Satisfactory server by adding new features, quality-of-life tools, and unique gameplay mechanics. This guide will show you how to use the Satisfactory Mod Manager to install and manage mods on your server.
The Satisfactory Mod Manager (SMM) makes it easy to install mods, manage dependencies, and automatically set up the Satisfactory Mod Loader (SML).
Click the link here: https://smm.ficsit.app/ and it will download the Satisfactory Mod Manager installer.
Open the downloaded .exe file and follow the on-screen setup instructions to install it.

Once the Mod Manager is installed, you’ll need to connect it to your server.
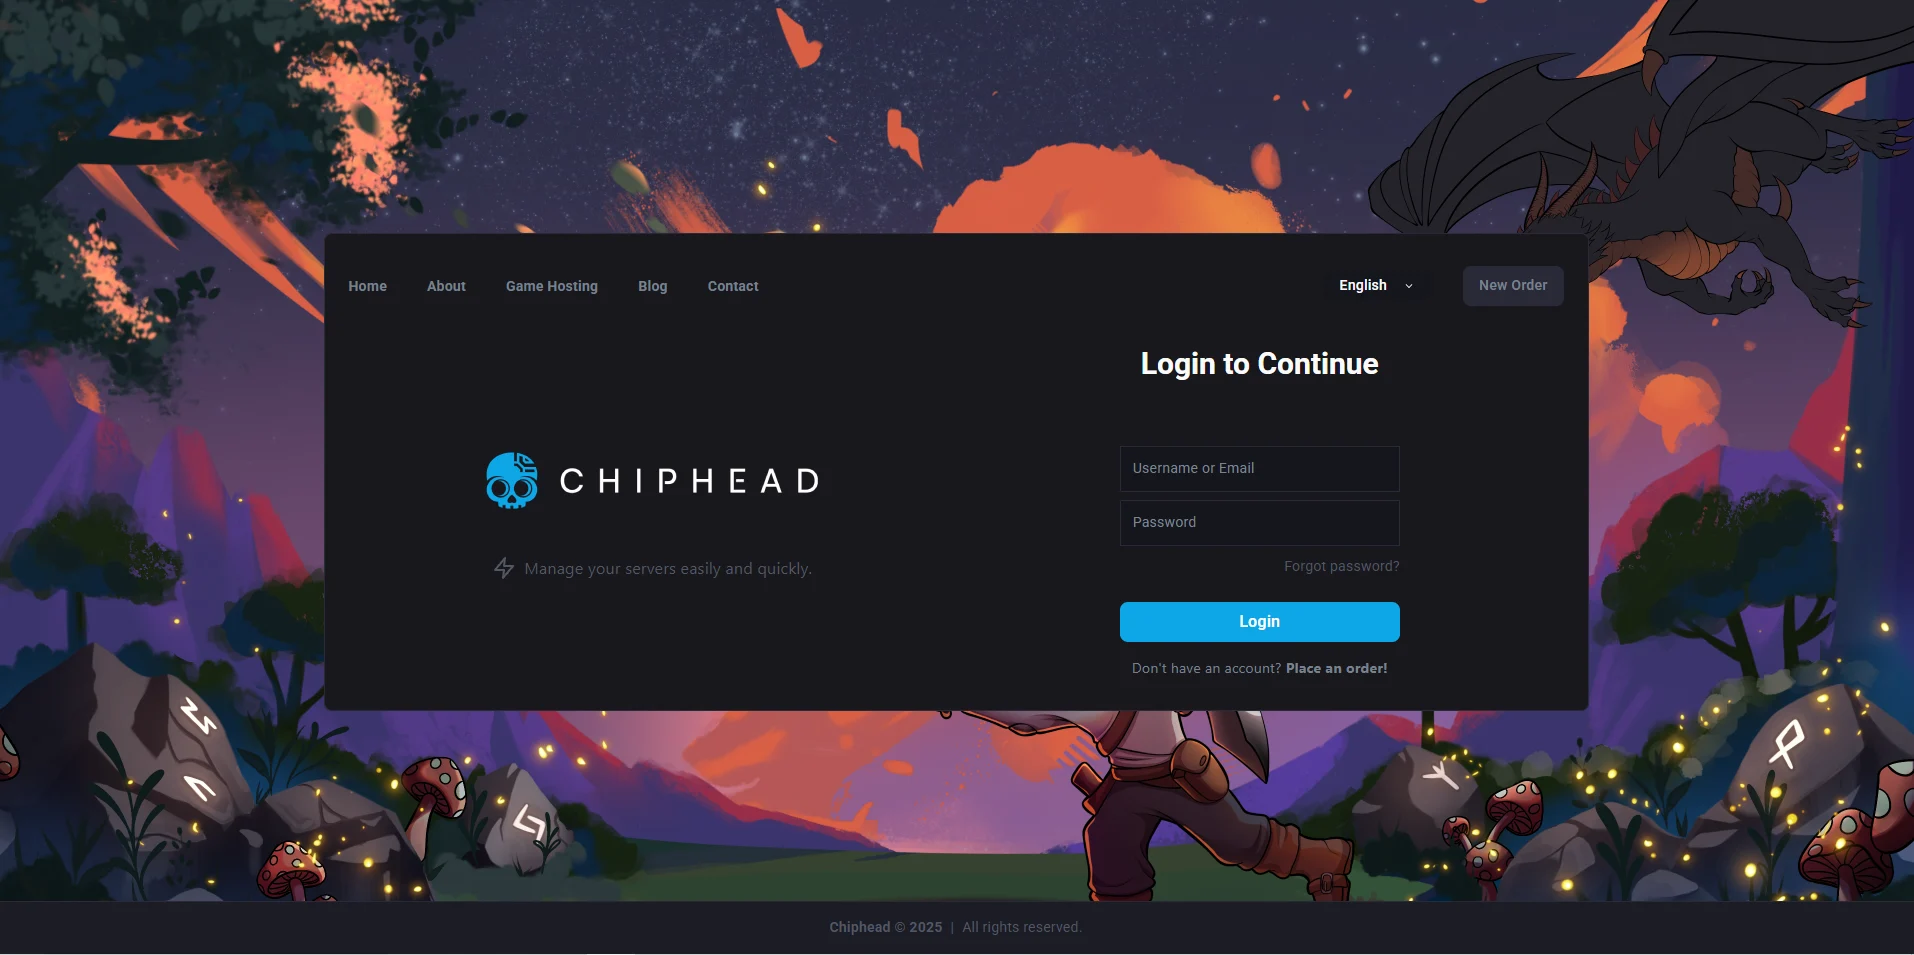
Log in to your ChipHead Control Panel.
Navigate to Dashboard & take note of the SFTP Details:
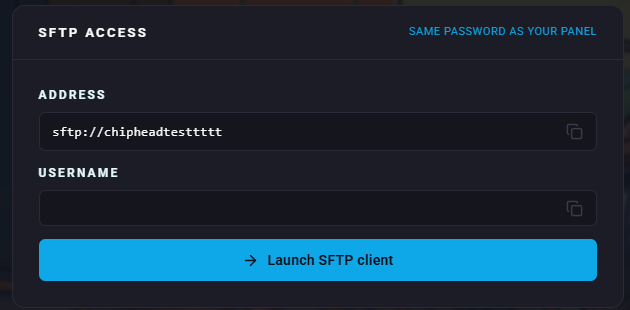
Connect to your server via SFTP. You can follow our guide on SFTP connection
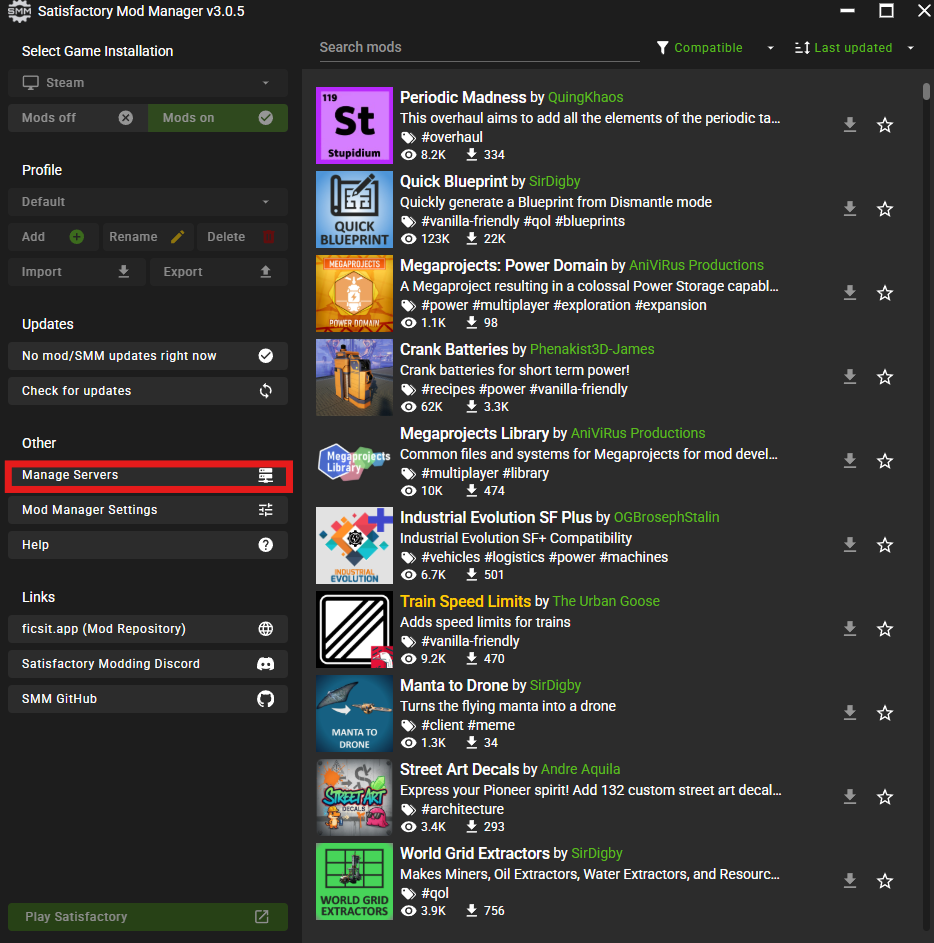
Open the Satisfactory Mod Manager on your computer.
Click Manage Servers.
Switch the Manage Server menu to Advanced Mode.
Enter the details:
Username
Password
host
port
Path → Leave empty
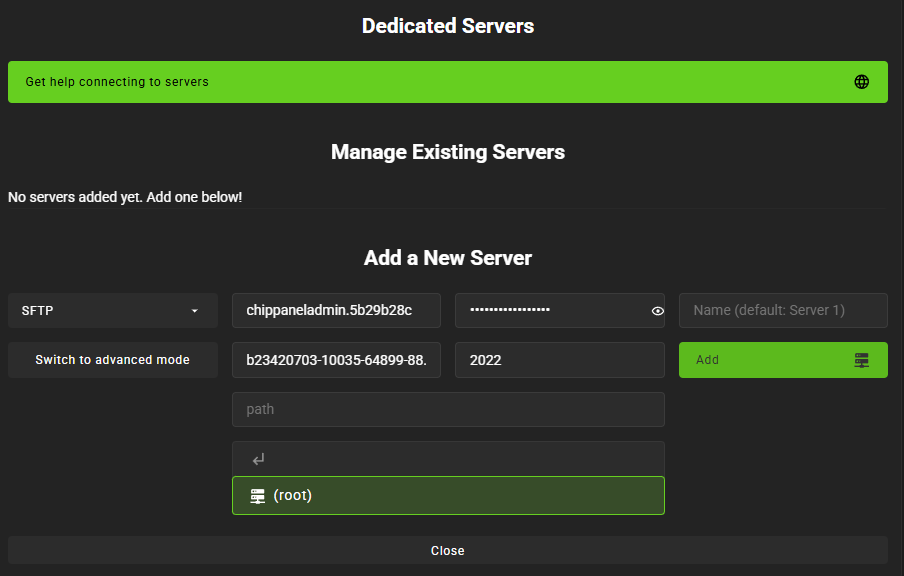
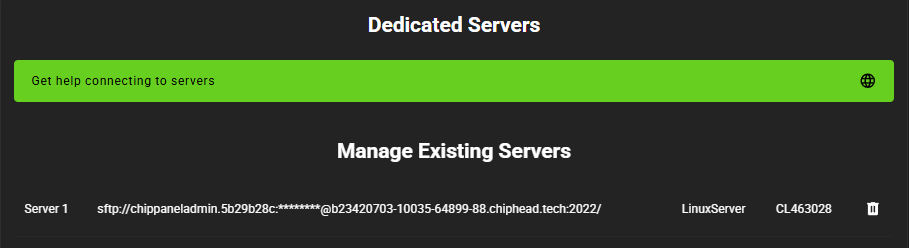
Click “Add”

In the Mod Manager, select your server as the active Game Installation.
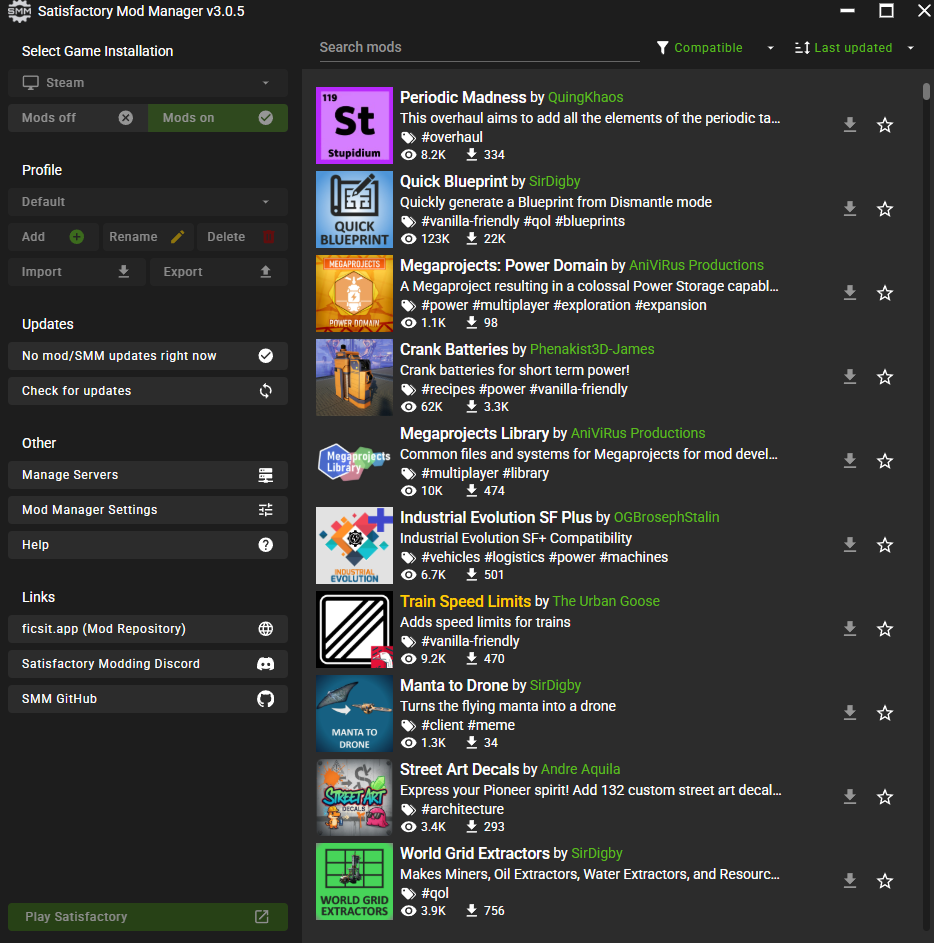
Browse the mod list and choose the mod you want to install.
Click Download to start installing the mod to your server.
Wait for the installation to complete.
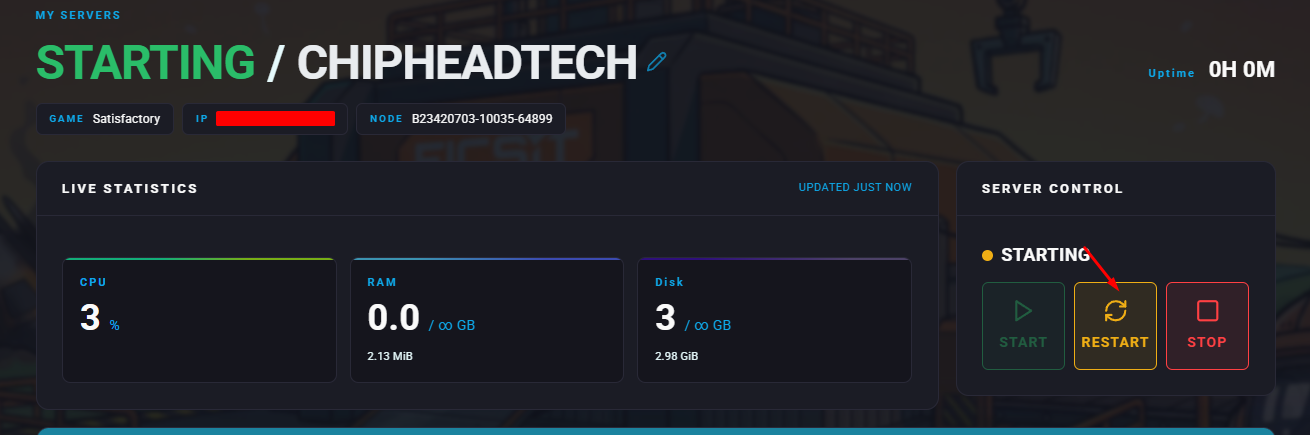
Restart your server to finish loading the mod.