TShock is an essential tool for running Terraria servers. It adds powerful management features like kicking, banning, permissions, and more, allowing you to control your server directly from in-game. TShock also supports plugins, giving you the flexibility to customize your server even further.

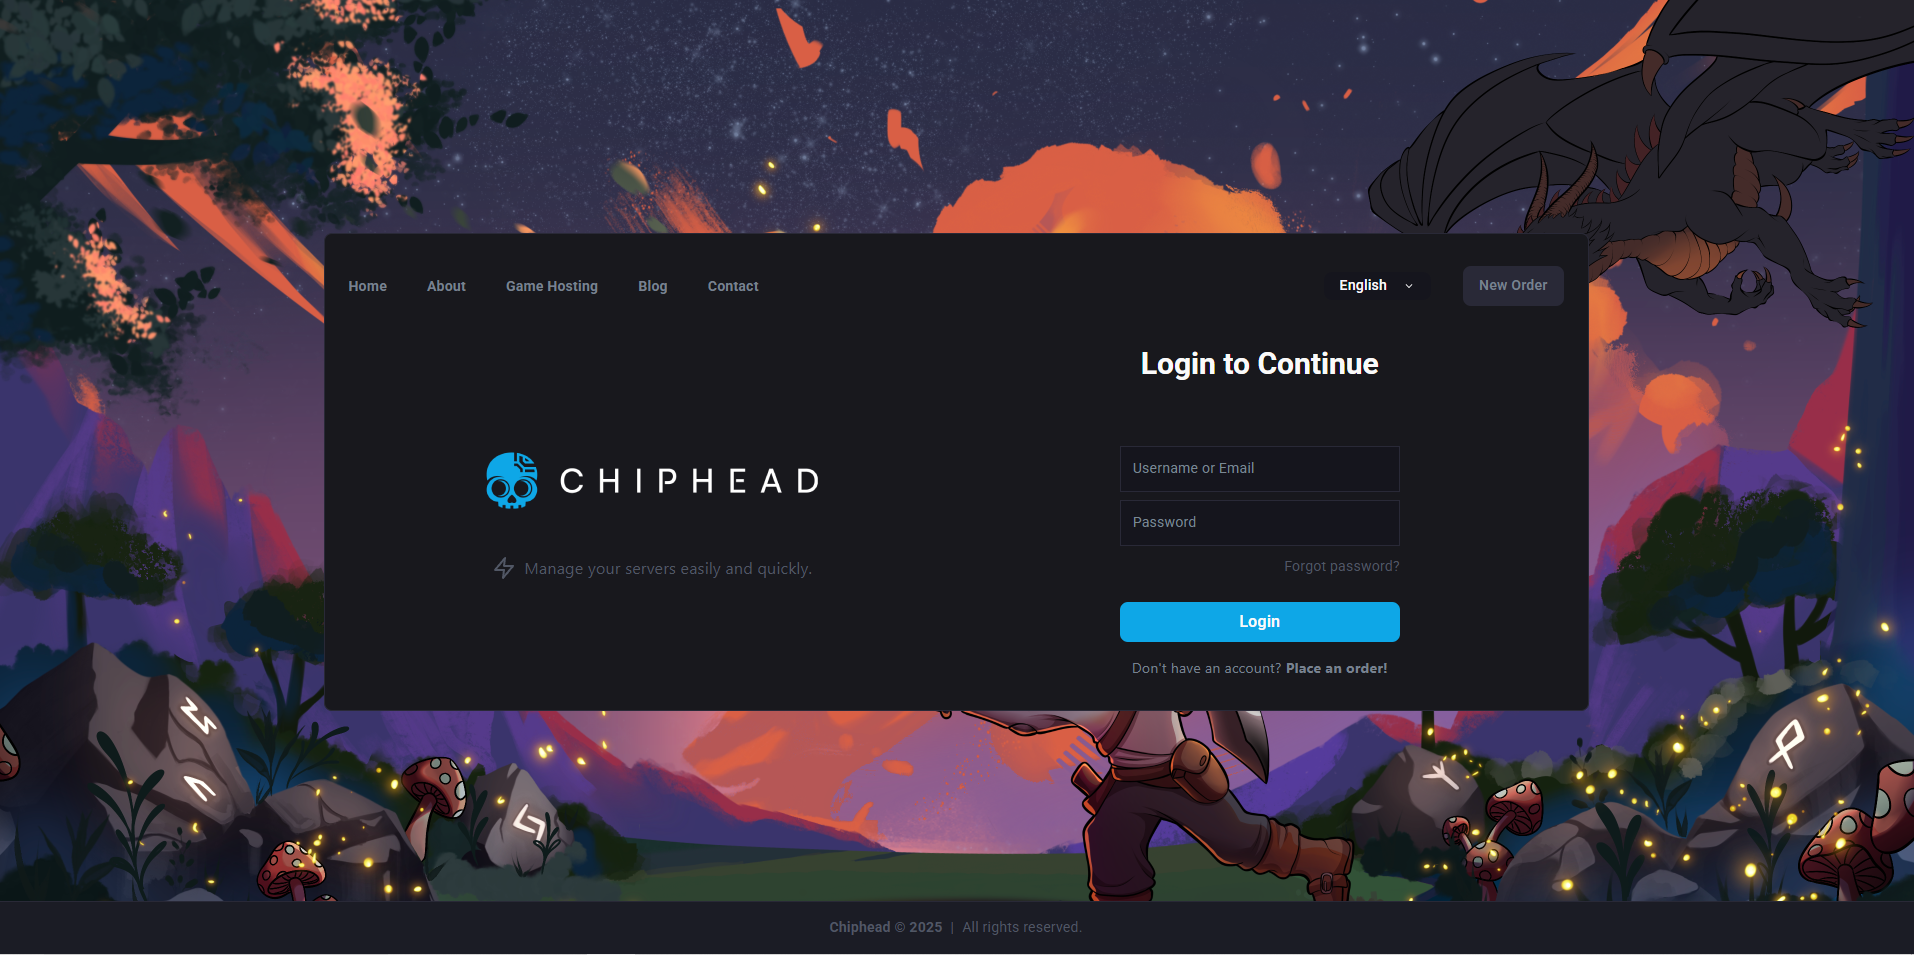
Log in to your Control Panel and stop the server.
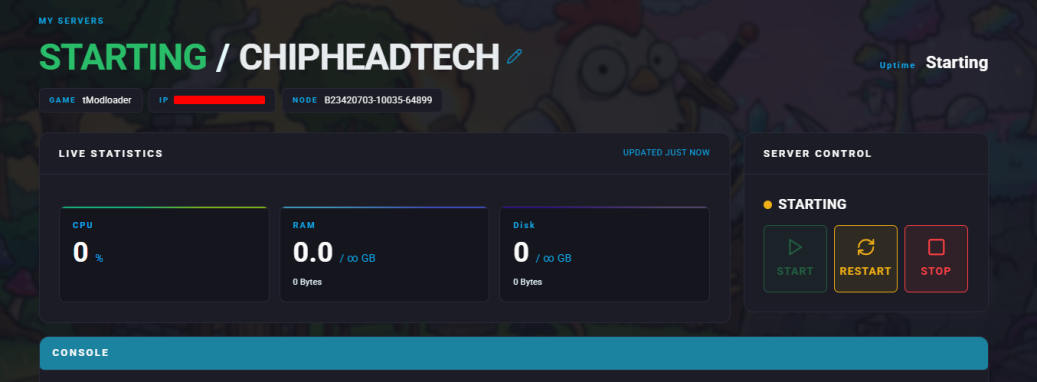
Navigate to Dashboard.
Scroll down to the Installed game and click Swap Game.

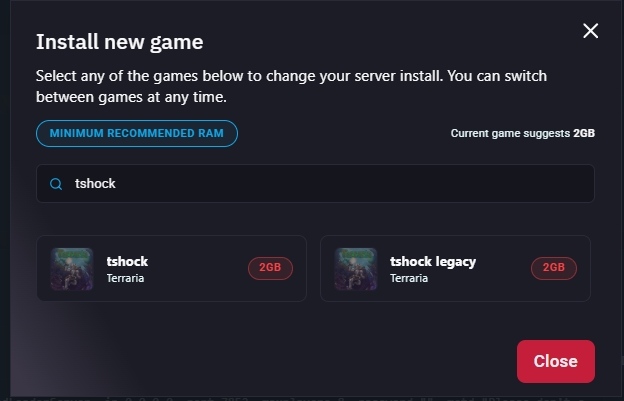
Search for “tShock” and select it from the list.

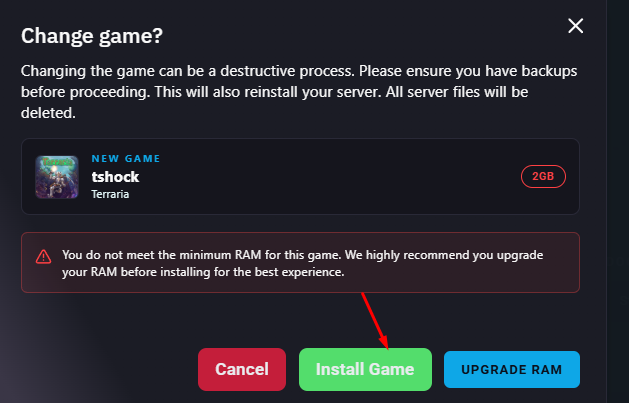
Click Change Game to confirm and begin installation.
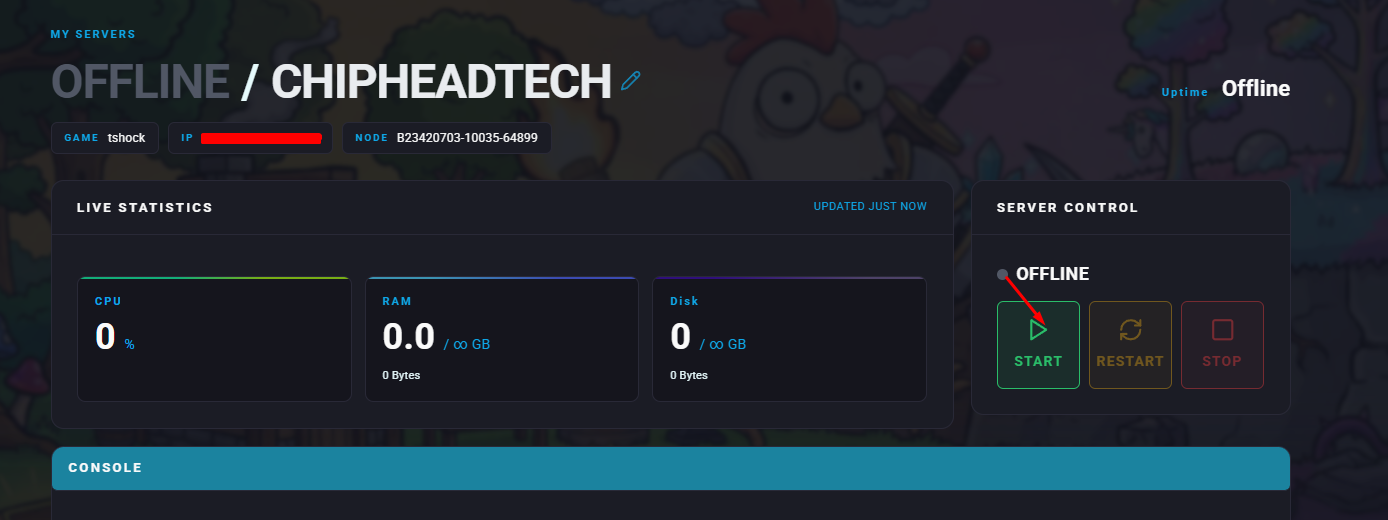
Start your server
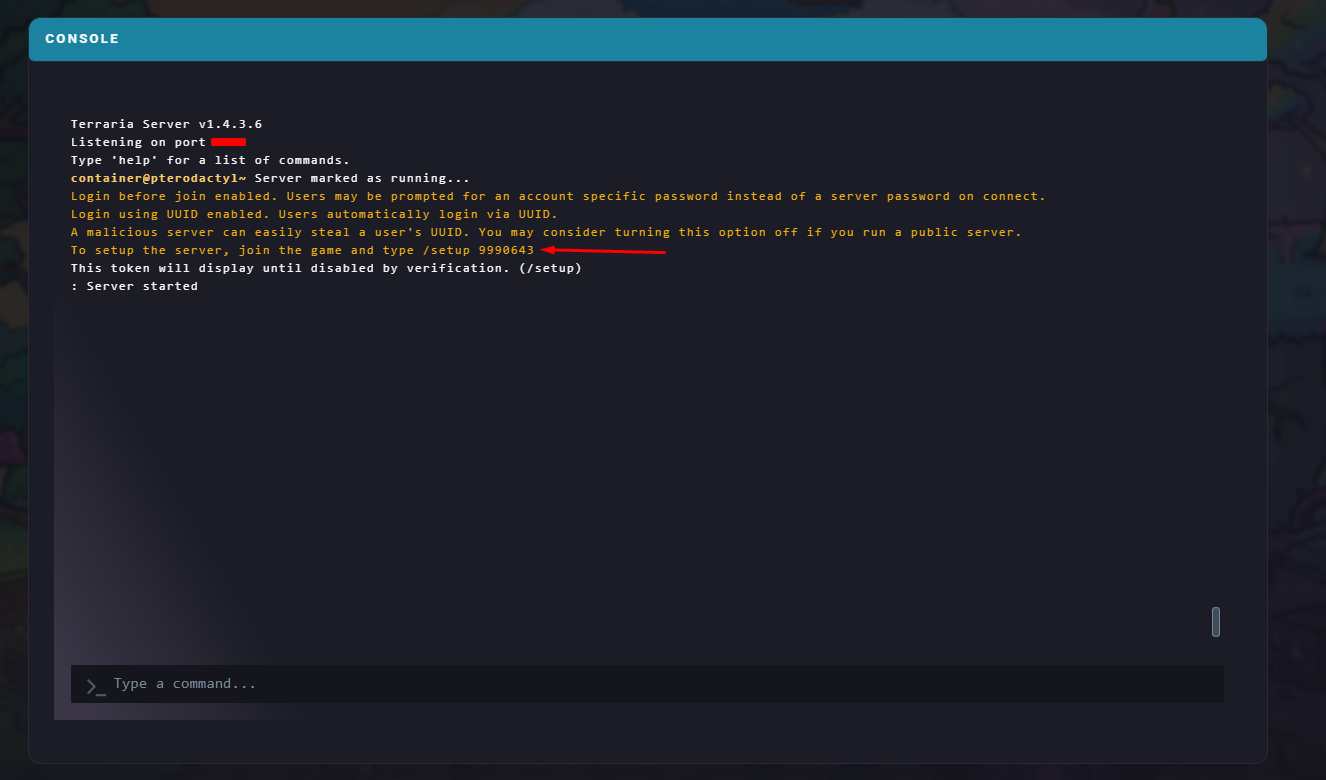
In your server console, look for a line similar to:
“To setup the server, join the game and type /setup xxxxxxx”
(The xxxxxxx represents a random number unique to your server.)
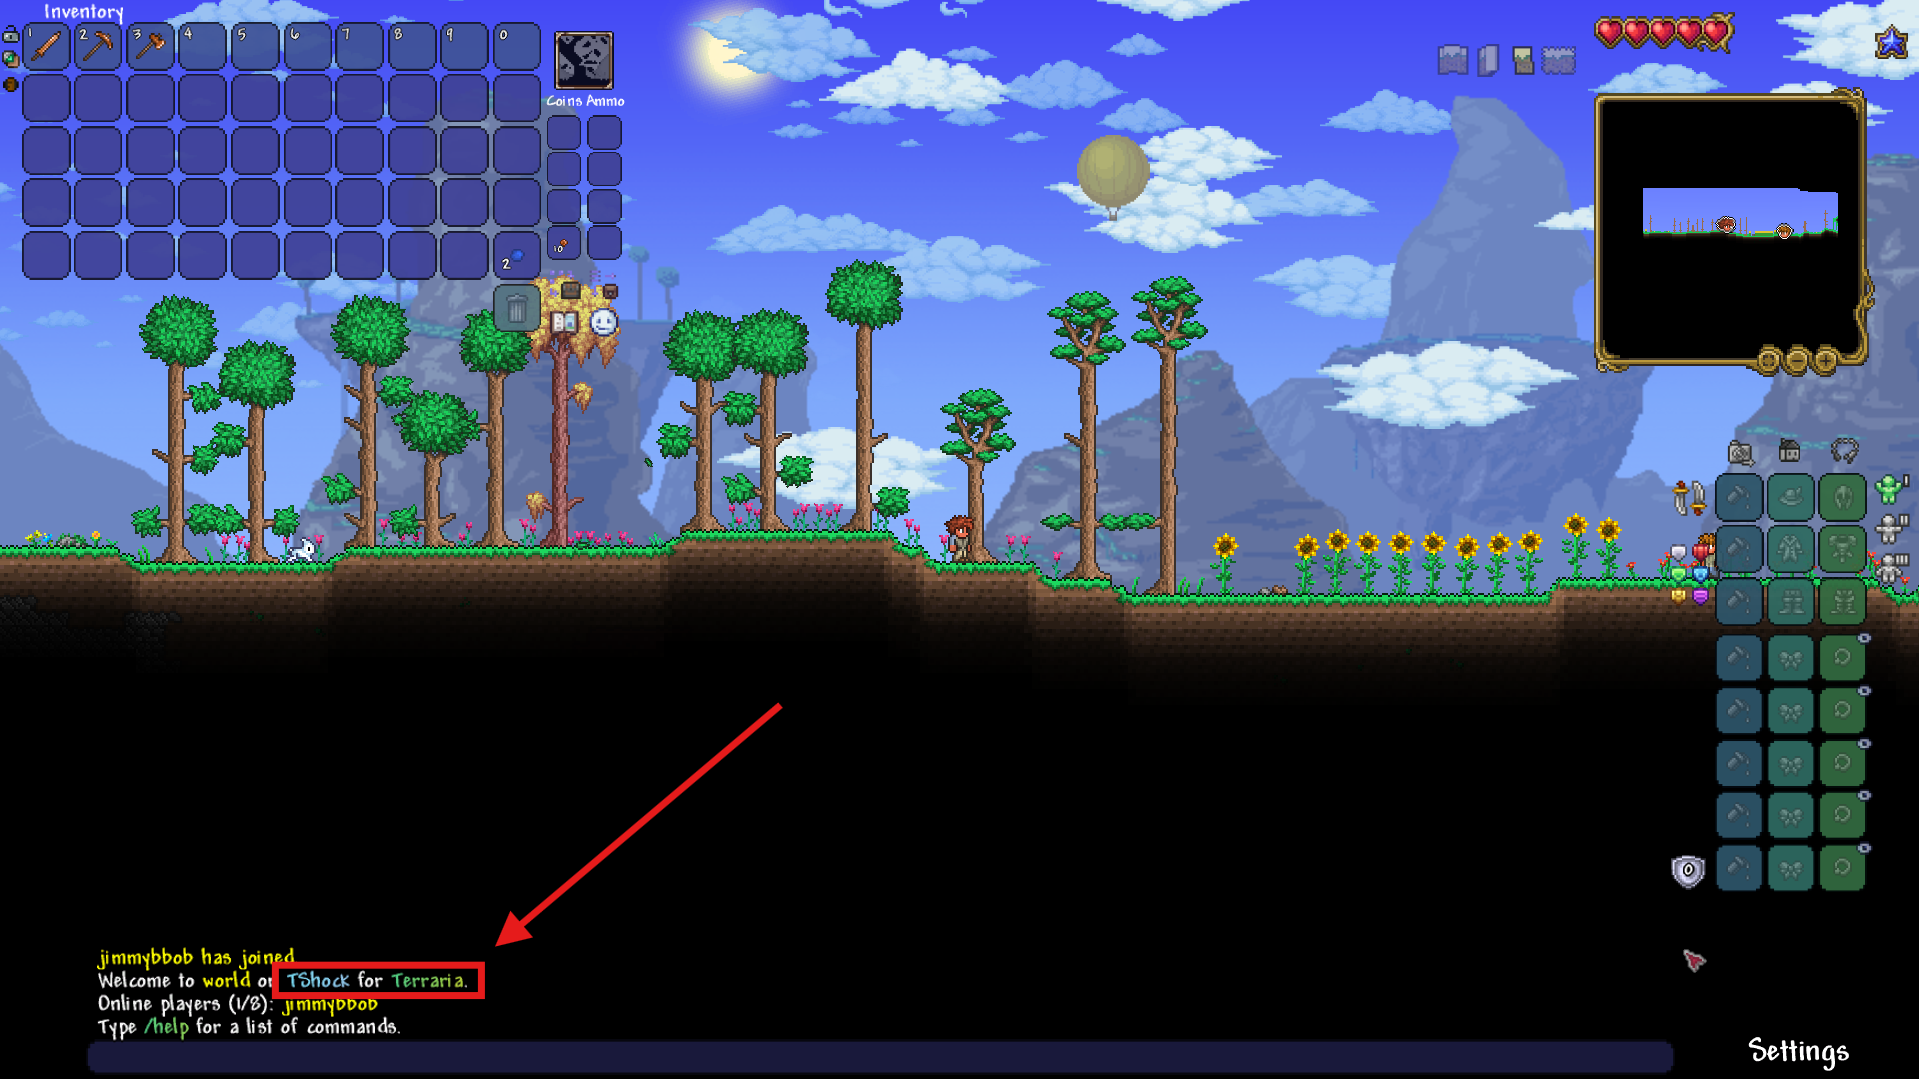
Launch Terraria and join your server.
Once connected, open the in-game chat (press Enter) and type or paste the setup command from the console.
If successful, TShock will display confirmation text in your chat.
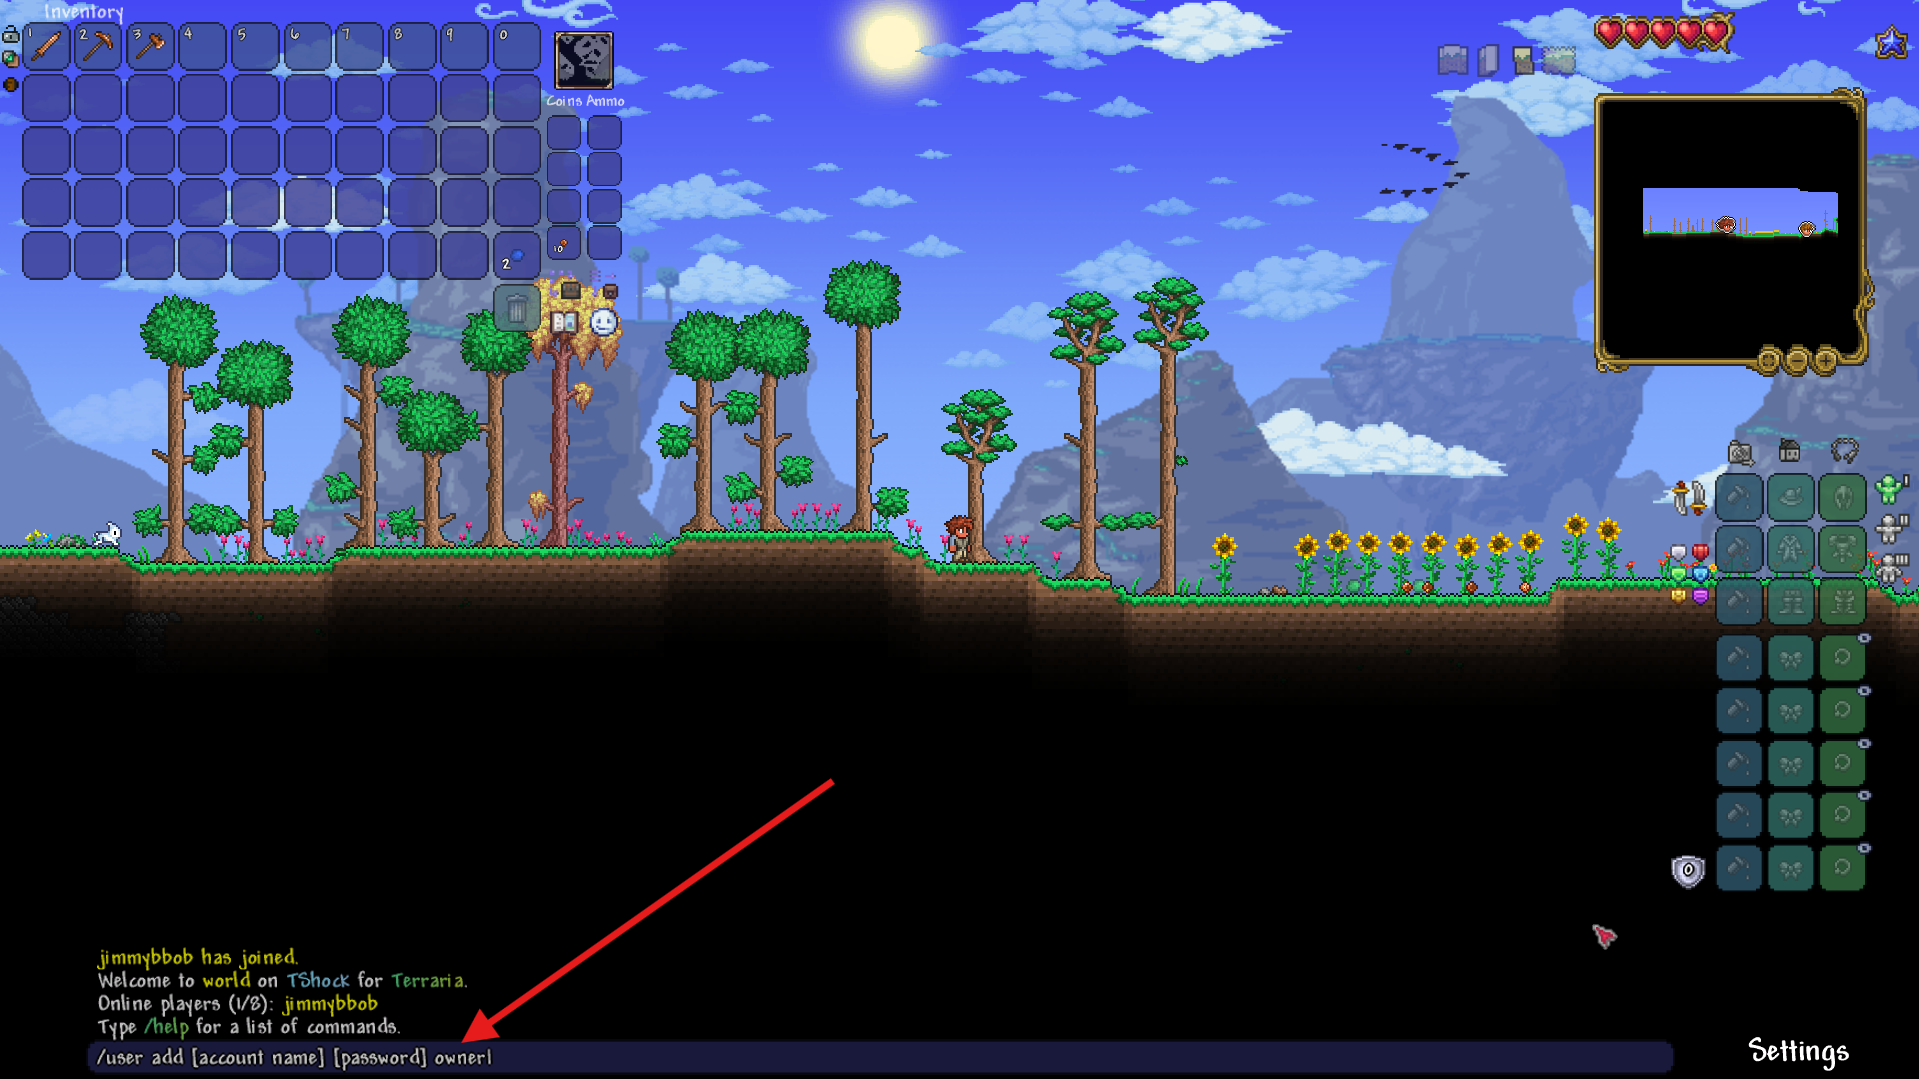
Create your owner account using this command:
/user add [account name] [password] ownerReplace the fields in square brackets with the given strings.
If done correctly, you’ll see the message:
“Account [account name] has been added to group owner!”
Log in to your new owner account by entering:
/login [account name] [password]Replace the fields in square brackets with the given strings.
Once you see “Authenticated as [account name] successfully!” your setup is complete.