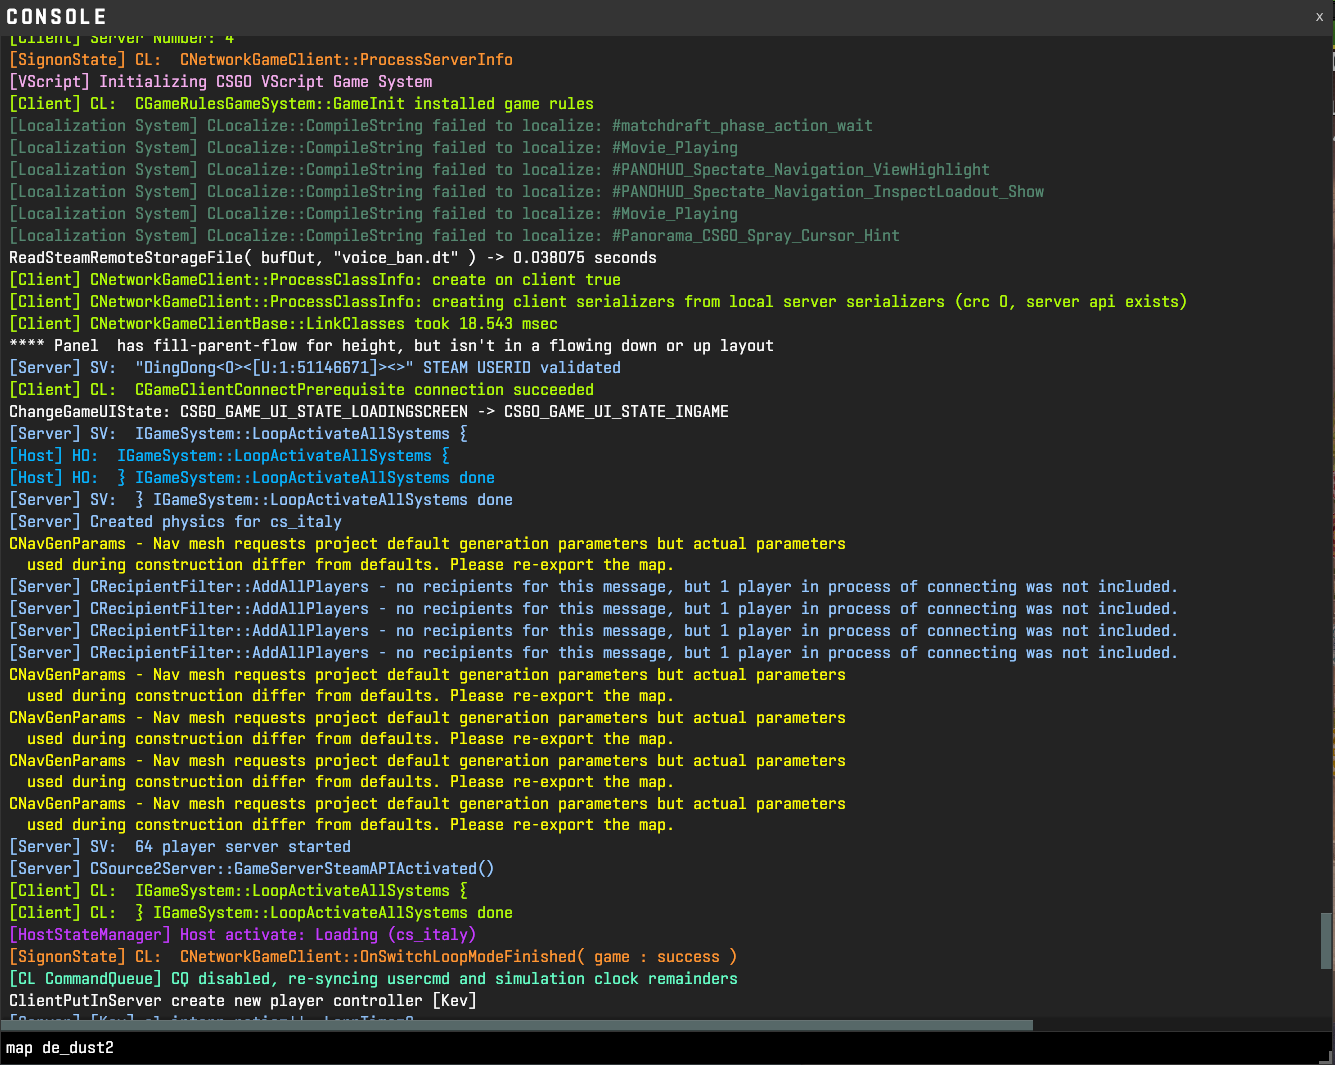
Counter-Strike 2 community servers allow you to set a default map that automatically loads when players join. You can choose from any of the official built-in CS2 maps and easily configure them through your ChipHead Panel.
Note:
If you want to use Steam Workshop maps or collections, refer to our guide on How to Use Steam Workshop Maps and Collections on Your Counter-Strike 2 Server.
Mirage | de_mirage |
Inferno | de_inferno |
Dust II | de_dust2 |
Anubis | de_anubis |
Ancient | de_ancient |
Nuke | de_nuke |
Overpass | de_overpass |
Vertigo | de_vertigo |
Office | cs_office |
Italy | cs_italy |
You can find all available default maps in your Chip Head Panel under the Files tab by opening:
/game/csgo/maps
To change your server’s default map:
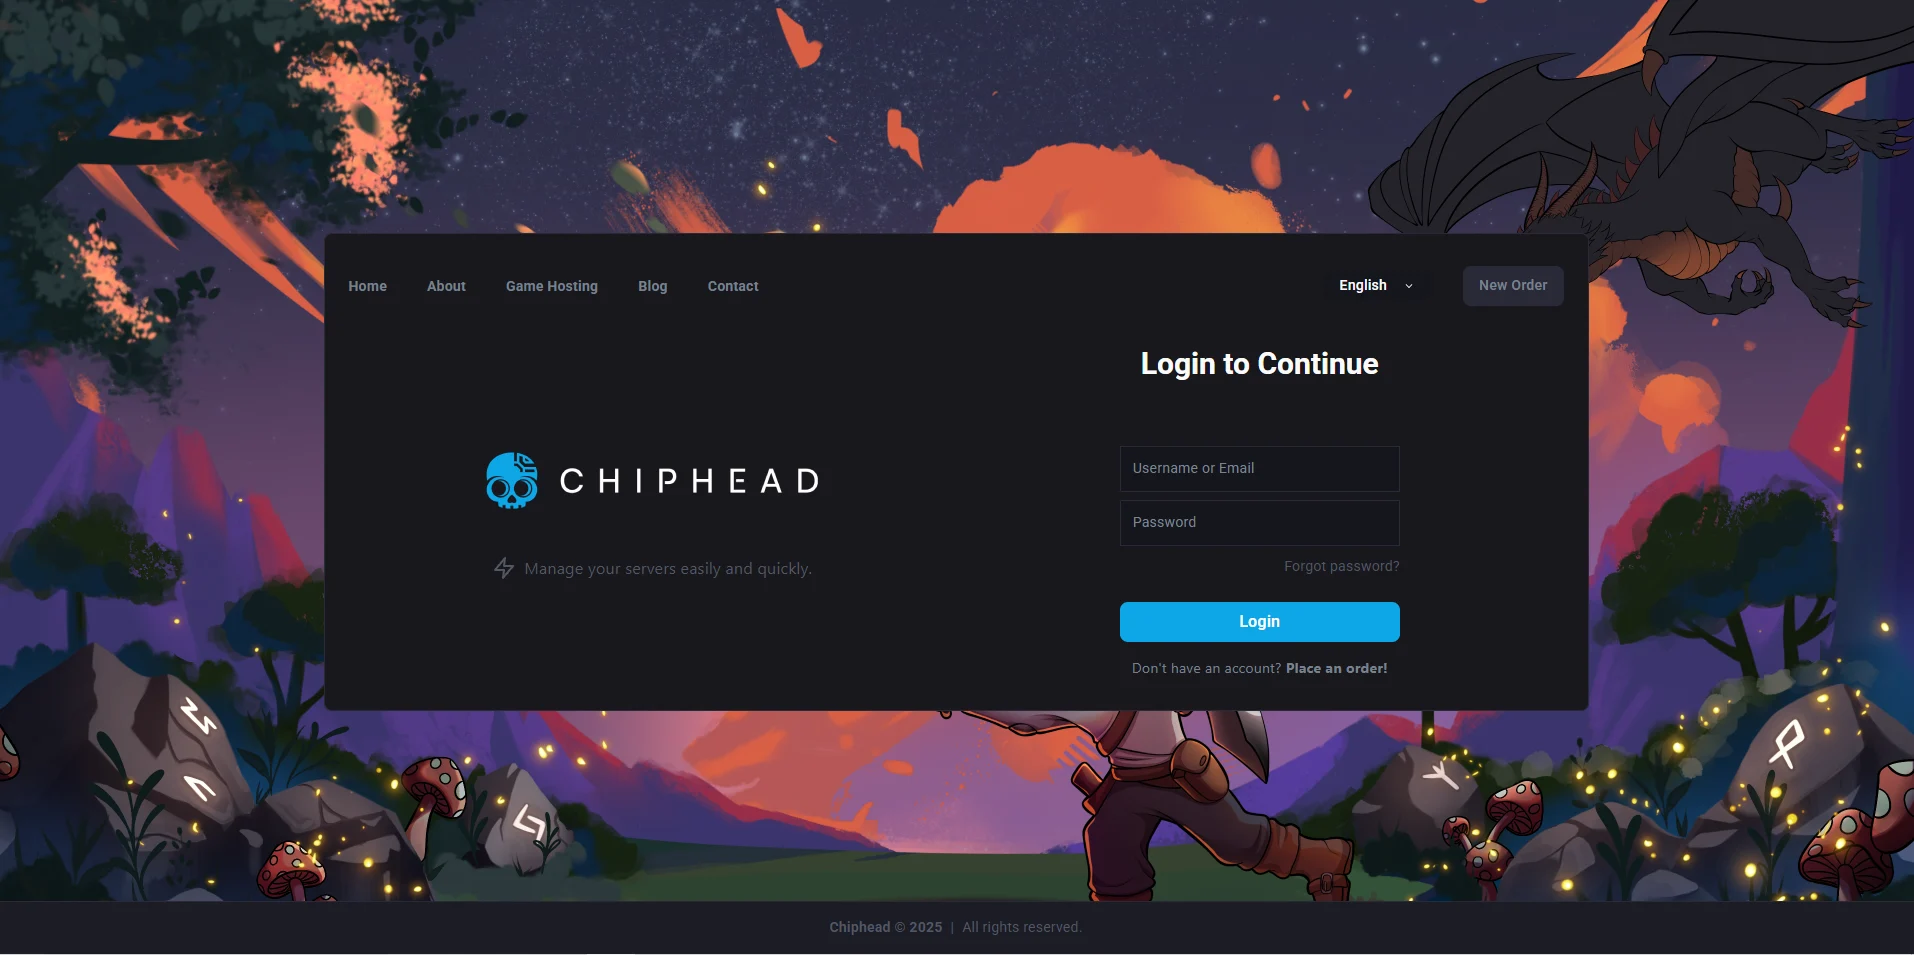
Log in to your ChipHead Panel
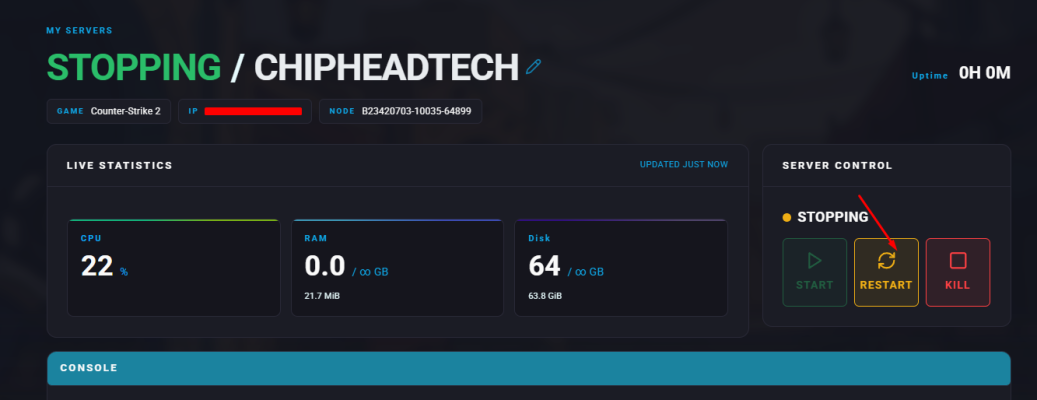
Stop your server.
Go to “Startup”
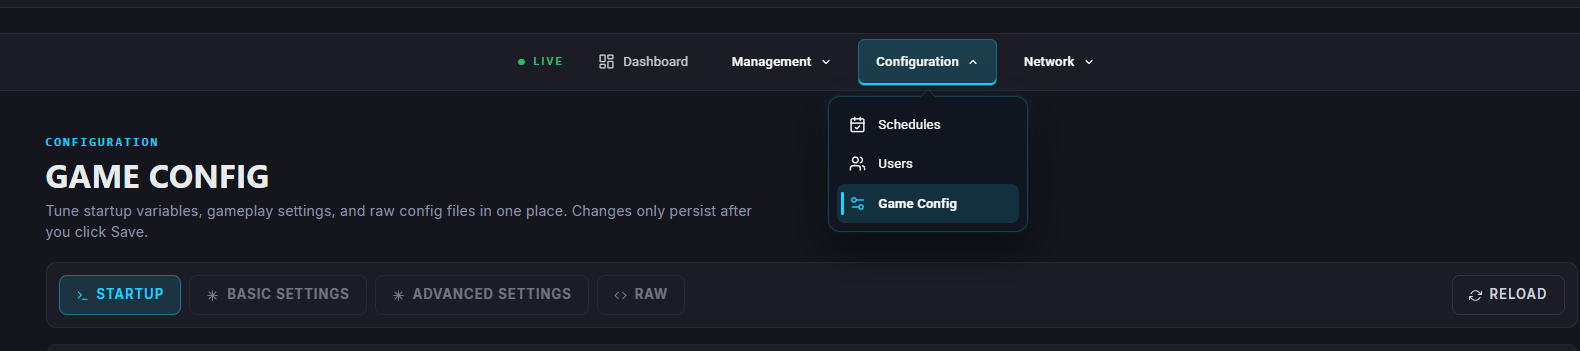
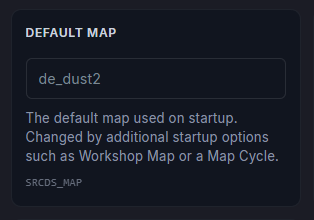
Find the Map field and enter the desired map name (for example, de_dust2).

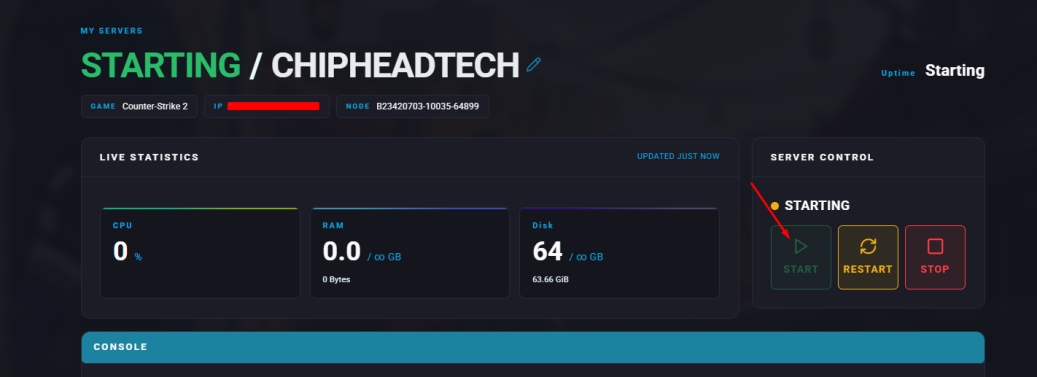
Start your server.
You can also change maps while the server is running using the console command:
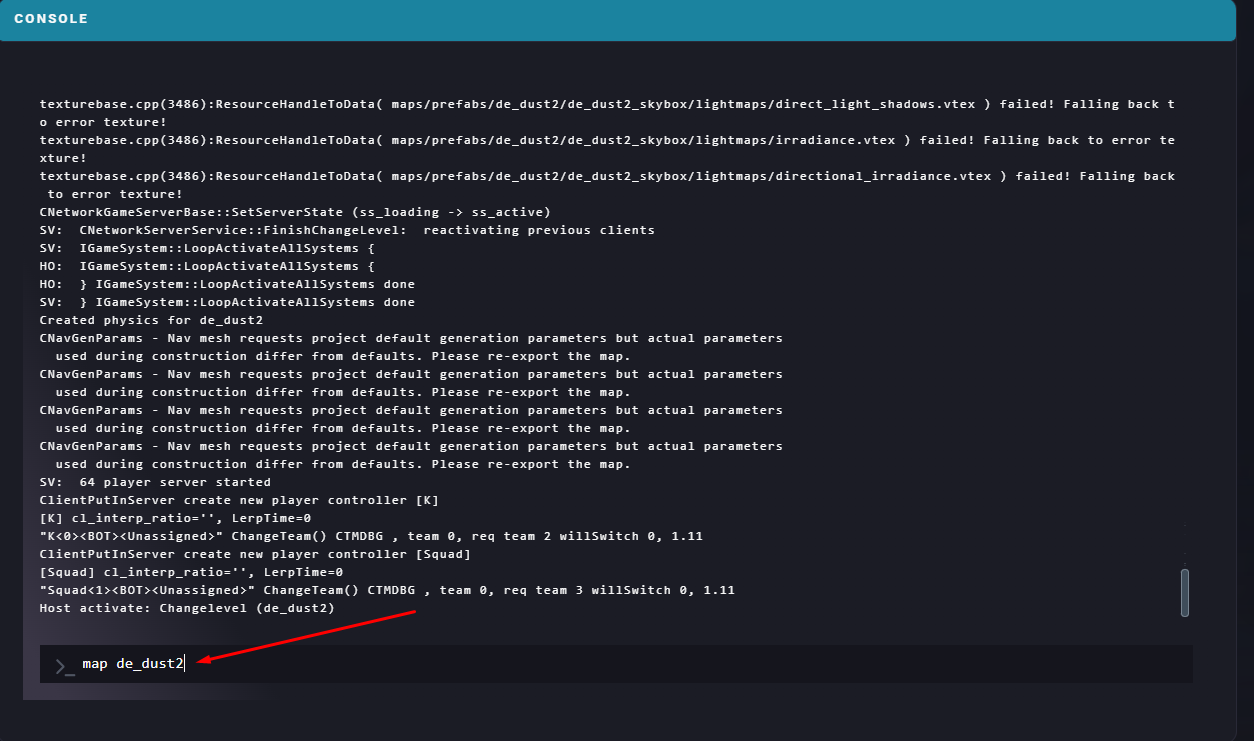
map mapnameFor example, to load Dust II, enter:
map de_dust2
Or inside of CS2 when in the server